
His and Her Pillow Cases DIY: Personalized Comfort and Style
Creating custom “his and hers” pillowcases is a rewarding and surprisingly simple DIY project that allows for personalization, enhanced comfort, and a touch of unique style in any bedroom. Beyond mere aesthetics, this project offers a practical way to differentiate bedding, especially in shared spaces, and can be a thoughtful, handmade gift. The process involves selecting appropriate fabrics, utilizing basic sewing techniques, and employing various methods for personalization, from simple lettering to more intricate designs. This guide will walk you through the essential steps and creative options for crafting your perfect his and hers pillowcases.
Fabric Selection: The Foundation of Comfort and Durability
The choice of fabric is paramount for the longevity and comfort of your pillowcases. For a luxurious feel, consider high-thread-count cotton or Egyptian cotton. These materials are breathable, soft against the skin, and tend to get softer with each wash. Linen is another excellent option, offering a naturally cool and crisp texture that is ideal for warmer climates. For a more budget-friendly approach, a good quality poly-cotton blend can provide a balance of softness, durability, and ease of care. If you desire a softer, more supple feel, brushed cotton or flannel are perfect for cooler months, offering exceptional warmth and coziness. When selecting fabric, always opt for pre-washed materials. This step is crucial to pre-shrink the fabric, preventing your finished pillowcases from shrinking unevenly after the first wash. Consider the weight of the fabric; a medium-weight fabric will hold its shape well and provide a pleasing drape, while lighter fabrics might feel a bit flimsy. For decorative elements like embroidery or fabric paint, choose fabrics that can withstand these embellishments without excessive stretching or damage. The color and pattern of your fabric will form the base of your design, so choose wisely to complement your existing bedroom décor.
Measuring and Cutting: Precision for a Perfect Fit
Accurate measurements are essential for creating pillowcases that fit your existing pillows snugly and without excess fabric. Start by measuring the length and width of your pillow. Add at least 2 inches to both the length and width to account for seam allowances and a comfortable fit. This will give you the dimensions for your main pillowcase fabric. For the opening, you will need an additional piece of fabric to create a French seam or an envelope closure. A French seam is a neat and durable method that encloses raw edges within the seam itself, preventing fraying and offering a polished look. For a French seam, you will need a flap of fabric that extends beyond the main pillowcase dimensions. A common and effective design for an envelope closure is to add an overlap. To achieve this, cut your main pillowcase piece to the desired dimensions (e.g., if your pillow is 20×26 inches, cut your main fabric to 22×28 inches to include 1-inch seam allowances). Then, cut a separate flap piece. For an overlap of approximately 6 inches, cut this flap to 22 inches (the width of your main piece) by 10 inches. This will create a sufficient overlap for the pillow to be inserted and secured. Always double-check your measurements and mark your cutting lines clearly with a fabric marker or chalk. Use a rotary cutter and a self-healing cutting mat for precise, straight cuts, especially if you are working with larger pieces of fabric. If you don’t have a rotary cutter, a good pair of fabric shears will suffice, but take extra care to maintain straight lines.
Sewing the Pillowcase: Techniques for a Professional Finish
The sewing process can be approached in several ways, each offering a different aesthetic and level of durability. The most common and straightforward method involves sewing straight seams. For a standard pillowcase, you will typically create a French seam. To do this, first, place your fabric right sides together and sew a narrow seam (approximately 1/4 inch) along three sides (the two long sides and one short side), leaving one short side open. Trim this seam allowance down to about 1/8 inch. Then, turn the fabric right side out and fold it again so that the raw edges are enclosed within the seam. Stitch again along the same three sides, this time with a larger seam allowance (about 1/2 inch). This creates a beautiful and strong French seam.
For an envelope closure, which is ideal for pillowcases that will be frequently washed or have decorative elements that might snag on a French seam, the process is slightly different. Hem the opening of your main pillowcase piece with a double-fold hem (fold the raw edge over 1/4 inch, then fold it over again by another 1/4 inch and stitch). On your separate flap piece, hem both long edges with a double-fold hem. Then, place the main pillowcase piece right side up. Lay the flap piece on top of the main piece, right side down, aligning the raw edge of the flap with the raw edge of the main piece. The hemmed edges of the flap should be facing inwards. Pin them in place and sew around the entire perimeter of the pillowcase with a 1/2 inch seam allowance. This will result in a clean and functional envelope closure. Always use a straight stitch and an appropriate needle for your fabric type. Consider using a serger if you have one to finish the raw edges for extra durability and a professional look, especially if you are not using a French seam.
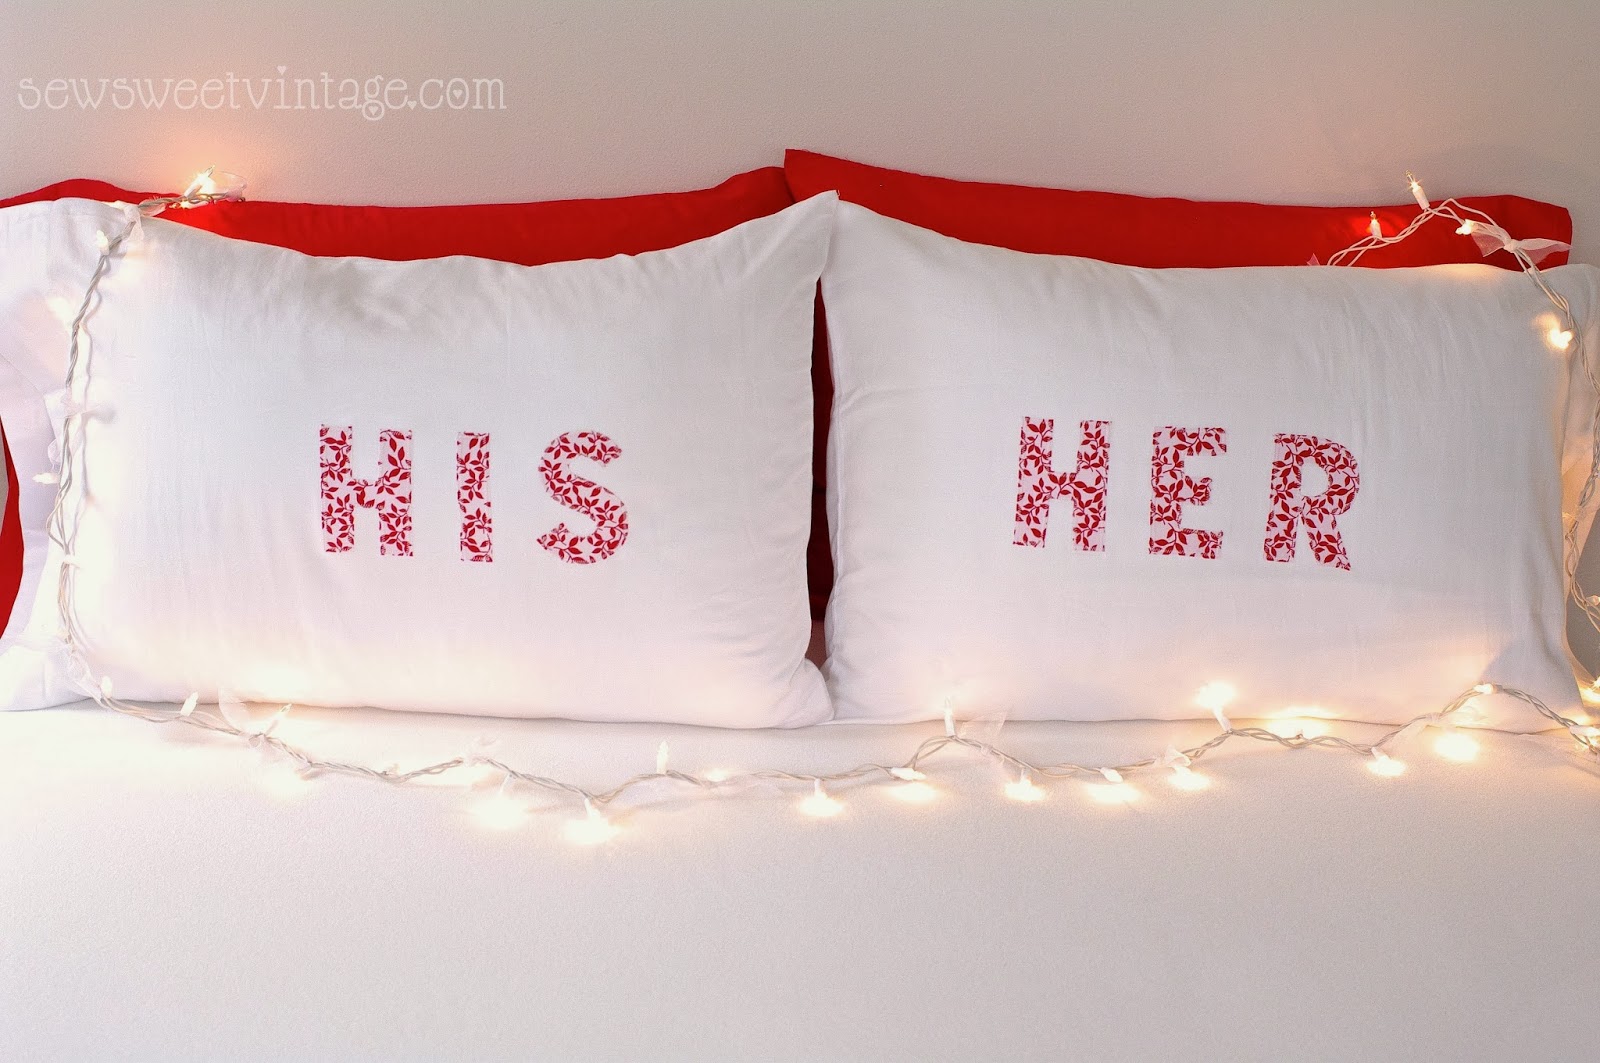
Personalization: Adding the "His" and "Hers" Touch
This is where the creative possibilities truly unfold. Personalizing your pillowcases is what transforms them from ordinary bedding into a unique expression of your relationship.
- Embroidery: Hand embroidery or machine embroidery is a classic and elegant way to add initials, names, or even small motifs. For hand embroidery, a simple satin stitch or backstitch can be used to create bold lettering. Consider a monogram for each pillowcase, perhaps "H" and "W" or their full initials. Machine embroidery offers a faster and more precise option, with a wide variety of fonts and designs available. If hand-embroidery, consider using embroidery floss in a contrasting color to your fabric for maximum impact.
- Fabric Paint and Stencils: For a bolder, more graphic look, fabric paint is an excellent choice. You can purchase pre-made stencils or create your own from cardstock or plastic. Block letters, simple icons (like a lock and key, or a heart), or even short, affectionate phrases can be applied. Ensure you use fabric-specific paints that are permanent and washable. For a more freehand approach, consider using fabric markers to draw designs or write messages directly onto the fabric.
- Appliqué: This technique involves sewing one piece of fabric onto another. You could cut out shapes (like stars, hearts, or even outline letters) from a contrasting fabric and stitch them onto the pillowcases. For a refined look, use a satin stitch around the edges of the appliqué. fusible web can be used to temporarily adhere the appliqué pieces before sewing for easier handling.
- Iron-On Transfers: This is a quick and easy method for transferring designs from a computer or printer onto fabric. You can find iron-on transfer paper at most craft stores. Print your chosen design, cut it out, and iron it onto the pillowcase according to the product instructions. This is a great option for complex images or text. Ensure the image is mirrored before printing if it contains text.
- Fabric Markers/Pens: For a more casual and artistic touch, fabric markers or pens can be used to draw directly onto the pillowcases. This is a great way to add personal doodles, inside jokes, or simple patterns. Choose markers that are specifically designed for fabric and are permanent and washable.
When personalizing, consider the placement. Centering a design on the pillowcase is a classic approach, but you could also opt for a corner placement or even a repeating pattern along the edge. For "his" and "hers" specific designs, you can mirror them, use complementary colors, or select themes that represent each individual’s personality or shared interests. For example, "his" might have a subtle geometric pattern, while "hers" could feature a floral motif, or both could have a shared symbol.
Care and Maintenance: Keeping Your Creations Looking Fresh
Proper care will ensure your custom pillowcases remain beautiful and comfortable for years to come. Always follow the care instructions of the fabric you chose. Generally, wash your pillowcases in cold or warm water on a gentle cycle. Use a mild detergent. If you have used fabric paint or iron-on transfers, turn the pillowcases inside out before washing to protect the design. Avoid using bleach or harsh chemicals, as these can fade colors and damage the fabric. Tumble dry on a low heat setting or air dry for best results. Iron on the reverse side of the fabric, especially if there are any embellishments or printed designs. By taking these simple steps, you can maintain the quality and aesthetic of your personalized his and hers pillowcases.
Creative Variations and Gift Ideas
Beyond the basic his and hers design, consider these creative variations:
- Themed Pillowcases: Align the designs with a shared hobby or interest. For example, if both enjoy stargazing, "his" could have a constellation and "hers" a moon.
- Matching but Different: Use the same font or style of personalization but with different colors or slightly varied designs. This creates a sense of unity without being overly identical.
- "His" and "Hers" Quotes: Use short, sweet, or humorous quotes that reflect your relationship.
- Wedding or Anniversary Gifts: These personalized pillowcases make for incredibly thoughtful and unique wedding or anniversary gifts. Include the couple’s initials and wedding date for a truly memorable present.
- "His" and "Hers" Travel Pillowcases: Create smaller versions for travel, offering a familiar comfort on the go.
The beauty of this DIY project lies in its adaptability. Whether you’re a seasoned sewer or a complete beginner, you can create stunning and meaningful pillowcases. The process allows for a deep level of customization, making each pair truly one-of-a-kind. From selecting the perfect fabric to adding the final personalized touch, crafting his and hers pillowcases is a delightful way to enhance your bedroom décor and celebrate your unique bond.
