
5 Temporary Cake Stand Ideas: Have you ever found yourself in a situation where you need to present a beautiful cake, but you don’t have a proper cake stand? Don’t worry, you don’t need to go out and buy one! With a little creativity, you can easily create a temporary cake stand using everyday items.
Whether you’re hosting a casual gathering or a formal event, these DIY solutions will help you showcase your delicious creations in style.
This blog post will explore a range of ideas for making temporary cake stands, from repurposing household items to crafting your own. We’ll delve into the world of upcycled materials, DIY solutions, and creative alternatives that will elevate your dessert presentation without breaking the bank.
Cake Stands: Elevating Dessert Presentation

A cake stand is an essential tool for showcasing desserts, elevating their visual appeal and adding a touch of elegance to any occasion. It provides a dedicated platform to display your culinary creations, making them the center of attention. However, finding a suitable cake stand for every occasion can be a challenge, especially when you need a temporary solution.
Need a cake stand in a pinch? There are tons of creative ways to create a temporary stand using things you already have around the house! A stack of books, a sturdy cutting board, or even an upturned bowl can do the trick.
If you’re feeling a bit more ambitious, why not try making a make a hoop shelf in an hour ? It’s a fun and easy project that can be used for a variety of purposes, including displaying your delicious desserts.
Whatever you choose, you’re sure to find a temporary cake stand solution that works for you.
This is where creativity and resourcefulness come in handy.
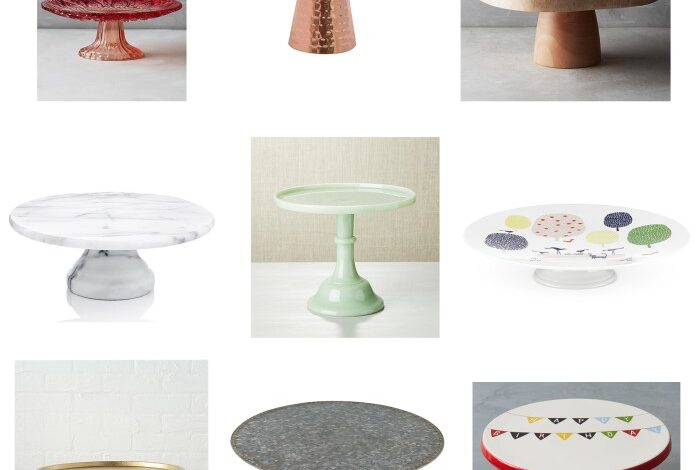
Five Temporary Cake Stands
Here are five creative and practical solutions for creating temporary cake stands when a dedicated stand is unavailable:
- Upcycled Serving Platter: A large serving platter can be transformed into a makeshift cake stand by simply placing a cake plate or even a sturdy piece of cardboard on top. You can use decorative elements like ribbon, flowers, or candles to elevate the presentation further.
- Inversion Technique: A large bowl or a decorative vase can be turned upside down to create a sturdy base for your cake. Place a smaller plate or a round cutting board on top to provide a flat surface for the cake.
This method allows for a unique and unexpected presentation.
- Stacked Plates: If you have a collection of plates in varying sizes, you can stack them to create a tiered cake stand. Start with the largest plate as the base and gradually reduce the size of the plates upwards. Secure the plates together with a bit of tape or glue if necessary.
- Wooden Cutting Board: A wooden cutting board can be used as a simple and effective cake stand. It’s sturdy, readily available, and comes in various sizes and shapes to suit different cakes. You can also enhance the presentation by placing a decorative napkin or a piece of fabric underneath the cutting board.
- Decorative Books: For a more artistic approach, stack several books of varying heights to create a tiered cake stand. Choose books with interesting covers or patterns to add visual interest. Place a plate or a cutting board on top of the books to support the cake.
Upcycled Materials
Upcycling is a fantastic way to create beautiful and unique cake stands while reducing waste. It’s a creative and eco-conscious approach to decorating your table. Repurposing household items is a fun and budget-friendly way to elevate your dessert presentation.
Large Plates or Serving Trays
Large plates or serving trays can be easily transformed into cake stands. This method is simple and requires minimal effort.
- Choose a plate or tray with a sturdy base. Look for a plate or tray with a diameter that’s suitable for your cake. A sturdy base ensures stability for your cake.
- Select a pedestal or a stack of books. If you’re using a plate, you can place it on a pedestal or a stack of books to elevate it. The height should be comfortable for serving and viewing the cake.
- Secure the plate or tray to the pedestal. You can use a non-slip mat or a piece of adhesive tape to secure the plate or tray to the pedestal. This prevents it from sliding or tipping over.
Wooden Cutting Boards
Wooden cutting boards are a versatile material that can be easily transformed into stylish cake stands.
- Choose a sturdy wooden cutting board. Select a cutting board that’s large enough to accommodate your cake and has a smooth surface.
- Add a decorative touch. You can add a decorative touch to the cutting board by painting it, staining it, or adding a stencil design. You can also use a decoupage technique to create a unique design.
- Attach a base or legs. You can attach a base or legs to the cutting board to elevate it. This can be done using screws, glue, or other methods. You can use a circular piece of wood or a metal base for this purpose.
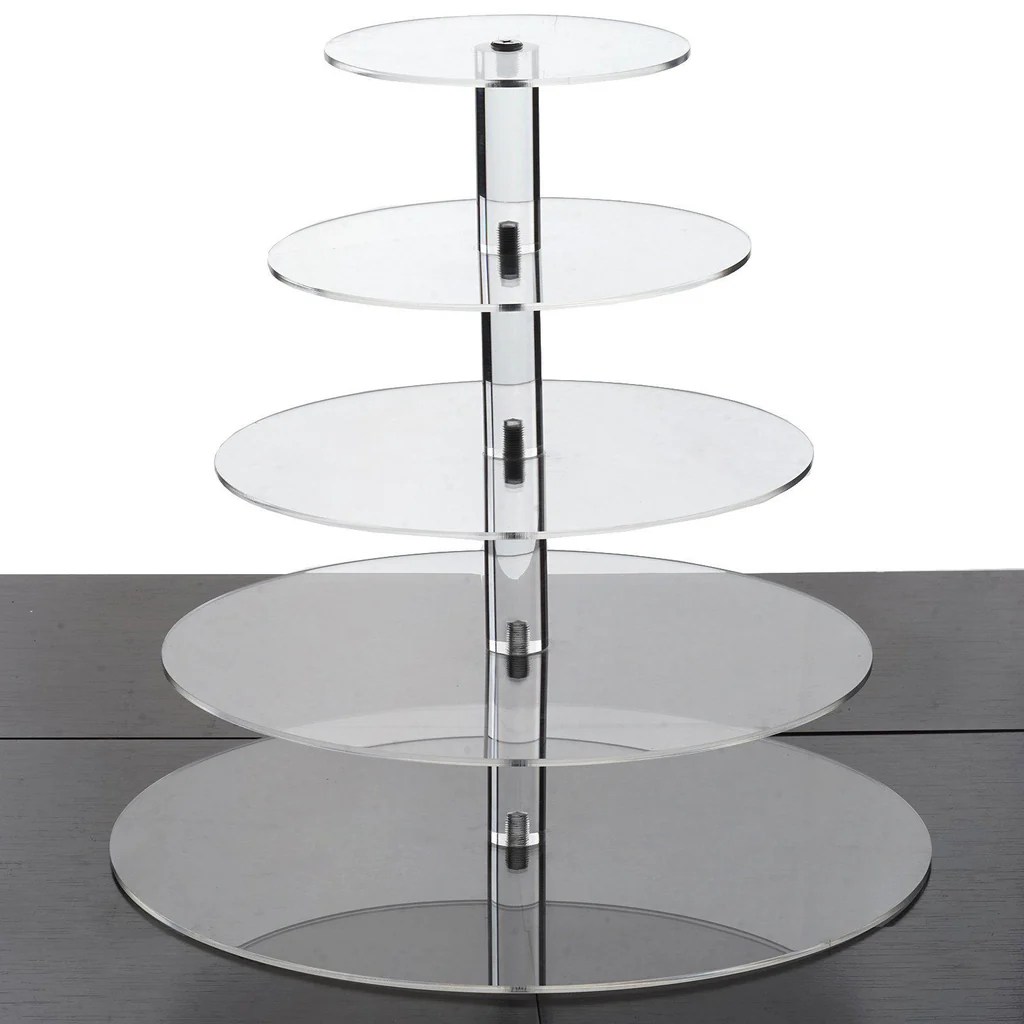
Tiered Serving Trays
Tiered serving trays are a practical and elegant option for showcasing multiple desserts or a multi-tiered cake.
- Choose a tiered serving tray with sturdy tiers. Ensure that the tiers are large enough to accommodate your desserts and are stable enough to hold the weight.
- Decorate the tray. You can decorate the tiered serving tray by adding a tablecloth, ribbon, or other decorative elements. This will enhance the visual appeal of your dessert display.
- Arrange your desserts. Place your cakes, cupcakes, or other desserts on the tiers in an attractive arrangement. Consider using different heights and sizes to create visual interest.
Stack of Bowls
Stacking bowls of different sizes can create a unique and eye-catching cake stand.
- Choose bowls with contrasting colors and textures. This creates visual interest and adds depth to the display.
- Secure the bowls together. You can use a non-slip mat or a piece of adhesive tape to secure the bowls together. This prevents them from sliding or tipping over.
- Arrange the bowls in a pyramid shape. Start with the largest bowl at the bottom and stack the smaller bowls on top. You can adjust the height of the stand by adding or removing bowls.
DIY Solutions: 5 Temporary Cake Stand Ideas
Sometimes, you need a cake stand in a pinch, and you don’t have time to shop for one. Don’t worry! There are many DIY options that can help you create a temporary cake stand using everyday materials. These solutions are budget-friendly and can be customized to match your event’s theme.
Cardboard or Foam Board Cake Stands, 5 temporary cake stand ideas
Building a cake stand from cardboard or foam board is a quick and easy option. These materials are readily available and can be easily shaped to create a sturdy base.
Sometimes, you just need a cake stand in a pinch! A stack of books, an upturned bowl, or even a decorative plate can work in a pinch. And if you’re feeling really ambitious, you can even create a tiered stand from stacked cake boxes.
But for a more elaborate display, you might want to check out the kaser focus keigh3 aftermath , which offers a ton of creative inspiration for all sorts of cake stand ideas. Once you’ve got your stand ready, you can start decorating your cake and get ready for the party!
To create a cake stand from cardboard, you will need a sturdy piece of cardboard, a ruler, a pencil, a craft knife, and some decorative tape.
From upcycled books to stacked cake plates, there are so many creative ways to whip up a temporary cake stand. Speaking of creative, have you seen the amazing entries in elsies fashion challenge april update ? The talent is incredible! But back to cake stands, don’t forget to add a touch of personal style with some fresh flowers or decorative ribbons.
It’s all about making your dessert display as unique as your cake itself.
- First, measure the diameter of your cake and add a few inches to create a base that is large enough to hold it securely.
- Next, cut out a circle from the cardboard using the measurements you have taken. You can use a compass or a circular object to trace the circle on the cardboard.
- If you want to create a tiered stand, cut out another circle with a slightly smaller diameter. You can then stack the two circles, securing them with tape or glue.
- Finally, decorate the stand with wrapping paper, fabric, or paint to match your event’s theme.
Wooden or Metal Cake Stands
If you have a sturdy piece of wood or a decorative metal base, you can easily transform it into a cake stand. This option provides a more polished look and can be used for multiple events.
To create a cake stand from a piece of wood, you will need a circular piece of wood, a drill, screws, and a piece of fabric or paper to cover the top of the stand.
- First, drill holes in the wood to attach a piece of fabric or paper to the top of the stand. You can use decorative fabric or paper to match your event’s theme.
- Next, attach the fabric or paper to the wood using screws or glue. Ensure that the fabric or paper is securely attached to the wood.
- Finally, you can add embellishments like ribbons, lace, or beads to enhance the stand’s appearance.
Cake Box Cake Stands
If you have a cake box, you can easily transform it into a temporary cake stand with a simple design. This option is ideal for smaller cakes and cupcakes.
To create a cake stand from a cake box, you will need a cake box, a ruler, a pencil, a craft knife, and some decorative tape.
- First, measure the diameter of your cake and add a few inches to create a base that is large enough to hold it securely.
- Next, cut out a circle from the bottom of the cake box using the measurements you have taken. You can use a compass or a circular object to trace the circle on the cake box.
- Finally, decorate the stand with wrapping paper, fabric, or paint to match your event’s theme.
Creative Alternatives
Sometimes, the most elegant solutions are the simplest. When it comes to cake stands, your kitchen and home might already be brimming with possibilities. Let’s explore some unconventional items that can transform into stunning cake displays.
Everyday Objects as Cake Stands
Everyday objects can be repurposed into elegant cake stands. Here are some ideas:
- Large Bowl:A large, decorative bowl, especially one with a wide mouth, can be a beautiful and unexpected cake stand. It adds a touch of rustic charm to your dessert table.
- Decorative Basket:A woven basket with a sturdy base and interesting texture can create a unique and rustic cake stand. The natural elements of the basket complement the warmth of a homemade cake.
- Upside-Down Serving Platter:A serving platter with a raised rim can be flipped upside down to create a simple yet elegant cake stand. The raised edge helps prevent the cake from sliding off.
- Stacked Books:For a more modern and minimalist look, stack a few large, hardback books to create a tiered cake stand. Choose books with interesting covers to add a touch of personality to your display.
Using a Cake Dome or Pedestal
A cake dome or pedestal offers a sophisticated way to present your cake.
- Cake Dome:A cake dome not only elevates your cake but also protects it from dust and insects, making it ideal for displaying delicate pastries or cakes with intricate decorations.
- Pedestal:A pedestal, especially one with a mirrored base, creates a dramatic and eye-catching display. The reflective surface adds a touch of glamour to your cake.
Presentation Tips

A cake stand is the stage for your culinary masterpiece, and presentation plays a crucial role in enhancing its appeal. With a temporary stand, you can still achieve a stunning visual impact by focusing on strategic placement, creative embellishments, and thoughtful arrangement.
Decorating the Stand
Decorating the stand complements the cake’s theme and elevates its presentation. Here are some ideas:
- Ribbons:Choose ribbons in colors that complement the cake’s frosting or decorations. Tie them around the base of the stand for a simple yet elegant touch. Consider using a contrasting ribbon color for a bold statement.
- Flowers:Fresh or silk flowers add a touch of nature and vibrancy. Select blooms that match the cake’s theme or color palette. Arrange them in a vase or scatter petals around the base of the stand.
- Other Embellishments:Consider using decorative elements like lace, fabric scraps, or even candles to add a personal touch. Match these elements to the cake’s theme or the occasion for a cohesive look.