The Ultimate Guide to Homemade Crispy Kale Chips: A Healthier Crunch
Creating perfectly crispy, flavorful kale chips at home is surprisingly simple and remarkably rewarding. This comprehensive guide will walk you through every aspect of achieving kale chip perfection, from selecting the right kale and mastering the preparation techniques to unlocking a world of delicious flavor combinations. Beyond their satisfying crunch, kale chips are a nutritional powerhouse, offering a concentrated dose of vitamins, minerals, and antioxidants with a fraction of the calories of traditional potato chips. They are an ideal snack for health-conscious individuals, those on specific diets, or anyone seeking a guilt-free indulgence.
The Foundation: Choosing and Preparing Your Kale
The success of your kale chips hinges on selecting the right type of kale and preparing it properly. While almost any variety of kale can be used, Lacinato (also known as Dinosaur or Tuscan) kale and curly kale are generally preferred for their texture and flavor. Lacinato kale has flatter, slightly tougher leaves that become wonderfully crisp and chewy when baked. Curly kale, with its ruffled leaves, offers a more delicate crunch and can be more prone to burning if not monitored closely. Regardless of the variety, choose fresh, vibrant bunches with firm, unblemished leaves. Avoid kale that appears wilted, yellowed, or has any brown spots, as these indicate the kale is past its prime and will not yield the best results.
Once you have your kale, the preparation is crucial. Thoroughly wash each leaf under cool running water. This removes any dirt, sand, or pesticide residue. Next, it’s time to de-stem. The thick, fibrous stems are not ideal for kale chips and can detract from the desired crispiness. You can achieve this by either tearing the leaves away from the stem with your hands or by using a sharp knife to carefully cut along either side of the central rib. For larger leaves, you may want to cut them into bite-sized pieces (approximately 2-3 inches) before or after de-stemming. This ensures even cooking and makes them easier to eat.
The Drying Stage: A Critical Step for Crispiness
Moisture is the enemy of crispiness. Therefore, the drying of the kale leaves after washing is arguably the most critical step in achieving perfectly crispy kale chips. Even a small amount of residual water on the leaves can lead to steamed or rubbery chips rather than the desired brittle crunch. After washing, gently pat the kale leaves completely dry with paper towels or a clean kitchen towel. Be meticulous in this process. You can also use a salad spinner to remove excess water, but it’s still advisable to follow up with a thorough pat-down. Ensure the leaves are truly dry to the touch.
The Art of Seasoning: Flavor Without Overdoing It
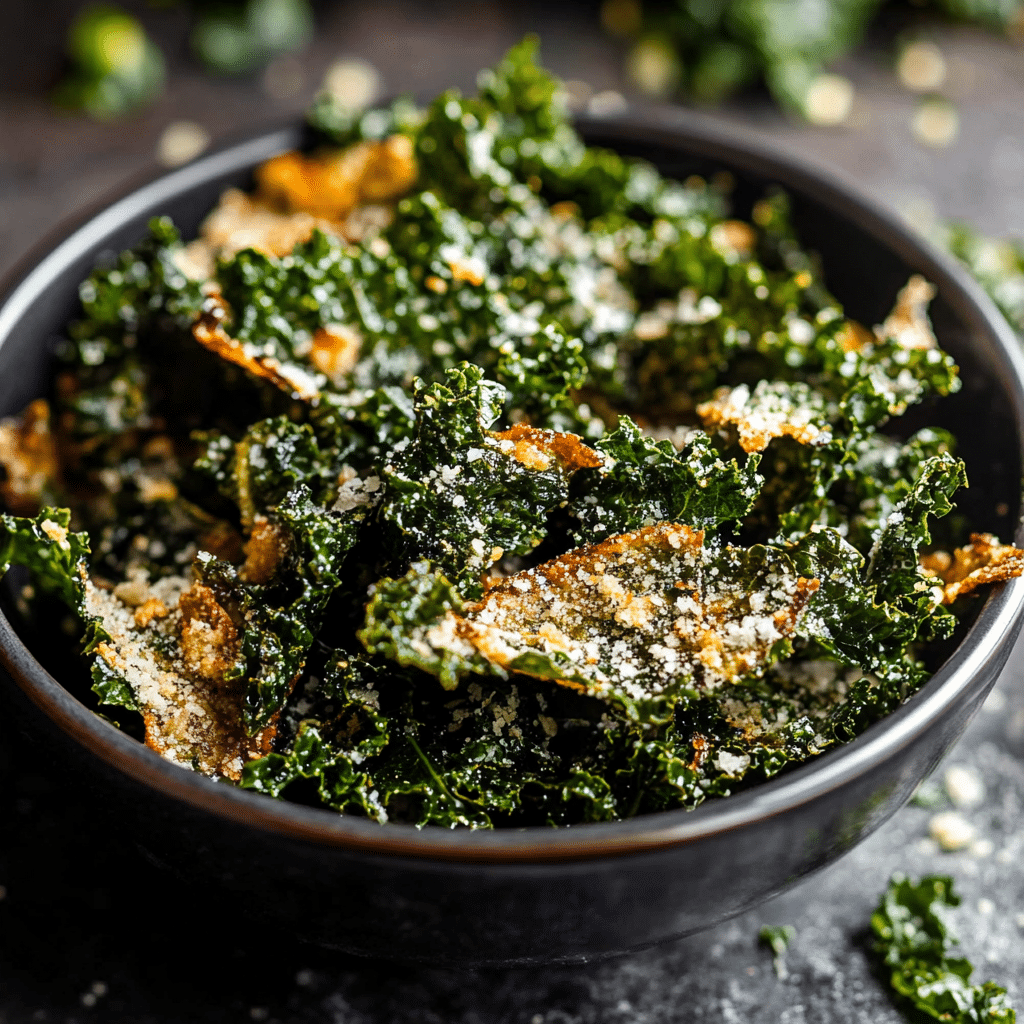
Once your kale is washed, de-stemmed, and thoroughly dried, it’s time for seasoning. This is where you can truly personalize your kale chips. The key is to use just enough oil to lightly coat the leaves, allowing seasonings to adhere without making them greasy. Too much oil will result in soggy chips. A good starting point is about 1-2 tablespoons of oil per bunch of kale. Olive oil is a popular and healthy choice, but avocado oil or coconut oil (melted) also work well and offer slightly different flavor profiles.
Massage the oil into the kale leaves, ensuring each piece is lightly coated. This step also helps to tenderize the kale slightly. Then, sprinkle your chosen seasonings over the oiled leaves. The simplest and most popular seasoning is sea salt. However, the possibilities for flavor are endless. Consider:
- Garlic Powder: A classic that pairs beautifully with the slight bitterness of kale.
- Onion Powder: Adds a savory depth.
- Smoked Paprika: For a smoky, slightly sweet kick.
- Nutritional Yeast: Imparts a cheesy, umami flavor, making these chips a fantastic vegan alternative to cheese puffs.
- Chili Powder or Cayenne Pepper: For those who enjoy a bit of heat.
- Herbs: Dried rosemary, thyme, or oregano can add an aromatic complexity.
- Lemon Zest: A bright, zesty addition that cuts through the richness.
When seasoning, start with a moderate amount. You can always add more salt or other seasonings after baking, but it’s difficult to remove excess. Ensure the seasonings are evenly distributed.
The Baking Process: Achieving the Perfect Crunch
Baking kale chips requires careful temperature control and watchful eyes. The goal is to dehydrate the leaves without burning them.
Oven Temperature: A moderate oven temperature is ideal, typically between 300°F and 325°F (150°C to 160°C). A lower temperature is safer for beginners, reducing the risk of burning, while a slightly higher temperature can speed up the process but requires more attention.
Baking Sheets and Spacing: Line your baking sheets with parchment paper. This prevents sticking and makes for easy cleanup. Arrange the seasoned kale leaves in a single layer on the baking sheets. Crucially, do not overcrowd the pan. Overcrowding will lead to the kale steaming rather than crisping, as air cannot circulate effectively around the leaves. If necessary, use multiple baking sheets or bake in batches.
Baking Time: The baking time will vary depending on your oven, the thickness of your kale leaves, and the size of the pieces, but generally ranges from 8 to 15 minutes.
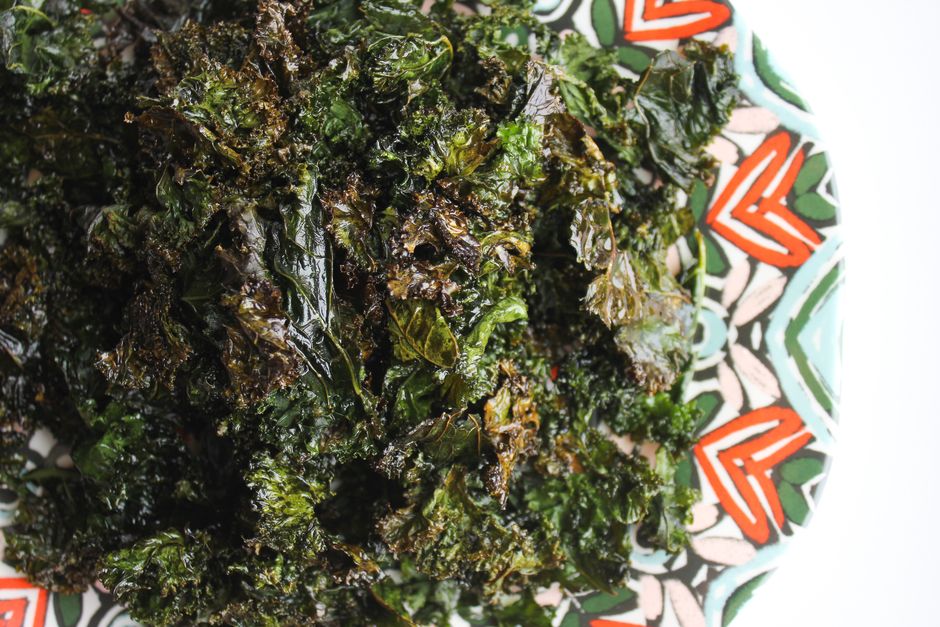
Monitoring and Flipping: This is where vigilance is key. Start checking the kale chips around the 8-minute mark. The edges should start to look slightly browned and crispy, while the centers should be tender but not limp. You may need to gently flip or rotate the baking sheets halfway through the baking process to ensure even cooking. If you notice some pieces browning faster than others, remove them from the baking sheet to prevent burning. The chips are ready when they are dry to the touch and offer a satisfying crunch when broken.
Cooling: Once baked, remove the kale chips from the oven and let them cool completely on the baking sheets. They will continue to crisp up as they cool.
Troubleshooting Common Kale Chip Issues
Even with careful attention, you might encounter a few common issues. Understanding these can help you refine your technique.
- Soggy Kale Chips: The most common culprit is insufficient drying of the kale leaves after washing. Another cause can be overcrowding the baking sheet or not baking at a high enough temperature for long enough. Ensure your leaves are bone dry and that there’s ample space between them on the baking sheet.
- Burnt Kale Chips: This usually indicates the oven temperature was too high, or they were left in for too long. Keep a close eye on them during the last few minutes of baking, and don’t be afraid to remove them as soon as they reach desired crispness, as they can continue to cook slightly from residual heat.
- Tough Kale Chips: This can happen if the kale is under-baked or if the stems were not fully removed. Ensure thorough baking until the leaves are brittle.
- Kale Chips Taste Bitter: While kale has a natural slight bitterness, an excessive amount can be off-putting. Ensure you are using fresh kale and don’t overdo the salt. Sometimes, a touch of sweetness from honey or maple syrup (used sparingly) can balance the bitterness.
Flavor Variations and Creative Combinations
Beyond the classic sea salt, the world of kale chip flavors is vast. Experimentation is encouraged!
- Spicy Garlic Parm: Combine garlic powder, a pinch of cayenne pepper, and nutritional yeast for a cheesy, spicy kick.
- Smoky BBQ: Mix smoked paprika, a touch of chili powder, onion powder, and a tiny pinch of brown sugar or maple syrup.
- Lemon Herb: Freshly grated lemon zest, dried rosemary, and a pinch of sea salt.
- Curry Crunch: Curry powder, a hint of turmeric, and a pinch of cumin.
- Dill Pickle: Combine dill weed, garlic powder, and a tiny amount of onion powder.
When adding new seasonings, remember to do so after oiling the kale and before baking. For delicate herbs or spices that might burn easily, consider adding them during the last few minutes of baking or after they come out of the oven.
Nutritional Benefits and Dietary Considerations
Kale is a nutritional powerhouse, and kale chips are a fantastic way to consume this superfood. They are:
- Rich in Vitamins: Excellent source of Vitamin K, Vitamin A, and Vitamin C.
- Mineral Dense: Provides good amounts of manganese, calcium, copper, and potassium.
- High in Antioxidants: Contains lutein and zeaxanthin, important for eye health, and various flavonoids and polyphenols with anti-inflammatory properties.
- Low in Calories: A guilt-free snack option, significantly lower in calories and fat than most commercially produced snack chips.
- High in Fiber: Aids digestion and promotes satiety.
Kale chips are naturally gluten-free and can be made vegan by using plant-based oils and avoiding cheese-based seasonings. For those following specific diets like ketogenic or paleo, kale chips can be a good option, provided the seasonings are compliant.
Storage and Shelf Life
Proper storage is key to maintaining the crispiness of your homemade kale chips. Once completely cooled, store them in an airtight container at room temperature. Avoid refrigerating them, as this can introduce moisture and make them soggy. Properly stored, kale chips will stay crispy for 3-5 days. If you notice them losing their crispness, you can often refresh them by briefly returning them to a low oven (around 250°F/120°C) for a few minutes.
The Joy of Homemade: Beyond the Snack Bowl
Making your own kale chips is not just about a healthier snack; it’s about control over ingredients, creativity in flavor, and the satisfaction of creating something delicious from scratch. It’s a simple yet impactful way to incorporate more nutrient-dense vegetables into your diet and to reduce reliance on processed snacks. The aroma that fills your kitchen while they bake is a testament to the fresh, vibrant ingredients you’re using. Experiment, have fun, and discover your favorite kale chip combinations. This guide provides the framework for mastering the art of the homemade crispy kale chip, empowering you to enjoy a satisfyingly crunchy, undeniably healthy treat anytime.
