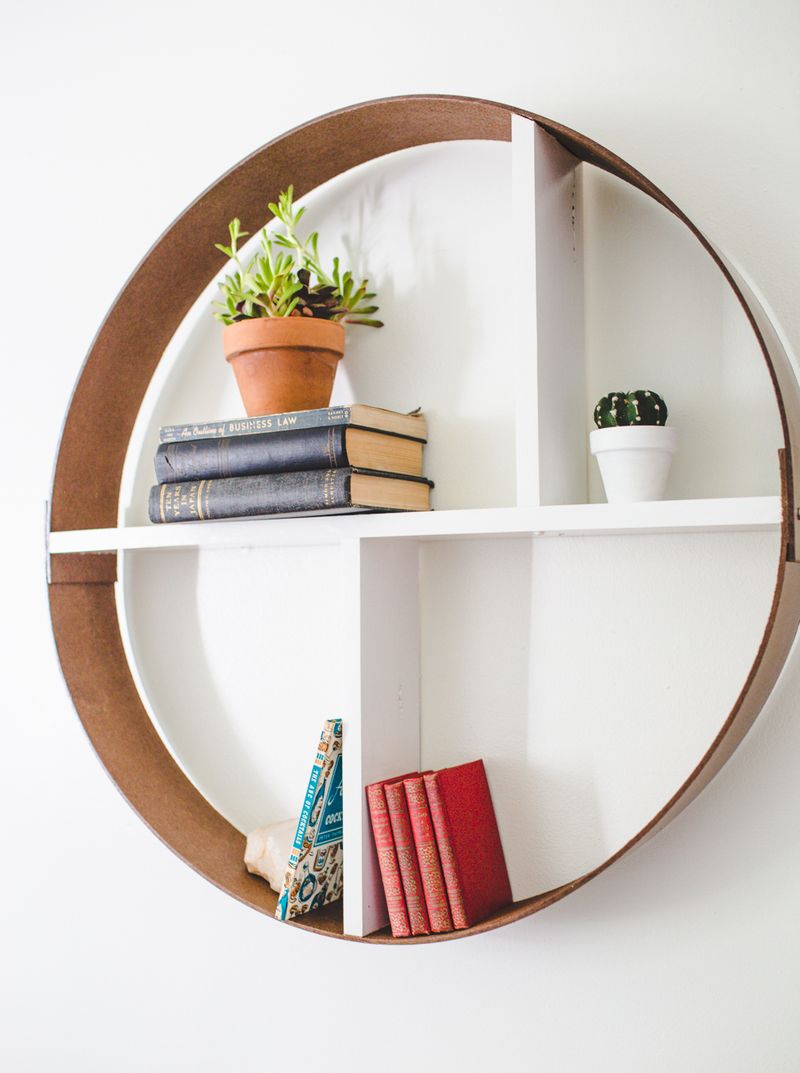

DIY Hoop Shelf: A Chic and Speedy Storage Solution in Under an Hour
Creating a stylish and functional storage solution doesn’t require hours of intricate work or specialized skills. This guide will walk you through the process of constructing a chic hoop shelf in under an hour, transforming a simple embroidery hoop into a versatile and eye-catching display piece. This project is ideal for small spaces, showcasing plants, or organizing trinkets, and its minimal material requirements make it an accessible DIY for beginners and seasoned crafters alike. The key to achieving this rapid turnaround lies in the strategic selection of materials and efficient execution of each step. We will focus on simplicity and speed without compromising on aesthetic appeal or structural integrity. The hoop shelf’s circular design inherently lends itself to a bohemian or minimalist decor style, and its adaptability means you can customize it to match your existing color palette and functional needs. This isn’t just about quick crafting; it’s about achieving a polished result with minimal time investment.
Materials Needed for Your Speedy Hoop Shelf Project
To ensure you can complete this project within the one-hour timeframe, gather these essential materials before you begin. Precision in material gathering translates directly to speed and efficiency in execution.
- Embroidery Hoop: A standard wooden embroidery hoop is the core component. Select a size that suits your intended use. 8-inch, 10-inch, or 12-inch diameter hoops are common and work well. Opt for a smooth, unfinished wood for easier painting or staining if desired, or a pre-finished one if you want to skip that step entirely. Ensure it’s a two-part hoop with a tightening screw.
- Fabric: A small piece of fabric is needed for the base of the shelf. Approximately 12×12 inches should suffice for most hoop sizes, allowing for ample overlap to secure it. Choose a fabric that complements your decor. Cotton, linen, or even a sturdy upholstery fabric can work. Consider the weight of the items you intend to place on the shelf when selecting fabric. A tightly woven, durable material will offer better support.
- Strong Adhesive: A fabric glue or a strong craft glue is crucial for securing the fabric to the hoop. Look for glues that dry clear and are designed for fabric-to-wood adhesion. E6000, Aleene’s Fabric Fusion, or a high-quality PVA glue designed for crafts are good options. Avoid spray adhesives unless you have a well-ventilated space and are experienced with them, as they can be less precise.
- Scissors: Sharp fabric scissors are essential for a clean cut of the fabric.
- Optional: Paint or Stain and Brush: If you wish to customize the color of your hoop, have these ready. A quick-drying acrylic paint or a wood stain will work efficiently.
- Optional: Twine or String: For hanging the shelf. Choose a thickness that feels substantial enough for the weight of your shelf and its contents. Natural jute twine or a thin macrame cord are popular choices.
- Optional: Beads or Decorative Elements: For added flair, though these can be omitted to maintain speed.
Step-by-Step Construction: Crafting Your Hoop Shelf in Record Time
The key to completing this project in under an hour is to work methodically and efficiently. Each step is designed for rapid execution.
-
Prepare the Hoop (If Customizing): If you’re painting or staining your hoop, do this first. Apply a thin, even coat of your chosen paint or stain to the inner and outer rings of the embroidery hoop. Allow it to dry for approximately 10-15 minutes, which is usually sufficient for quick-drying acrylics or stains. If you’re short on time, you can skip this step entirely and embrace the natural wood finish. A single coat is usually enough to achieve a satisfactory look within the time constraint. Ensure the screw mechanism is not painted over, or if it is, wipe it clean before it dries to maintain its functionality.
-
Cut the Fabric: While the paint or stain dries (or if you skipped that step), prepare your fabric. Lay your fabric flat and cut a square slightly larger than your embroidery hoop diameter. For an 8-inch hoop, a 10×10 inch square is a good starting point. The excess fabric will be used to secure the shelf to the hoop. Aim for clean, straight cuts to ensure the fabric lays flat. If your fabric has a distinct pattern, pay attention to its orientation before cutting.
-
Center and Secure the Fabric: Place the inner ring of the embroidery hoop onto the wrong side (the un-patterned or less desirable side) of your fabric square, centering it. Then, place the outer ring over the inner ring, trapping the fabric between them.
-
Tighten the Hoop: Begin to tighten the screw on the outer hoop, pulling the fabric taut as you go. Work your way around the hoop, gradually tightening the screw and ensuring the fabric is smooth and without major wrinkles. The goal is to create a drum-like tension across the fabric. Don’t overtighten initially; focus on an even pull.
-
Trim Excess Fabric: Once the fabric is reasonably taut, use your sharp fabric scissors to trim the excess fabric, leaving about 1-1.5 inches of overhang around the hoop. Cut this excess fabric in a way that allows it to be folded neatly. You can cut notches or simply trim at an angle.
-
Adhere the Fabric to the Hoop: Apply a generous bead of fabric glue or craft glue along the edge of the outer hoop, directly onto the trimmed fabric overhang. Carefully fold the excess fabric over the glue and press it firmly against the outer hoop. Work in sections, applying glue and then folding the fabric over it. Continue this process all the way around the hoop. Ensure a good bond between the fabric and the wood. This step is critical for the shelf’s stability.
-
Reinforce and Secure (Optional but Recommended): For added durability, once the glued edges are mostly dry, you can apply a second thin layer of glue over the folded fabric edges on the outside of the hoop. This creates a cleaner finish and further secures the fabric. Let this dry for a few minutes. If you’re using a quick-drying fabric glue, this will be sufficient.
-
Attach Hanging Mechanism (If Using): If you plan to hang your shelf, now is the time to attach your twine or string. Cut a length of twine about 2-3 feet long (adjust based on desired hanging length). Tie one end securely to the top of the embroidery hoop, near the screw. Tie the other end to the opposite side of the hoop, creating a balanced hanging point. You can thread the twine through the fabric and secure it to the hoop, or tie it directly around the hoop itself. For extra security, you can tie a knot around the hoop itself where the twine passes. Alternatively, you can create a triangle by attaching two strings to opposite sides of the hoop and joining them at a central hanging point.
-
Final Touches and Drying: Inspect your hoop shelf for any loose fabric or glue. Gently press down on any areas that seem unsecure. Allow the glue to dry completely according to the manufacturer’s instructions. For most fabric glues, this will take about 20-30 minutes to become sufficiently dry for light use, well within your hour-long goal if you’ve worked efficiently. If you used paint or stain, ensure that is also dry to the touch.
Maximizing Speed and Efficiency: Tips for the Under-An-Hour Goal
To consistently achieve this project within 60 minutes, consider these time-saving strategies:
- Pre-Gathering is Paramount: Have all your materials laid out and ready to go before you start the timer. This includes having your scissors open and your glue cap off.
- Choose Unfinished Wood: Skipping the painting or staining step will save significant time. The natural wood grain can be beautiful and modern.
- Embrace Simple Fabric: A plain cotton or linen fabric requires less consideration for pattern orientation and is easy to cut and work with.
- Quick-Drying Adhesives: Invest in a fabric glue specifically marketed for fast drying. Read reviews to find reliable options.
- Work in a Streamlined Space: Ensure you have enough clear workspace to move around the hoop easily without knocking things over.
- Don’t Aim for Perfection (Initially): The goal is a functional and attractive shelf within an hour. Minor imperfections can often be addressed later or will add to its handmade charm. Focus on secure adhesion and taut fabric.
- Practice Makes Perfect: If this is your first time, it might take a little longer. Subsequent attempts will be significantly faster as you become familiar with the steps.
- Delegate if Possible: If you have a helper, they can manage tasks like holding fabric taut while you glue, or cutting excess fabric.
Customization Options for Your Hoop Shelf (Extending the Hour if Desired)
While the core project is designed for speed, you can easily elevate your hoop shelf with a few extra minutes.
- Painting and Decorating: Beyond a simple base coat, consider adding patterns, stencils, or even glitter to the hoop itself once the base coat is dry.
- Fabric Choices: Experiment with different fabric textures and patterns. Upholstery fabrics offer more durability. Suede or faux leather can add a luxurious feel.
- Multiple Hoops: For a more elaborate display, create several hoop shelves in varying sizes and hang them together as a cluster.
- Adding a Base: Instead of just taut fabric, you could, with a little more time, create a shallow fabric basket that fits within the hoop. This would involve sewing or more intricate gluing and would likely push the project beyond the one-hour mark.
- Embellishments: Attach beads, tassels, or even small charms to the hanging twine for added visual interest.
Styling Your New Hoop Shelf: Ideas for Display
Once your hoop shelf is complete and dry, it’s time to put it to use. Its versatility makes it suitable for a variety of displays:
- Plant Display: A small potted succulent, air plant, or trailing vine can add a touch of greenery to any corner. Ensure the plant isn’t too heavy for the fabric and hoop.
- Trinket Storage: Perfect for holding keys by the door, jewelry on a vanity, or small decorative items on a bookshelf.
- Nursery Decor: Ideal for displaying small baby toys, books, or decorative elements in a child’s room.
- Bohemian Accents: Incorporate it into a gallery wall or hang it near other macrame or woven decor for a bohemian vibe.
- Kitchen Organizer: Use it for displaying small spices, herbs, or even your favorite tea bags.
Troubleshooting Common Issues
Even with a simple project, minor issues can arise. Here’s how to address them quickly:
- Wrinkled Fabric: If the fabric is noticeably wrinkled after tightening the hoop, you may need to loosen the screw slightly, re-tension the fabric, and re-tighten. Small creases are often unavoidable but aim for a smooth surface.
- Fabric Slipping: If the fabric is slipping around the hoop after gluing, ensure you’ve applied enough glue and pressed firmly. You may need to reapply glue in the affected area and hold it in place for a few minutes.
- Glue Not Drying: If your glue seems slow to dry, ensure you’re using it in a temperate, dry environment. Avoid high humidity. For minor adhesion issues, a small clamp or binder clip can hold sections in place while they dry.
- Uneven Hanging: If your shelf hangs crookedly, check that the hanging twine is attached at equidistant points on the hoop and that the knots are secure and balanced.
Conclusion
The DIY hoop shelf is a testament to how beautiful and functional decor can be created with minimal time and resources. By following these streamlined steps and focusing on efficient execution, you can successfully craft a charming hoop shelf in under an hour. This project offers a rewarding crafting experience and an immediate improvement to your home organization and aesthetic. Its simplicity, speed, and adaptability make it a go-to solution for quick decor updates and practical storage needs.
