DIY Painted Eye Statement Wall: Unleash Boldness and Personality in Your Home
Transforming a blank wall into a captivating focal point doesn’t require an extensive budget or professional artistry. A DIY painted eye statement wall offers a unique and impactful way to inject personality, intrigue, and a touch of the unconventional into any room. This comprehensive guide will walk you through every step of creating your own mesmerizing eye mural, from conceptualization and design to execution and finishing touches, ensuring a striking and memorable feature that speaks volumes about your individual style.
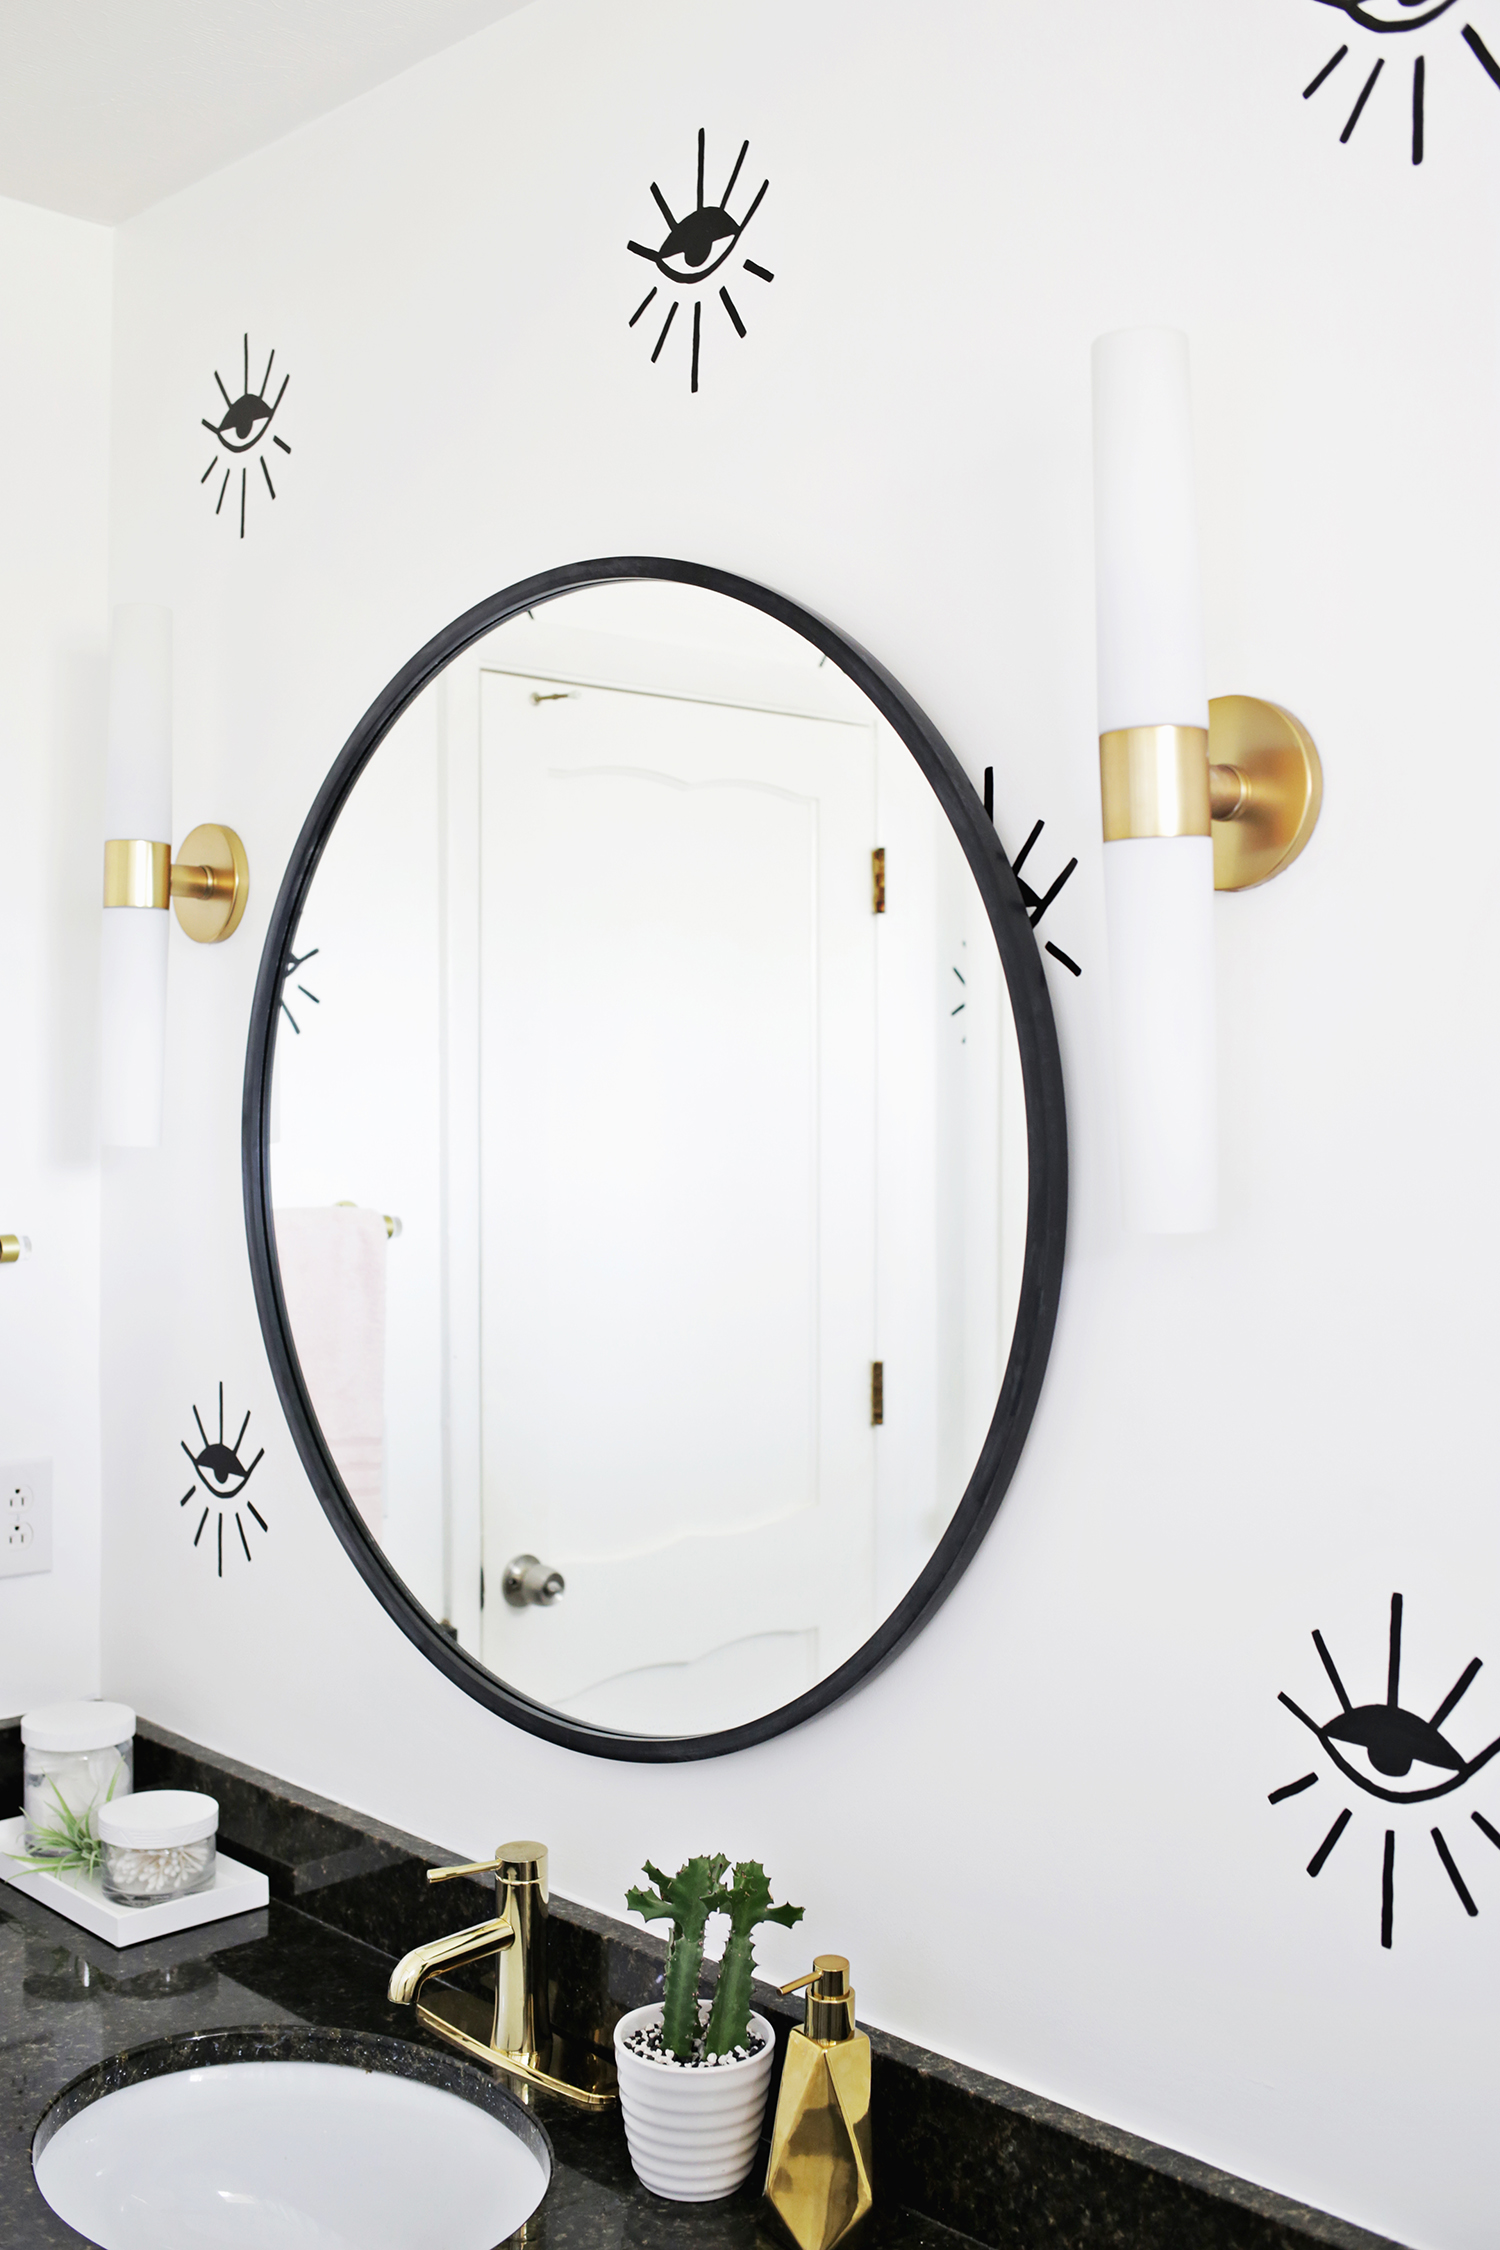
The foundational element of a successful painted eye statement wall lies in its design. Before any paint touches your wall, meticulous planning is paramount. Consider the scale and placement of your eye. Will it be a single, colossal eye dominating a feature wall, or a cluster of smaller, scattered eyes creating a more abstract and playful effect? The size and position will dramatically influence the room’s overall aesthetic. A large, central eye can create a powerful, almost surreal atmosphere, while a scattering of smaller eyes might lend a whimsical or tribal feel. Think about the existing décor and the desired mood of the space. A bold, realistic eye might suit a contemporary living room or a dramatic bedroom, whereas a stylized, abstract eye could be perfect for a creative studio or a quirky kid’s room.
Visual research is your best friend during the design phase. Browse platforms like Pinterest, Instagram, and art websites for inspiration. Look at different eye styles: realistic, abstract, geometric, impressionistic, and even illustrative. Analyze how artists have captured reflections, iris details, and pupil intensity. Consider the color palette. Will your eye be rendered in naturalistic tones, or will you opt for a more fantastical, vibrant, or monochromatic scheme? The color choices will significantly impact the emotional resonance of your statement wall. Think about how the eye will interact with the existing wall color and the furniture in the room. A contrasting color for the eye will make it pop, while a more muted palette can create a subtler, integrated effect.
Once you have a clear vision, it’s time to translate it onto your wall. Sketching your design on paper is crucial. This allows you to refine proportions, experiment with different angles, and ensure everything aligns with your desired outcome before committing to the wall itself. You can create a scale drawing to accurately represent the eye’s dimensions relative to your wall. For complex designs, consider creating a stencil. This can be achieved by printing your design onto sturdy paper or cardstock and carefully cutting out the shapes. Alternatively, you can use a projector to cast your design directly onto the wall, tracing the outlines with a pencil. This method is particularly effective for achieving precise lines and complex curves.
Gathering the right materials is essential for a smooth and professional-looking DIY project. You’ll need high-quality acrylic paints in your chosen colors. Opt for matte or satin finishes to minimize glare and create a sophisticated look. Consider using a combination of darker shades for the outline and shadows, lighter shades for highlights and the sclera, and vibrant hues for the iris. You’ll also need a range of paintbrushes: fine-tipped brushes for intricate details like eyelashes and reflections, medium-sized brushes for larger areas like the iris and sclera, and potentially a larger brush or roller for priming if your wall requires it. Don’t forget painter’s tape for creating clean lines and masking off areas, a pencil for sketching your design, a ruler or measuring tape for accuracy, and a drop cloth or old sheets to protect your floor from paint splatters. If you’re using a projector, you’ll need one, and if you’re stenciling, you’ll need your chosen stencil material.
Before you begin painting, proper wall preparation is non-negotiable. The wall must be clean, dry, and smooth. Dust, dirt, and grease can prevent paint from adhering properly, leading to peeling and an uneven finish. Wipe down the wall with a damp cloth and a mild detergent, then allow it to dry completely. If your wall has any imperfections like cracks or holes, fill them with spackle or joint compound and sand them smooth once dry. For optimal paint adhesion and a more vibrant color payoff, consider applying a coat of primer. Choose a primer that is compatible with your paint type and wall surface. Allow the primer to dry thoroughly according to the manufacturer’s instructions.
The sketching and outlining phase is where your design truly comes to life on the wall. If you’ve opted for a projector, now is the time to set it up and cast your design onto the wall. Adjust the projector’s position and focus until the image is sharp and accurately scaled. Trace the outline of your eye onto the wall with a light pencil. If you’re using a stencil, carefully position it on the wall and secure it with painter’s tape. Then, use a pouncing motion with a dry brush or sponge to lightly transfer the stencil design onto the wall, creating a faint outline. If you’re freehand sketching, carefully draw your eye directly onto the wall, using your paper sketches as a reference. Don’t be afraid to make light, easily erasable marks. It’s better to refine your sketch multiple times before committing to paint.
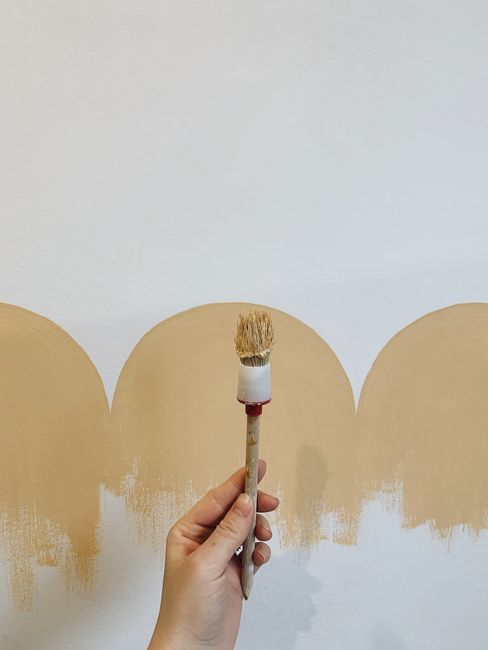
Now, the exciting part: painting! Begin by laying down your base colors. For the sclera (the white part of the eye), you might choose a bright white or a slightly off-white for a softer look. Apply this color smoothly and evenly. Allow it to dry completely before moving on to the iris. The iris is where you can really let your creativity shine. Use your medium-sized brushes to fill in the iris with your chosen colors, layering them to create depth and texture. Experiment with blending techniques to achieve a realistic or stylized gradient. Think about the direction of light and how it would affect the colors within the iris.
Next, focus on the pupil. This is typically the darkest element, so use your deepest black or darkest color here. Ensure it’s a crisp, well-defined circle. The contrast between the pupil and the iris is crucial for the eye’s impact. Once the base colors are dry, it’s time for the finer details that will bring your eye to life. Use your fine-tipped brushes to add subtle shading and highlights. Reflections within the pupil and iris are key to creating a sense of depth and realism. A small dab of white paint in the pupil can mimic a light source, instantly making the eye appear more dynamic. Add subtle veins to the sclera using a very fine brush and a light pink or greyish-blue, but don’t overdo it – a few well-placed lines are more effective than a dense network.
Eyelashes are another critical detail. Use your finest brush to paint individual or small clusters of lashes extending from the eyelid. Vary the length and thickness of the lashes to create a natural look. Consider adding a subtle shadow beneath the upper eyelid to further enhance the sense of depth and dimension. This shadow can be achieved with a thin wash of a dark, muted color. The angle of the eye can also be subtly adjusted with shading. For instance, a slightly upward gaze can make the eye appear more alert and engaging.
For a truly professional finish, consider adding a subtle glaze or topcoat. This can enhance the paint’s durability and provide a uniform sheen. A clear acrylic sealant, either matte or satin, can protect your artwork and make it easier to clean. Ensure the sealant is compatible with your acrylic paints. Apply it evenly with a soft brush or roller, following the manufacturer’s instructions. Allow ample drying time before exposing the wall to normal room conditions.
Maintaining your DIY painted eye statement wall is relatively straightforward. Dust the wall periodically with a soft duster or a vacuum cleaner with a brush attachment. For minor smudges or marks, you can gently wipe the area with a damp cloth. Avoid using harsh chemicals or abrasive cleaners, as these can damage the paint. If any part of your artwork becomes damaged over time, you can touch it up with the original paints and brushes.
The versatility of a DIY painted eye statement wall is one of its greatest strengths. It can be adapted to suit a vast array of interior design styles and personal preferences. In a minimalist setting, a single, large, monochromatic eye can serve as a striking, understated focal point. For a bohemian or eclectic space, a cluster of vibrant, stylized eyes in various colors and sizes can create a playful and artistic atmosphere. In a more dramatic or gothic interior, a deep, shadowed, and intensely rendered eye can add a touch of mystery and intrigue. It’s a powerful statement piece that can elevate the ambiance of any room, from a living room and bedroom to a home office or even a hallway.
When considering the impact of your painted eye, think about lighting. The way light falls on your statement wall will dramatically affect its appearance. Strategic lighting, such as a spotlight or accent lamp, can highlight the details and textures of your artwork, making it even more captivating. Avoid harsh, direct overhead lighting that can create unflattering glare.
Beyond aesthetic appeal, a DIY painted eye statement wall can serve as a conversation starter and a reflection of your unique personality. It’s a testament to your creativity and willingness to embrace bold design choices. The process of creating it is as rewarding as the final result, offering a sense of accomplishment and pride in your home’s transformation. Embrace the process, experiment with your vision, and enjoy the captivating power of your very own painted eye statement wall. This DIY project offers an accessible and impactful way to infuse your living space with personality, artistry, and an unforgettable visual focal point that guests will admire for years to come.
