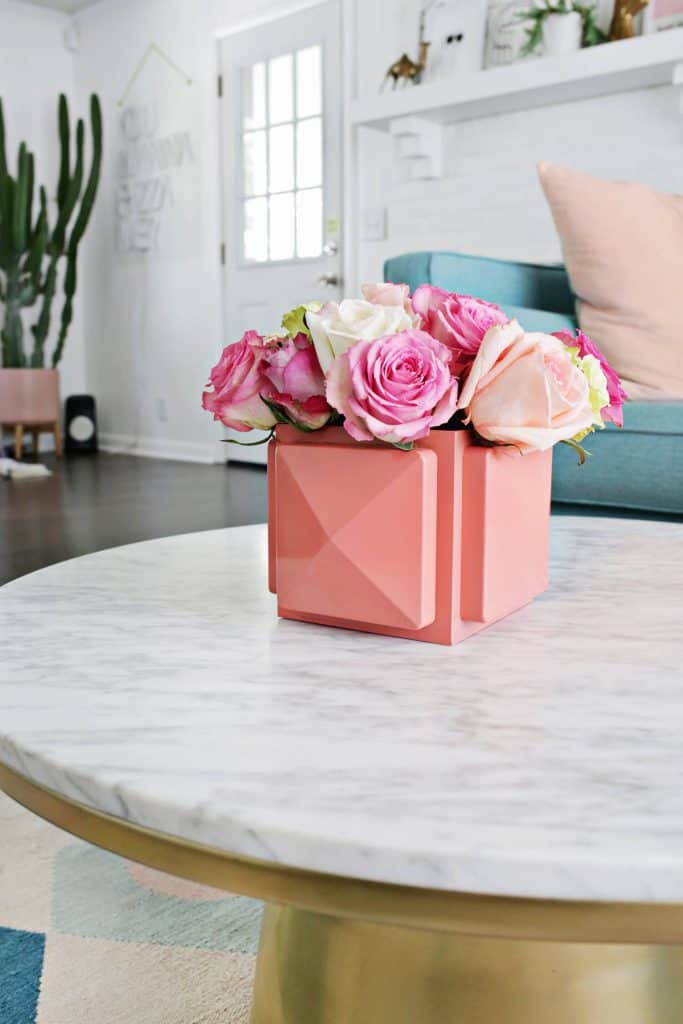

DIY Pyramid Stud Vase: A Modern Geometric Accent Piece
Creating a unique and eye-catching decorative piece for your home doesn’t require advanced crafting skills or expensive materials. The DIY pyramid stud vase offers a fantastic opportunity to inject a touch of modern geometric style into your interior design. This project is surprisingly accessible, allowing you to customize its size, color, and even the specific stud pattern to perfectly complement your existing décor. Whether you’re looking to elevate your entryway, add a sophisticated touch to your living room, or create a statement piece for a mantelpiece, this tutorial will guide you through the process of building your own stunning pyramid stud vase from start to finish. We will explore material selection, construction techniques, and finishing touches to ensure a professional-looking result that you’ll be proud to display.
The foundational element of your DIY pyramid stud vase is the vase itself. While many materials can be utilized, glass and ceramic vases offer the most versatile and readily available options. Thrift stores and dollar stores are excellent hunting grounds for affordable, plain vases that serve as the perfect blank canvas. Look for simple, unadorned cylindrical or slightly tapered shapes. The smoother the surface, the easier it will be for the adhesive to bond effectively with the studs. Avoid vases with heavily textured surfaces or intricate patterns, as these can interfere with the stud application and detract from the clean geometric aesthetic of the pyramid design. The size of your chosen vase will dictate the overall scale of your project. Consider where you intend to display the vase to determine the appropriate height and width. A larger vase will naturally accommodate more studs, creating a more dramatic and impactful statement. Conversely, a smaller vase can be ideal for a more subtle accent. Before you begin, thoroughly clean the exterior of your selected vase with soap and water and ensure it is completely dry. This step is crucial for optimal adhesion of the studs and will prevent any dust or debris from compromising the integrity of your finished piece.
The geometric essence of this project lies in the pyramid studs. These decorative embellishments, also known as pyramid spikes or cone studs, are readily available online from craft suppliers, fashion accessory retailers, and even on large e-commerce platforms. They typically come in various sizes, colors, and finishes, offering a wide range of aesthetic possibilities. For a classic look, consider silver, gold, or gunmetal studs. For a bolder statement, explore vibrant colors like red, blue, or even iridescent finishes. The size of the studs should be proportionate to the vase. Smaller studs might be suitable for a delicate, intricate design, while larger studs can create a more aggressive, contemporary feel. When selecting studs, pay attention to the attachment mechanism. Most pyramid studs come with prongs that are designed to be pushed through fabric or other soft materials. For a vase, these prongs will need to be either cut off or carefully bent flat against the vase surface to ensure a secure and flush application. Alternatively, some studs have a flat back, designed for gluing. If you opt for pronged studs, you will need a sturdy pair of wire cutters or strong scissors to trim the prongs cleanly. For glued studs, a strong adhesive will be paramount.
Adhesive is the critical component that bridges your chosen studs to the vase. For a strong and lasting bond, a heavy-duty adhesive specifically designed for crafting and embellishing is recommended. Cyanoacrylate-based glues, often referred to as super glue, offer a fast-drying and incredibly strong bond, ideal for securely attaching individual studs. However, they can be unforgiving, so precision is key. E6000 is another popular choice, offering flexibility and a strong hold that can withstand minor bumps. It has a longer drying time than super glue, allowing for some repositioning, but this also means a longer curing period before the vase is fully functional. For larger projects or if you prefer a more forgiving application, a hot glue gun with a high-temperature setting can also be effective, though its long-term durability might be slightly less than other options. When applying the adhesive, use it sparingly to avoid excess glue oozing out from under the studs and creating an unsightly mess. A small bead of glue on the flat back of the stud or a tiny dab on the vase surface where the stud will be placed is usually sufficient.
The design process for your pyramid stud vase is where your creativity truly shines. The most straightforward and visually impactful design is a complete, uniform covering of studs. This creates a uniform, textured surface that emphasizes the geometric nature of the studs themselves. To achieve this, you will be working in sections, meticulously placing each stud in close proximity to the next, ensuring minimal gaps. Begin by deciding on the orientation of your studs. Do you want them all pointing upwards, or do you prefer a random, scattered pattern? For a more structured look, aligning the studs in neat rows or concentric circles can create a visually pleasing effect. Another approach is to create a gradient effect, starting with a dense concentration of studs at the base and gradually decreasing their number as you ascend the vase. You can also incorporate different sized studs or contrasting colors to create patterns and visual interest. Consider a simple stripe pattern, or even a more complex geometric design by alternating stud colors or spacing. Before committing to adhesive, it’s highly recommended to conduct a dry run. Place your studs on the vase without glue to visualize your chosen pattern and make any necessary adjustments to spacing and alignment. This step is invaluable for ensuring symmetry and achieving your desired aesthetic.
The application of the studs is a methodical process that requires patience and precision. If you are using studs with prongs, the first step is to carefully trim off the prongs using wire cutters or strong scissors. Aim for a clean cut, removing as much of the prong as possible without damaging the stud itself. If the prongs are too difficult to cut, you can try bending them flat against the vase surface using pliers, but this may result in a less secure attachment. Begin applying the studs at the base of the vase and work your way upwards, or start at the top and work downwards, depending on your preference and the design. If you are using a glued stud, apply a small amount of adhesive to the back of the stud or to the vase surface. Carefully press the stud into place, holding it for a few seconds to allow the adhesive to begin to set. If using pronged studs that you’ve trimmed, apply a small amount of adhesive to the flat surface where the prongs were, and then press the stud into place. For a uniform coverage, aim for consistent spacing between each stud. A good rule of thumb is to leave a gap roughly equivalent to the width of a single stud between each one. Use a ruler or a measuring tape to ensure consistent spacing if you are aiming for a very precise pattern. Work in small sections to prevent the adhesive from drying before you can place the studs. If you make a mistake, carefully and quickly remove the stud and any excess adhesive before it fully cures.
Once all the studs are applied, allow ample drying and curing time according to the adhesive manufacturer’s instructions. This is a crucial step for ensuring the durability of your DIY pyramid stud vase. Rushing this process can lead to studs loosening or falling off prematurely. Depending on the adhesive used, this could range from a few hours to 24-48 hours for full curing. During this time, handle the vase with care, avoiding any unnecessary pressure or movement. Once the adhesive has fully cured, inspect your vase for any loose studs. If you find any, reapply a small amount of adhesive to secure them.
The finishing touches can elevate your DIY pyramid stud vase from a craft project to a truly polished decorative item. For a truly seamless and professional look, especially if you’ve used pronged studs that might leave small gaps or rough edges, consider applying a thin layer of filler or caulk around the base of each stud. This will help to conceal any imperfections and create a more uniform surface. Once the filler has dried, you can gently sand it smooth with fine-grit sandpaper. If your vase had a prominent rim or base that you want to integrate into the stud design, you can extend the stud application to cover these areas. Alternatively, you could paint the rim or base in a contrasting or complementary color to create a visual break from the studs. If you’ve opted for a specific color palette for your studs, consider painting the vase itself in a coordinating or contrasting hue before applying the studs. A matte black or a metallic finish can create a sophisticated backdrop for metallic studs, while a bright, bold color can make vibrant studs pop. For added protection and a uniform sheen, you can apply a clear sealant over the entire vase, including the studs, once all other finishing has been completed. Choose a sealant that is compatible with your vase material and the type of adhesive used. A spray sealant can provide a light and even coat.
The versatility of the DIY pyramid stud vase extends beyond its visual appeal. Its geometric form and textured surface make it an excellent conversation starter and a unique addition to a variety of interior design styles. For a contemporary or industrial aesthetic, opt for matte black or gunmetal studs on a dark-colored vase. For a more opulent and glamorous feel, use gold or silver studs on a deep jewel-toned vase or even a mirrored surface. Bohemian interiors can be enhanced by using a mix of stud colors and sizes, or even incorporating studs with a more antique or distressed finish. The vase is perfectly suited for showcasing single, dramatic blooms or small arrangements of dried flowers, further emphasizing its sculptural qualities. Its inherent structure also makes it an ideal candidate for displaying faux greenery, adding a low-maintenance touch of nature to your space. When displaying your DIY pyramid stud vase, consider its placement. A prominent location like a console table in an entryway, a shelf in a living room, or even as a centerpiece on a dining table will ensure it receives the attention it deserves. Its unique texture can also add a tactile dimension to your décor, inviting interaction and appreciation.
Beyond its primary function as a vase, this DIY project can be adapted for other decorative purposes. Consider creating smaller versions to use as candle holders, filling them with sand or small stones to stabilize pillar candles. Larger versions could be transformed into unique storage containers for desk supplies or makeup brushes, adding a touch of edgy sophistication to your workspace or vanity. The geometric nature of the pyramid stud design also lends itself well to creating themed décor. For a futuristic or cyberpunk theme, use iridescent or neon-colored studs. For a more gothic or dramatic look, opt for black studs on a dark, textured vase. The possibilities are truly endless, limited only by your imagination and the availability of materials. By following these detailed steps and embracing your creative vision, you can transform a simple vase into a striking piece of modern art that reflects your personal style and elevates your home décor. The satisfaction of creating something so visually impactful with your own hands is an added bonus, making this DIY project a rewarding and enjoyable endeavor for crafters of all levels.
