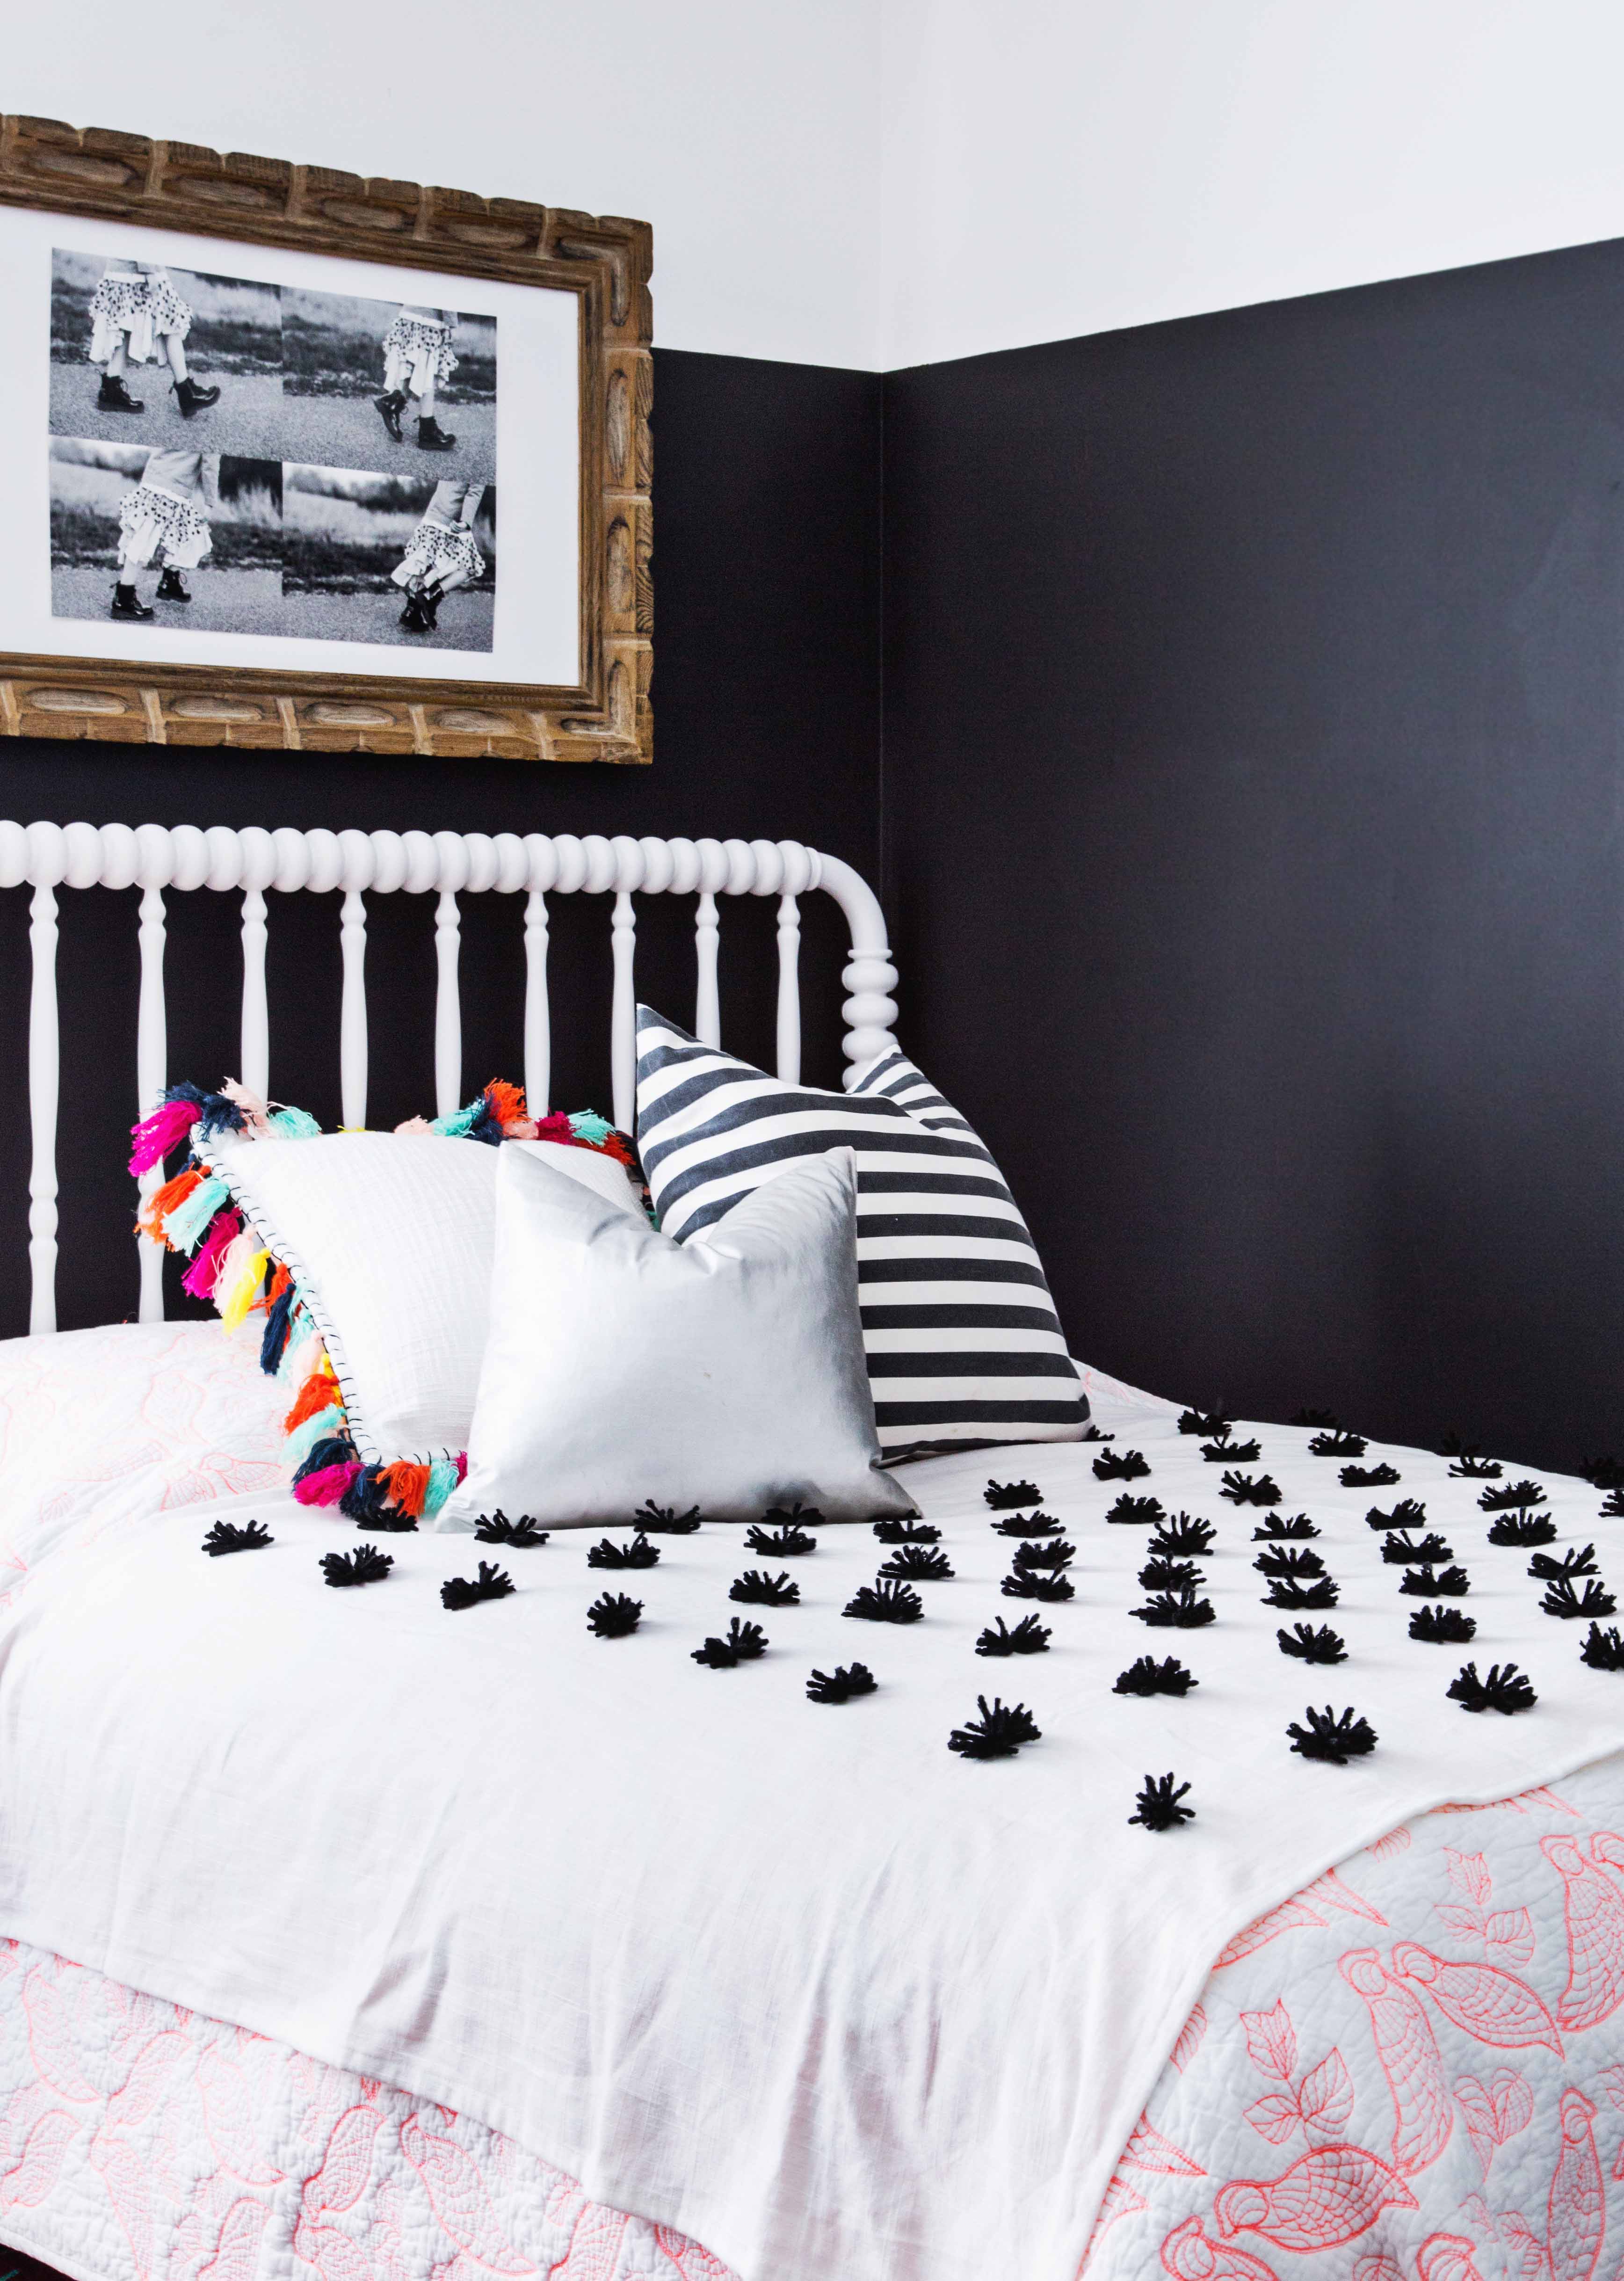
DIY Textured Linen Coverlet: Elevate Your Bedroom with Custom Comfort and Style. Creating a DIY textured linen coverlet offers a bespoke approach to bedroom decor, allowing for unparalleled customization in size, color, and, most importantly, texture. This guide provides a comprehensive, step-by-step process for crafting your own luxurious linen coverlet, transforming a simple sewing project into a statement piece that enhances both the aesthetic and comfort of your sleeping space. The appeal of linen lies in its natural breathability, durability, and a beautiful drape that softens and improves with age, making it an ideal fabric for a piece that will be used and loved for years to come. Furthermore, the inherent slub and unevenness of many linen weaves lend themselves perfectly to creating visually interesting and tactile textures, moving beyond a flat, uniform finish. This DIY project empowers individuals to control every aspect of their bedding, from the exact hue to the specific textural elements, ensuring a truly personalized and high-quality result that rivals, and often surpasses, commercially available options.
Understanding Linen and Texture for Your Coverlet. Linen, derived from the flax plant, is renowned for its strength, absorbency, and hypoallergenic properties. Its natural fibers create a breathable fabric that regulates temperature effectively, keeping you cool in the summer and warm in the winter. For a textured coverlet, selecting the right type of linen is paramount. Consider medium-weight to heavy-weight linens for a substantial feel that drapes beautifully without being overly heavy. Linen blends, such as linen-cotton or linen-viscose, can also offer interesting textural variations and ease of care. When focusing on texture, look for linens with inherent characteristics like slubs (thick, irregular threads), nubs, or a slightly irregular weave. These natural imperfections are the foundation of a visually rich and tactile surface. Alternatively, you can introduce texture through quilting techniques, using different thread weights, or incorporating contrasting fabrics. Pre-washing your linen is a crucial step. Linen is prone to shrinkage, and pre-washing ensures your finished coverlet will maintain its intended size after subsequent washes. Wash on a gentle cycle with cool water and a mild detergent, then tumble dry on low heat or air dry completely. This process also softens the fabric, enhancing its luxurious feel.
Essential Tools and Materials for Your DIY Textured Linen Coverlet. To embark on this DIY project, gather the following essential tools and materials:
- Linen Fabric: The quantity will depend on your desired coverlet dimensions, plus an allowance for seams and potential shrinkage. Calculate carefully.
- Lining Fabric (Optional): A coordinating or contrasting linen or cotton fabric can add weight and a smooth finish.
- Batting (Optional): For added warmth and loft, use a natural fiber batting like cotton or wool.
- Matching or Contrasting Threads: High-quality polyester or cotton threads that complement your linen.
- Sewing Machine: A sturdy machine capable of handling multiple layers of fabric.
- Rotary Cutter and Mat: For precise fabric cutting.
- Fabric Scissors: For smaller cuts and trimming.
- Measuring Tape: Essential for accurate measurements.
- Straight Pins or Sewing Clips: To hold fabric layers together.
- Iron and Ironing Board: Crucial for pressing seams.
- Fabric Marker or Chalk: For marking cutting lines and quilting patterns.
- Quilting Ruler: For guiding straight lines during quilting.
- Optional Embellishments: Consider decorative stitches, piping, or fabric fringe for added detail.
Pre-Calculation and Fabric Estimation for Your Coverlet. Accurate measurement and fabric calculation are the cornerstones of a successful DIY coverlet project. Begin by measuring your bed precisely. You’ll need to determine the desired finished dimensions of your coverlet, considering how much overhang you want on the sides and foot of the bed. A typical approach is to measure the width of your mattress and add the desired drop on each side. Similarly, measure the length of your mattress and add the desired drop at the foot. Remember to account for shrinkage when calculating fabric yardage. It’s generally recommended to add an extra 10-15% to your fabric calculations to accommodate for pre-washing shrinkage and any potential cutting errors. For example, if your calculations indicate you need 5 yards of fabric for the top layer, consider purchasing at least 5.5 to 6 yards to be safe. If you are using a lining fabric and/or batting, calculate their yardage similarly, ensuring they are also pre-washed if they are natural fibers prone to shrinkage. When purchasing linen, be aware of its width, as this can impact how many cuts you’ll need to make and whether you’ll have any seams running horizontally across the coverlet. Opting for wider linens can minimize or eliminate the need for these horizontal seams, creating a more seamless and professional finish.
Cutting and Preparing Your Linen Fabric. Once your linen has been pre-washed and dried, it’s time for precision cutting. Lay your fabric flat on a large, clean surface, ensuring it’s free of wrinkles. Use your measuring tape and fabric marker to mark the exact dimensions of your coverlet top, including seam allowances. For a standard coverlet, a 1/2 inch seam allowance is generally sufficient. If you’re incorporating a border or binding, factor those dimensions into your initial cuts. Use a rotary cutter and ruler for the most accurate straight lines, especially for large fabric pieces. If you don’t have a rotary cutter, sharp fabric scissors will suffice, but ensure you maintain consistent cutting lines. If your linen is not wide enough to create the coverlet in a single piece, you will need to create panels and seam them together. For these seams, use a straight stitch on your sewing machine with a slightly longer stitch length. Press these seams open flat to reduce bulk and ensure a smooth surface. If you are using a separate lining fabric and/or batting, cut these pieces to the same dimensions as your coverlet top. Ensure all raw edges are as neat as possible before proceeding.
Constructing the Coverlet Top: Introducing Texture. The beauty of a textured linen coverlet lies in the visual and tactile interest of its surface. There are several methods to achieve this:
- Inherent Linen Texture: If you’ve chosen a linen with natural slubs, nubs, or a varied weave, simply assembling the fabric layers will create a beautiful, organic texture.
- Quilting: This is a highly effective method for adding substantial texture.
- Simple Grid or Straight Line Quilting: Lay your coverlet top, batting (if used), and lining fabric together. Pin or baste them securely to prevent shifting. Using a quilting ruler and fabric marker, draw straight lines across the fabric at regular intervals (e.g., every 2-4 inches). Sew along these lines with your sewing machine. Varying the thread weight or using a contrasting thread can further enhance the textural effect.
- Diamond or Geometric Quilting: Similar to straight-line quilting, but you’ll mark diagonal lines to create diamond patterns. This adds a more complex visual dimension.
- Woven or Channel Quilting: This technique involves sewing parallel lines, then turning and sewing parallel lines perpendicular to the first set, creating a woven effect.
- Echo Quilting: If your coverlet top has a central design or motif, you can echo the quilting lines around it, creating a raised effect.
- Gathering or Shirring: For a softer, more gathered texture, you can create channels by sewing parallel lines of stitching. Then, gently pull the bobbin threads to gather the fabric within these channels, creating soft pleats and dimension.
- Appliqué or Patchwork: Incorporating smaller pieces of contrasting linen or other natural fabrics through appliqué or patchwork can introduce textural and visual variety.
- Decorative Stitches: Experiment with different stitch settings on your sewing machine, such as zigzag stitches, heirloom stitches, or even free-motion embroidery, to create unique surface textures.
Layering and Basting for Stability. Once your coverlet top is prepared with its desired texture, it’s time to assemble the layers. If you’re using batting and a lining fabric, lay your backing fabric right side down on a large, flat surface. Smooth out any wrinkles. Then, place your batting on top of the backing fabric, ensuring it’s also smooth and evenly distributed. Finally, lay your textured coverlet top right side up on top of the batting. Carefully smooth all three layers, working from the center outwards to eliminate any puckers or wrinkles. This is where basting comes in. Basting secures the layers together and prevents them from shifting during the quilting process or when you are sewing the final edges. You have a few basting options:
- Safety Pins: Use specialized quilting safety pins, which are curved to easily go through all layers. Place pins every 4-6 inches across the entire surface of the coverlet.
- Basting Spray: A temporary adhesive spray designed for fabric can be a quick and effective method. Ensure good ventilation when using.
- Hand Basting: Using a long, loose running stitch with a contrasting thread is a traditional and reliable method, though it is more time-consuming.
Ensure that as you baste, you are keeping the layers as taut and smooth as possible to avoid any distortion in the finished product.
Sewing the Edges: Finishing Your Coverlet. The final step in constructing your textured linen coverlet is to finish the edges. This not only provides a clean, professional look but also secures all the layers together. There are several popular methods:
- Binding: This is a very common and durable method.
- Prepare Binding Strips: Cut strips of linen fabric (or a contrasting fabric) 2.5 to 3 inches wide. The length of the strips will depend on the perimeter of your coverlet, plus an extra 10 inches for overlap. Join short ends together on the diagonal to create long, continuous strips. Press seams open.
- Attach Binding to Front: Fold the binding strip in half lengthwise, wrong sides together, and press. Align the raw edges of the folded binding with the raw edge of your coverlet top. Pin or clip in place. Sew the binding to the coverlet along the folded edge with a 1/4 inch seam allowance. Miter the corners neatly as you go.
- Turn Binding to Back: Once the binding is sewn to the front, carefully fold it over to the back of the coverlet. Press it smoothly, ensuring it covers the stitching line from the front. Hand-stitch the folded edge of the binding to the backing fabric using a blind stitch for an invisible finish, or machine-stitch close to the edge for a more prominent look.
- French Seam (for a cleaner, enclosed edge): This method encloses all raw edges within the seam itself.
- First Stitch: With right sides of your coverlet top and backing fabric together, sew around the perimeter with a 1/4 inch seam allowance. Trim this seam allowance down to 1/8 inch.
- Second Stitch: Turn the coverlet so the right sides are now facing outwards. Press the seam allowance neatly. Enclose the trimmed raw edges within the seam by folding the coverlet so that the raw edges are on the inside, and the first seam line is now on the outside. Sew around the perimeter again, this time with a 1/2 inch seam allowance. This encloses the raw edges entirely within the seam.
- Facing: A facing is a piece of fabric sewn to the edge and then turned to the inside to create a neat finish. This method is less common for coverlets due to bulk but can be used for a very tailored look.
Consider the weight and texture of your coverlet when choosing your finishing method. A thicker coverlet might benefit from a binding that can accommodate the bulk, while a thinner one could handle a French seam well.
Post-Construction Care and Maintenance. To ensure your DIY textured linen coverlet remains a cherished part of your bedroom for years to come, proper care is essential. Follow these guidelines:
- Washing: Wash your coverlet in cool water on a gentle cycle with a mild, eco-friendly detergent. Avoid harsh chemicals or bleach, which can degrade linen fibers.
- Drying: Tumble dry on low heat or, ideally, air dry completely. Hanging it over a clothesline or drying rack in a well-ventilated area will help preserve the fibers and prevent excessive wrinkling. If using a dryer, remove it while still slightly damp to minimize wrinkles and iron immediately.
- Ironing: Iron linen while it is still damp using a medium-high heat setting and a pressing cloth if necessary. Linen wrinkles easily, but ironing damp fabric makes the process much smoother and more effective.
- Storage: If storing the coverlet for an extended period, ensure it is clean and completely dry. Store it in a breathable fabric bag or a linen-lined box in a cool, dry place, away from direct sunlight. Avoid plastic containers, which can trap moisture and lead to mildew.
- Spot Cleaning: For minor spills or stains, spot clean immediately with a gentle detergent and water. Blot the area rather than rubbing to avoid spreading the stain.
By adhering to these care instructions, your DIY textured linen coverlet will not only maintain its beautiful appearance but also continue to soften and improve with age, becoming an even more treasured heirloom.
SEO Considerations for your DIY Textured Linen Coverlet Article. To ensure your comprehensive guide reaches a wider audience, integrate these SEO best practices:
- Keyword Research: Identify relevant keywords such as "DIY linen coverlet," "textured bedding," "homemade quilt," "linen blanket tutorial," "sewing bedding," "custom duvet alternative," and "easy sewing projects home decor."
- Title Tag Optimization: The title should be engaging and include primary keywords, e.g., "DIY Textured Linen Coverlet: Step-by-Step Tutorial for Luxurious Bedding."
- Meta Description: Craft a concise and compelling meta description that summarizes the article’s content and encourages clicks, incorporating keywords.
- Header Tags (H1, H2, H3): Use header tags to structure your content logically. The title is your H1. Subheadings like "Understanding Linen," "Essential Tools," "Cutting Fabric," "Adding Texture," and "Finishing Your Coverlet" should be H2s. Further break down complex sections with H3s.
- Keyword Density and Placement: Naturally weave your target keywords throughout the article, particularly in the introduction, headings, and throughout the body content. Avoid keyword stuffing.
- Image Alt Text: Optimize all images with descriptive alt text that includes relevant keywords. This helps search engines understand image content and improves accessibility.
- Internal and External Linking: Link to other relevant articles on your website (internal linking) and to reputable external resources (external linking) if applicable, e.g., fabric suppliers or sewing tool manufacturers.
- Readability and User Experience: Ensure the article is well-written, easy to understand, and formatted for readability (e.g., short paragraphs, bullet points). A longer, in-depth article that answers user questions thoroughly will naturally rank better.
- Schema Markup (Advanced): Consider implementing schema markup for tutorials or DIY projects to help search engines understand the content’s structure and purpose, potentially leading to rich snippets in search results.
- Social Sharing: Encourage readers to share your content on social media. Social signals can indirectly influence SEO.
By meticulously applying these SEO strategies, your valuable DIY textured linen coverlet tutorial will be more discoverable and accessible to those seeking to create beautiful, personalized bedding.
