
Mastering the Art of Gift Wrapping: Elevate Your Presents with Style and Substance
Gift wrapping is more than just concealing a present; it’s an extension of the gift itself, a visual introduction that builds anticipation and expresses thoughtfulness. Mastering the art of gift wrapping transforms a simple item into an experience, adding a personal touch that resonates with the recipient. This comprehensive guide delves into the essential techniques, creative ideas, and practical tips to ensure your gifts are beautifully presented, making them even more memorable. From selecting the right materials to employing advanced embellishment strategies, we’ll equip you with the knowledge to become a gift-wrapping virtuoso, enhancing both the aesthetic appeal and the overall joy of giving.
The Foundation: Essential Materials and Tools
Before embarking on any gift-wrapping endeavor, having the right arsenal of materials and tools is paramount. The quality of your supplies directly impacts the final presentation.
-
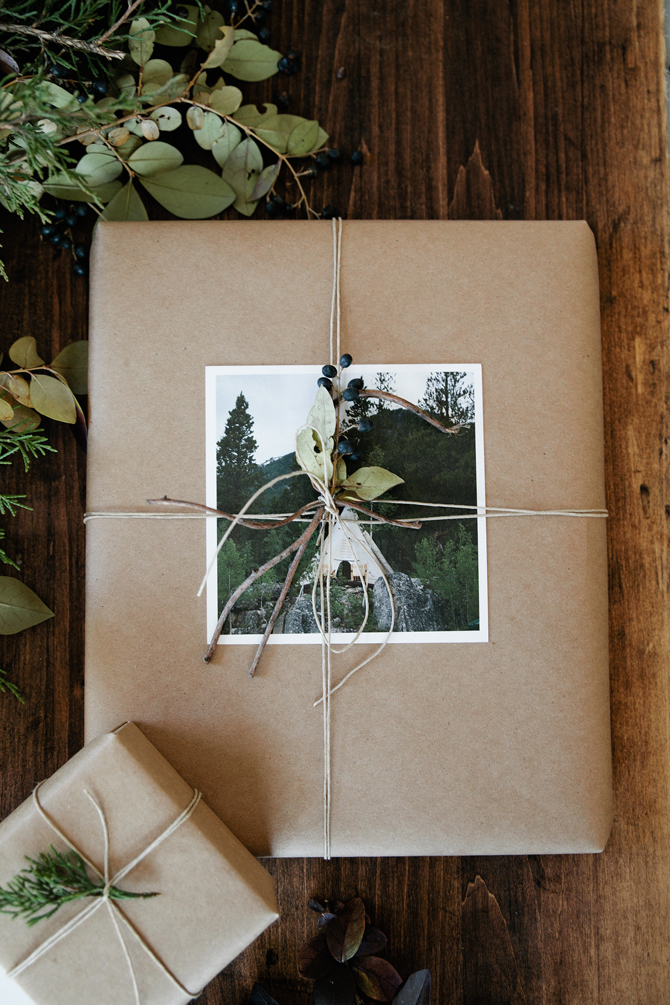
Wrapping Paper: This is the most visible element. Opt for a variety of weights and finishes. Heavier paper is more forgiving, less prone to tearing, and provides a crisp, professional look. Consider double-sided paper for added versatility. Think about the occasion and recipient when choosing patterns and colors. Subtle textures like linen or matte finishes often exude sophistication, while bold patterns can be playful and celebratory. For eco-conscious wrapping, explore recycled paper, Kraft paper, or even fabric alternatives.
-
Scissors: Sharp, high-quality scissors are non-negotiable. Dull blades will result in jagged edges and frustration. Dedicated paper scissors are ideal to maintain their sharpness.
-
Tape: Transparent tape is the standard, but consider double-sided tape for a seamless, invisible finish. For a more rustic or artisanal look, use decorative washi tape or craft tape.
-
Ribbon and Bows: These add a crucial decorative element. Silk, satin, grosgrain, and velvet ribbons offer different textures and levels of formality. Twine, raffia, or even strips of fabric can provide a more casual or bohemian feel. Pre-made bows are convenient, but learning to tie a classic bow or a multi-loop bow adds a handcrafted touch.
-
Gift Tags: Essential for identifying the recipient and sender, gift tags can range from simple cardstock to elaborate, embellished designs.
-
Adhesives: Beyond tape, consider glue sticks for attaching smaller embellishments, hot glue guns for more robust attachments (use with caution on delicate paper), and adhesive dots or squares for secure placement of bows and ribbons.
-
Cutting Mat and Ruler: For precise measurements and straight cuts, a cutting mat and ruler are invaluable, especially for larger or more awkwardly shaped gifts.
The Core Technique: The Perfect Fold and Secure Finish
Mastering the basic wrapping technique is the cornerstone of beautiful gift presentation.
- Measure and Cut: Place your gift on the wrapping paper, which should be face down. Bring the paper up and around the gift to estimate the amount needed. You want enough paper to overlap by about an inch or two, and enough to cover the ends by at least half the height of the gift. Cut the paper cleanly.

