
DIY Brass Succulent Planter: Elevate Your Greens with a Chic, Custom Touch
Crafting a DIY brass succulent planter offers a sophisticated and modern way to showcase your favorite drought-tolerant plants. This project combines the allure of polished brass with the organic beauty of succulents, resulting in a statement piece that adds a touch of elegance to any interior design. Beyond aesthetics, a brass planter can also contribute to a plant’s well-being. Brass, being a metal, can help regulate soil temperature more effectively than terracotta or plastic, providing a more stable environment for delicate succulent roots. The inherent antimicrobial properties of brass can also inhibit the growth of certain fungi and bacteria in the soil, potentially leading to healthier plants. Furthermore, the weight and stability of a brass planter make it less prone to tipping, a significant advantage for larger or top-heavy succulents. This guide will walk you through the process of creating your own bespoke brass succulent planter, from material selection to the final finishing touches, ensuring a durable, stylish, and functional home for your botanical treasures.
The foundation of any successful DIY project lies in meticulous preparation and the selection of appropriate materials. For a brass succulent planter, you have several options regarding the core material. You can opt for pre-formed brass sheets, which are readily available at most metal supply stores or online retailers. These sheets come in various thicknesses, and for a planter, a gauge between 16 and 20 is generally recommended. Thicker gauges offer greater rigidity, making the planter more robust, while thinner gauges are easier to cut and shape. Alternatively, you could repurpose existing brass items. An old brass bowl, a decorative brass tray, or even a vintage brass vase can be ingeniously transformed into a planter. This approach not only adds a unique character and history to your creation but also promotes sustainability by giving new life to discarded objects. When considering repurposed items, ensure they are free from lead solder, which can leach into the soil and be harmful to plants. Cleaning is paramount. Regardless of whether you choose new brass sheets or a vintage find, thorough cleaning is essential. Use a degreaser or a strong detergent to remove any oils, dirt, or grime. For vintage brass, a specialized brass cleaner can remove tarnish and restore its original luster. This initial cleaning step is crucial for ensuring proper adhesion of any sealants or finishes and for preventing contaminants from affecting your succulents.
The design of your brass succulent planter is as individual as your plant collection. Simple geometric shapes are often the most impactful and achievable for a DIY project. Consider a classic cube, a rectangular prism, or a cylindrical form. For a cube or rectangular prism, you’ll need to cut four identical side panels and a base. For a cylinder, you’ll need a rectangular piece that will form the curved wall and a circular base. The dimensions will depend on the size and number of succulents you intend to house. Remember to account for drainage. While succulents are drought-tolerant, they still require adequate drainage to prevent root rot. This can be achieved in a few ways: either by drilling drainage holes directly into the brass base or by employing a double-potting method. If you choose to drill drainage holes, use a metal drill bit specifically designed for brass and a slow speed to prevent overheating and potential damage. A pilot hole followed by a larger bit can also be beneficial. If you opt for the double-potting method, you will place a smaller, plastic or terracotta pot with drainage holes inside your brass planter. This allows excess water to drain from the inner pot into the outer brass container, where it can evaporate over time. This method also simplifies repotting and offers greater control over soil moisture. Sketching out your design and creating templates from cardboard or sturdy paper before cutting the brass will significantly improve accuracy and reduce material waste.
Cutting brass requires precision and the right tools. For thinner brass sheets (around 20 gauge), tin snips or aviation snips can be effective. Use long, smooth strokes for clean cuts. For thicker gauges or more intricate shapes, a hacksaw with a fine-tooth blade or a Dremel tool with a metal cutting wheel are excellent options. Always wear safety glasses to protect your eyes from flying debris and gloves to prevent cuts. If you are working with a pre-formed brass bowl or vase, you may not need to cut the material at all, but rather focus on preparing it for its new purpose. If you are creating a welded structure, you will need a TIG welder capable of working with brass. However, for most DIY enthusiasts, a simpler and more accessible joining method is preferred. Rivets or strong, waterproof adhesive specifically designed for metal can be used to join the panels of your planter. Brass rivets offer a traditional and secure mechanical bond. Ensure you use a rivet gun and select the appropriate rivet size for your brass thickness. Alternatively, high-strength metal epoxies or structural adhesives can create a strong, watertight bond. Follow the manufacturer’s instructions carefully, ensuring clean surfaces and adequate curing time for maximum strength. If you are repurposing a bowl or vase, consider if any existing handles or decorative elements need to be removed or reinforced to accommodate the weight of soil and plants.
Assembly is where your design begins to take tangible form. If you are constructing a box-style planter from sheets, start by joining two adjacent side panels. Apply your chosen adhesive or position your rivets along the edges. For adhesive, clamp the pieces together firmly and allow ample time for curing, as specified by the adhesive manufacturer. If using rivets, pre-drill holes of the appropriate size for your rivets, then insert the rivets and use your rivet gun to secure them. Repeat this process for all four sides, forming the main body of the planter. Once the sides are securely joined, attach the base. Again, ensure a strong, watertight seal. If you plan to drill drainage holes, it’s often easier to do so before attaching the base, as you’ll have better access. For cylindrical planters, you’ll need to create a seam where the rectangular piece meets to form the cylinder. This seam can be riveted or glued. The circular base is then attached to the bottom edge. If you are repurposing an item, this stage might involve reinforcing existing seams or adding a new base if the original item’s bottom is unsuitable for drainage or stability. The key at this stage is to build a sturdy, leak-proof container.
Finishing touches are what elevate a functional object into a decorative centerpiece. Brass, in its natural state, will develop a patina over time, a characteristic that many appreciate. However, if you desire a consistently polished look, you’ll need to seal the brass. A clear metal lacquer or a wax specifically designed for metal can be applied. These products will protect the brass from oxidation and tarnish, preserving its shine. Apply the sealant in thin, even coats, allowing each layer to dry completely before applying the next. Proper ventilation is crucial when working with lacquers and sealants. For a more industrial or aged look, you can intentionally accelerate the patination process. This can be achieved by exposing the brass to certain chemicals or through controlled oxidation. However, for a planter intended for succulents, preserving the clean, bright aesthetic of polished brass is often the desired outcome. Sanding is another important finishing step. After assembly, use fine-grit sandpaper (around 220 grit) to smooth any rough edges or imperfections on the brass. This will create a more polished appearance and prevent potential cuts or snags. If you chose to drill drainage holes, now is the time to ensure they are clean and free of any burrs.
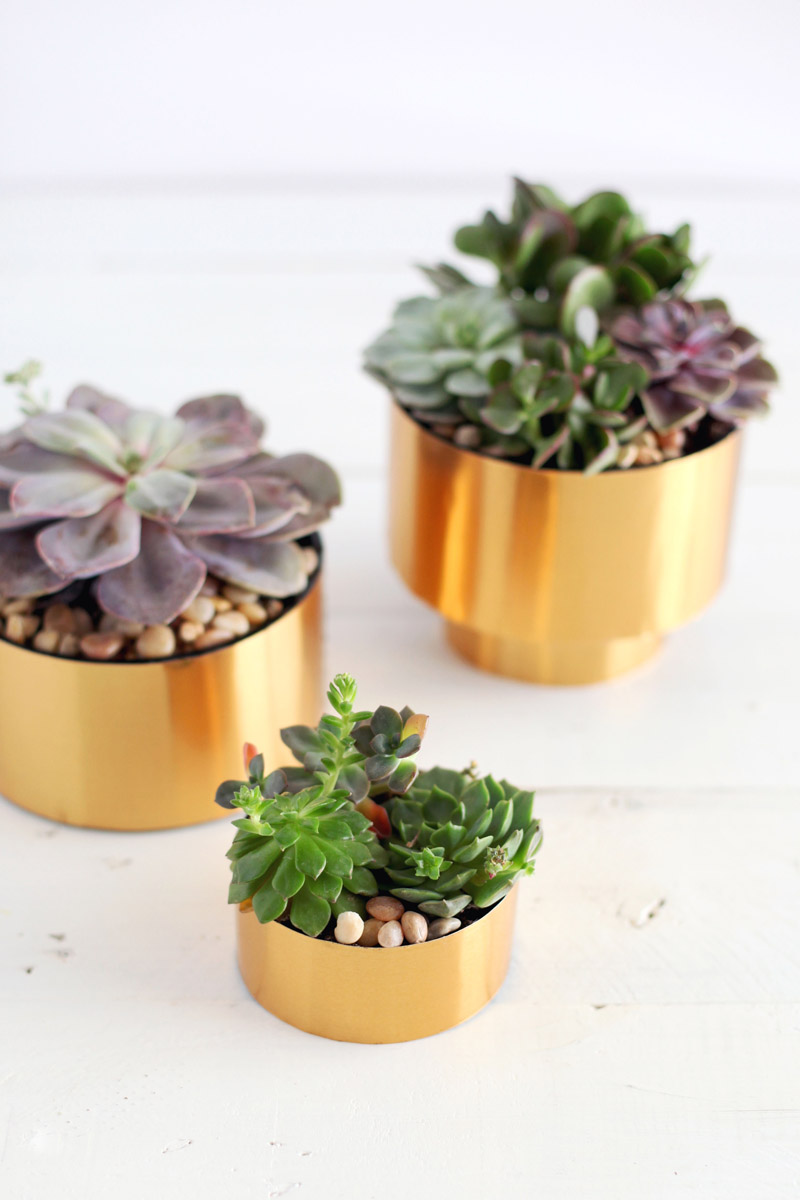
Once your brass planter is fully assembled and finished, it’s time to prepare it for its green inhabitants. If you opted for the double-potting method, ensure the inner pot has adequate drainage holes. Place a layer of gravel or small stones at the bottom of the inner pot to further aid drainage. Then, fill the inner pot with a well-draining succulent potting mix. This specialized mix typically contains a higher proportion of perlite, pumice, or coarse sand than regular potting soil, which is essential for preventing waterlogged roots. Gently place your succulent into the inner pot, ensuring its roots are spread out and covered with soil. Water sparingly after planting. If you drilled drainage holes directly into your brass planter, you can also use a gravel layer at the bottom, followed by the succulent potting mix. However, be extremely cautious with watering, as excess water has nowhere else to go but out. In either scenario, avoid overwatering your succulents. They prefer to dry out completely between waterings. The weight of a brass planter will also affect how quickly the soil dries. Heavier brass containers can retain more moisture for longer periods, so adjust your watering schedule accordingly.
The ongoing care of your brass succulent planter involves both the plant and the planter itself. For the succulents, the principles of bright, indirect light and infrequent watering remain paramount. The brass planter, while durable, can benefit from occasional cleaning to maintain its aesthetic appeal. If you sealed the brass, a simple wipe-down with a soft, damp cloth is usually sufficient for regular cleaning. If any tarnish does appear, use a mild brass cleaner and a soft cloth, followed by a reapplication of sealant if desired. Avoid abrasive cleaners or scouring pads, as these can scratch the surface of the brass. If you have drainage holes, inspect them periodically to ensure they are not clogged with soil or debris. This is particularly important if you are not using the double-potting method. The beauty of brass is its ability to age gracefully, developing a unique patina that adds character. If you embrace this natural aging process, occasional cleaning with a soft cloth to remove dust will suffice. The goal is to create a piece that is both a beautiful home for your plants and a lasting decorative element in your home. The DIY brass succulent planter is a project that offers a rewarding blend of creativity, practicality, and horticultural benefit. By following these steps, you can craft a sophisticated and personalized planter that will enhance your living space and provide a stylish sanctuary for your beloved succulents.
