
DIY Round Velvet Pillow: A Luxurious Upgrade for Your Home Decor
Creating a DIY round velvet pillow is an accessible and rewarding project that instantly elevates the look and feel of any living space. Velvet, with its inherent plushness and subtle sheen, adds an undeniable touch of luxury, while the round shape offers a softer, more inviting aesthetic compared to standard square or rectangular cushions. This guide provides a comprehensive, step-by-step process for crafting your own bespoke round velvet pillows, complete with fabric selection tips, essential tools, detailed instructions, and styling suggestions, all optimized for SEO to help you find and execute this satisfying home decor upgrade.
The cornerstone of any successful DIY round velvet pillow project lies in the fabric choice. Velvet, a fabric characterized by its dense, short pile, can be crafted from various fibers, each offering distinct properties and price points. Silk velvet, the most luxurious option, boasts an unparalleled luster and drape but is also the most delicate and expensive. Cotton velvet offers a softer hand and greater durability, making it a popular and practical choice for home furnishings. Synthetic velvets, such as polyester or rayon blends, are often the most budget-friendly and are surprisingly resilient, resisting crushing and staining better than natural fiber velvets. When selecting velvet for your pillow, consider its weight and pile. A heavier velvet will offer more structure and a richer appearance, while a shorter pile will be less prone to showing wear and tear, especially in high-traffic areas. For a DIY project, a mid-weight polyester or cotton blend velvet is an excellent starting point, offering a good balance of aesthetics, durability, and ease of handling. When shopping, always feel the fabric to gauge its softness and look for a consistent pile direction – this is crucial for a professional finish. Consider the backing of the velvet as well; a woven backing will provide more stability than a knit one.
Beyond the primary fabric, you’ll need a backing fabric. This serves as the base for your pillow and should complement your velvet. A durable yet soft fabric like cotton twill, linen, or even another type of upholstery-weight fabric works well. It doesn’t need to be as visually striking as the velvet, as it will be largely hidden. For stuffing, high-quality pillow inserts are recommended. Opt for inserts that are slightly larger than your finished pillow dimensions (e.g., a 16-inch insert for a 14-inch finished pillow) to achieve a plump, luxurious look. Polyester fiberfill is a common and affordable option, but down or down-alternative fills offer a more premium feel and better resilience. You’ll also require a sewing machine, a sharp pair of fabric scissors, a measuring tape or ruler, pins, a fabric marker or chalk, a zipper (optional, but highly recommended for easy cover removal and cleaning), and a needle and thread for any finishing touches. Thread that matches your velvet is essential for an invisible seam. If you plan to add embellishments, gather those now: buttons, trim, tassels, or even contrasting fabric for appliqué.
The initial step in constructing your DIY round velvet pillow is preparing your fabric. Lay your velvet flat on a clean, well-lit surface, ensuring the pile is running in the same direction throughout. Measure and cut two identical circles for the front and back of your pillow. The size of your circle will determine the finished diameter of your pillow. For a standard decorative pillow, a diameter of 14 to 20 inches is common. To ensure perfectly round cuts, you can create a template by drawing a circle on sturdy paper or cardboard, or by using a large circular object as a guide. Alternatively, for precise results, use a rotary cutter and a large circular cutting mat if available. Once your circles are cut, repeat the process for your backing fabric, if using a different material for the back, or if your velvet is too thick to layer easily.
If you’ve opted for a zipper closure, this is where you’ll integrate it. This is the most professional and user-friendly method for a removable pillow cover. Measure the circumference of your pillow circles and cut a zipper to a length slightly shorter than this measurement, ensuring enough overlap for a secure closure. Pin one side of the zipper tape to the right side of one velvet circle, aligning the edge of the zipper tape with the raw edge of the fabric. The zipper teeth should be facing inwards. Baste or sew the zipper in place, being careful not to sew through the zipper pull. Repeat this process for the other side of the zipper tape, attaching it to the right side of the second velvet circle. Ensure the zipper is centered and aligned evenly with the edge. Once both sides are attached, you can sew the zipper foot of your sewing machine along the zipper tape to secure it permanently. This creates a continuous edge with the zipper incorporated.
If a zipper is not your preferred method, you can create a simple envelope closure or sew the pillow completely shut and stuff it through an opening that you’ll later hand-stitch closed. For an envelope closure, you would typically cut one of your backing pieces larger and create folded edges to overlap. However, for a round pillow, a zipper is generally the most practical for easy stuffing and removal. For a no-zipper, stuffed-through-an-opening method, you will sew the two circles almost completely together, leaving a gap of about 4-6 inches. This opening will be used to turn the pillow right-side out and to insert the stuffing.
With the zipper (or opening) prepared, it’s time to assemble the main body of your pillow. Place the two velvet circles right sides together, ensuring all edges are perfectly aligned. Pin them securely around the entire circumference, placing pins perpendicular to the edge to avoid snagging your fabric. If you have a zipper, ensure the zipper pull is raised above the seam line to avoid sewing over it. Begin sewing along the pinned edge, using a straight stitch. A ½-inch seam allowance is standard for pillow covers. If you have a zipper, sew up to the end of the zipper tape and then continue around the rest of the circle. If you are not using a zipper and have left an opening, sew around the entire circumference, leaving your designated gap for turning and stuffing.
After sewing, it’s crucial to finish the raw edges of your seam to prevent fraying, especially with velvet. Use a serger if you have one, as this will create a neat, professional finish. If you don’t have a serger, you can use a zigzag stitch on your sewing machine along the raw edge of the seam allowance. For an even more durable finish, especially with fabrics prone to fraying like some velvets, consider pinking shears to trim the seam allowance after zigzagging. This creates a zigzag edge that helps to reduce fraying.
Once the seam is finished, carefully turn the pillow cover right-side out through the opening or the unzipped portion of the zipper. Gently push out the seams to ensure they are crisp and defined. If you’re not using a zipper, you’ll have your opening now to begin stuffing.
Now comes the satisfying part: stuffing your DIY round velvet pillow. If you opted for a zipper, fully zip it closed before stuffing. Begin by inserting your pillow insert. If you are using fiberfill, start by loosely filling the pillow in sections, working the stuffing into the edges and corners to ensure an even distribution. Avoid over-stuffing, which can create a lumpy and unnatural shape, and under-stuffing, which will result in a limp pillow. Aim for a plump, firm yet still comfortable feel. Use your hands to distribute the stuffing evenly, feeling for any lumps or bare spots. For a professional finish, try to achieve a smooth, consistent surface.
If you are not using a zipper and stuffed through an opening, once you are satisfied with the fullness, carefully hand-stitch the opening closed. Use a ladder stitch or a blind stitch for an invisible finish. Thread your needle with matching thread, knot the end, and start by inserting the needle into one folded edge of the opening. Then, take a small stitch into the opposite folded edge, bringing the needle back to the first edge. Continue this process, alternating stitches between the two edges, pulling the thread taut after every few stitches to draw the edges together. This creates a strong and nearly invisible seam.
Embellishing your DIY round velvet pillow is where you can truly inject your personal style and creativity. Buttons are a classic choice for adding a focal point. You can sew a single large button to the center of the pillow for a simple yet elegant look. Alternatively, you can create tufting by sewing buttons through the entire pillow at intervals. To do this, thread a long, strong needle with upholstery thread and a sturdy button. Insert the needle from the back of the pillow, through the center, and out the front. Secure the button on the front, then push the needle back through to the back, creating a dimple. Repeat this process several times to create the desired tufting effect. Tie off the thread securely at the back.
Trim and cording can add a sophisticated border. Gimp, braid, or fringe can be hand-stitched or machine-sewn around the edge of the pillow, just outside the main seam. For a particularly luxurious touch, consider adding tassels to the corners or along the edge. These can be purchased ready-made or you can create your own from embroidery floss or yarn. Appliqué, using contrasting velvet or other luxurious fabrics, can create striking patterns or motifs on your pillow. Cut out shapes and carefully stitch them onto the pillow front.
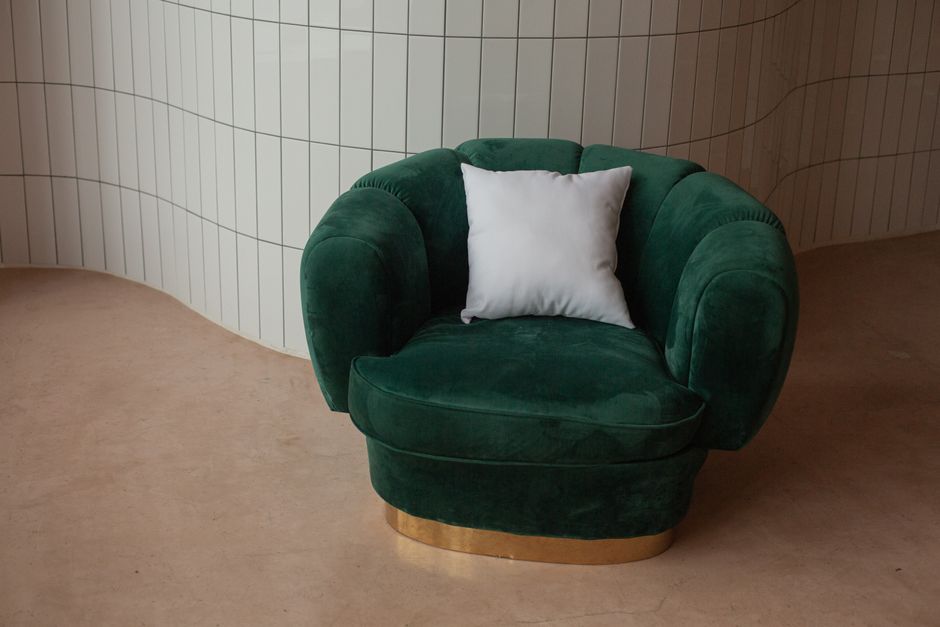
Styling your DIY round velvet pillow is the final step in integrating it into your home decor. Round pillows are incredibly versatile and can be used in a variety of settings. On a sofa, they act as inviting accent pieces, breaking up the linear nature of rectangular cushions. Place one or two in the center of your sofa arrangement for a pop of color and texture. On an armchair, a round velvet pillow can provide both comfort and a touch of elegance, transforming a simple seat into a cozy reading nook. In a bedroom, they are perfect for styling a bed, adding a soft, inviting feel to the sleeping space. Layer them with rectangular pillows for a balanced and inviting look. On a bench or window seat, a collection of round velvet pillows can create a comfortable and stylish seating area.
Consider the color palette of your room when choosing your velvet. Jewel tones like emerald green, sapphire blue, and ruby red are classic choices that exude opulence. Deeper, moodier shades like charcoal gray, deep navy, and burgundy can add a touch of sophistication. For a lighter, airier feel, consider pastels like blush pink, dusty rose, or a soft sage green. Alternatively, opt for a neutral shade like cream or taupe for a more understated yet still luxurious effect. The sheen of velvet means that even neutral colors will have a depth and richness that can make a statement.
The placement and combination of your round velvet pillows can significantly impact the overall aesthetic. Mix and match different sizes and textures for a layered and curated look. Pair your velvet pillows with linen or cotton cushions for a textural contrast. Consider the scale of your room; larger round pillows are well-suited for more spacious rooms, while smaller ones can add charm to cozier spaces. Don’t be afraid to experiment with placement until you achieve the desired look and feel. The goal is to create a comfortable, inviting, and visually appealing space that reflects your personal style.
Beyond aesthetics, the practical benefits of a DIY round velvet pillow are significant. You gain complete control over the fabric, filling, and size, ensuring a perfect fit for your needs. The ability to remove and wash the cover (if a zipper is used) is a major advantage, especially for home furnishings that can accumulate dust and stains. This project is also an excellent way to upcycle existing materials or to create unique gifts for friends and family. The inherent durability of many velvet blends means your creation can be a long-lasting addition to your home. By following these detailed steps, anyone can successfully create a beautiful and luxurious DIY round velvet pillow, adding a touch of bespoke elegance to their living spaces.
