DIY Spider Garland: Spooktacularly Easy Halloween Decor
Creating your own Halloween decorations offers a rewarding and budget-friendly way to embrace the season’s spirit. Among the most impactful and surprisingly simple DIY projects is crafting a spider garland. This versatile decoration can be hung across mantels, windows, doorways, or even strung along banisters, instantly injecting a creepy yet charming vibe into any space. This comprehensive guide will walk you through everything you need to know to create a stunning spider garland, from material selection to assembly, ensuring a successful and spooktacular outcome. We’ll cover different approaches, tips for customization, and best practices for maximizing its visual appeal and SEO potential for your own blog or craft site.
The beauty of a DIY spider garland lies in its adaptability. You can tailor it to your preferred aesthetic, from minimalist and elegant to delightfully gruesome. The core components are relatively few: a material for the spider bodies, a method for creating spider legs, and a string or twine to connect them. Let’s delve into the most accessible and popular methods for crafting these creepy crawlies.
One of the simplest and most effective ways to create spider garland is by using felt or cardstock for the spider bodies. Felt offers a soft, textured look that is both visually appealing and easy to work with. Cardstock, on the other hand, provides a crisper, more defined shape. For this method, you’ll need:
- Felt or Cardstock: Choose black for classic spiders, but consider deep purples, greens, or even iridescent colors for a more whimsical or gothic feel.
- Scissors or Craft Knife: For precise cutting.
- Glue (Hot Glue or Craft Glue): Hot glue is faster and more secure, but craft glue works well for a less supervised project.
- Googly Eyes (Optional but Recommended): Small black or red googly eyes add instant personality to your spiders.
- Black Pipe Cleaners or Craft Wire: For the spider legs.
- String, Twine, or Yarn: To connect the spiders and form the garland.
- Hole Punch (Optional): For creating hanging holes if not using glue to attach string.
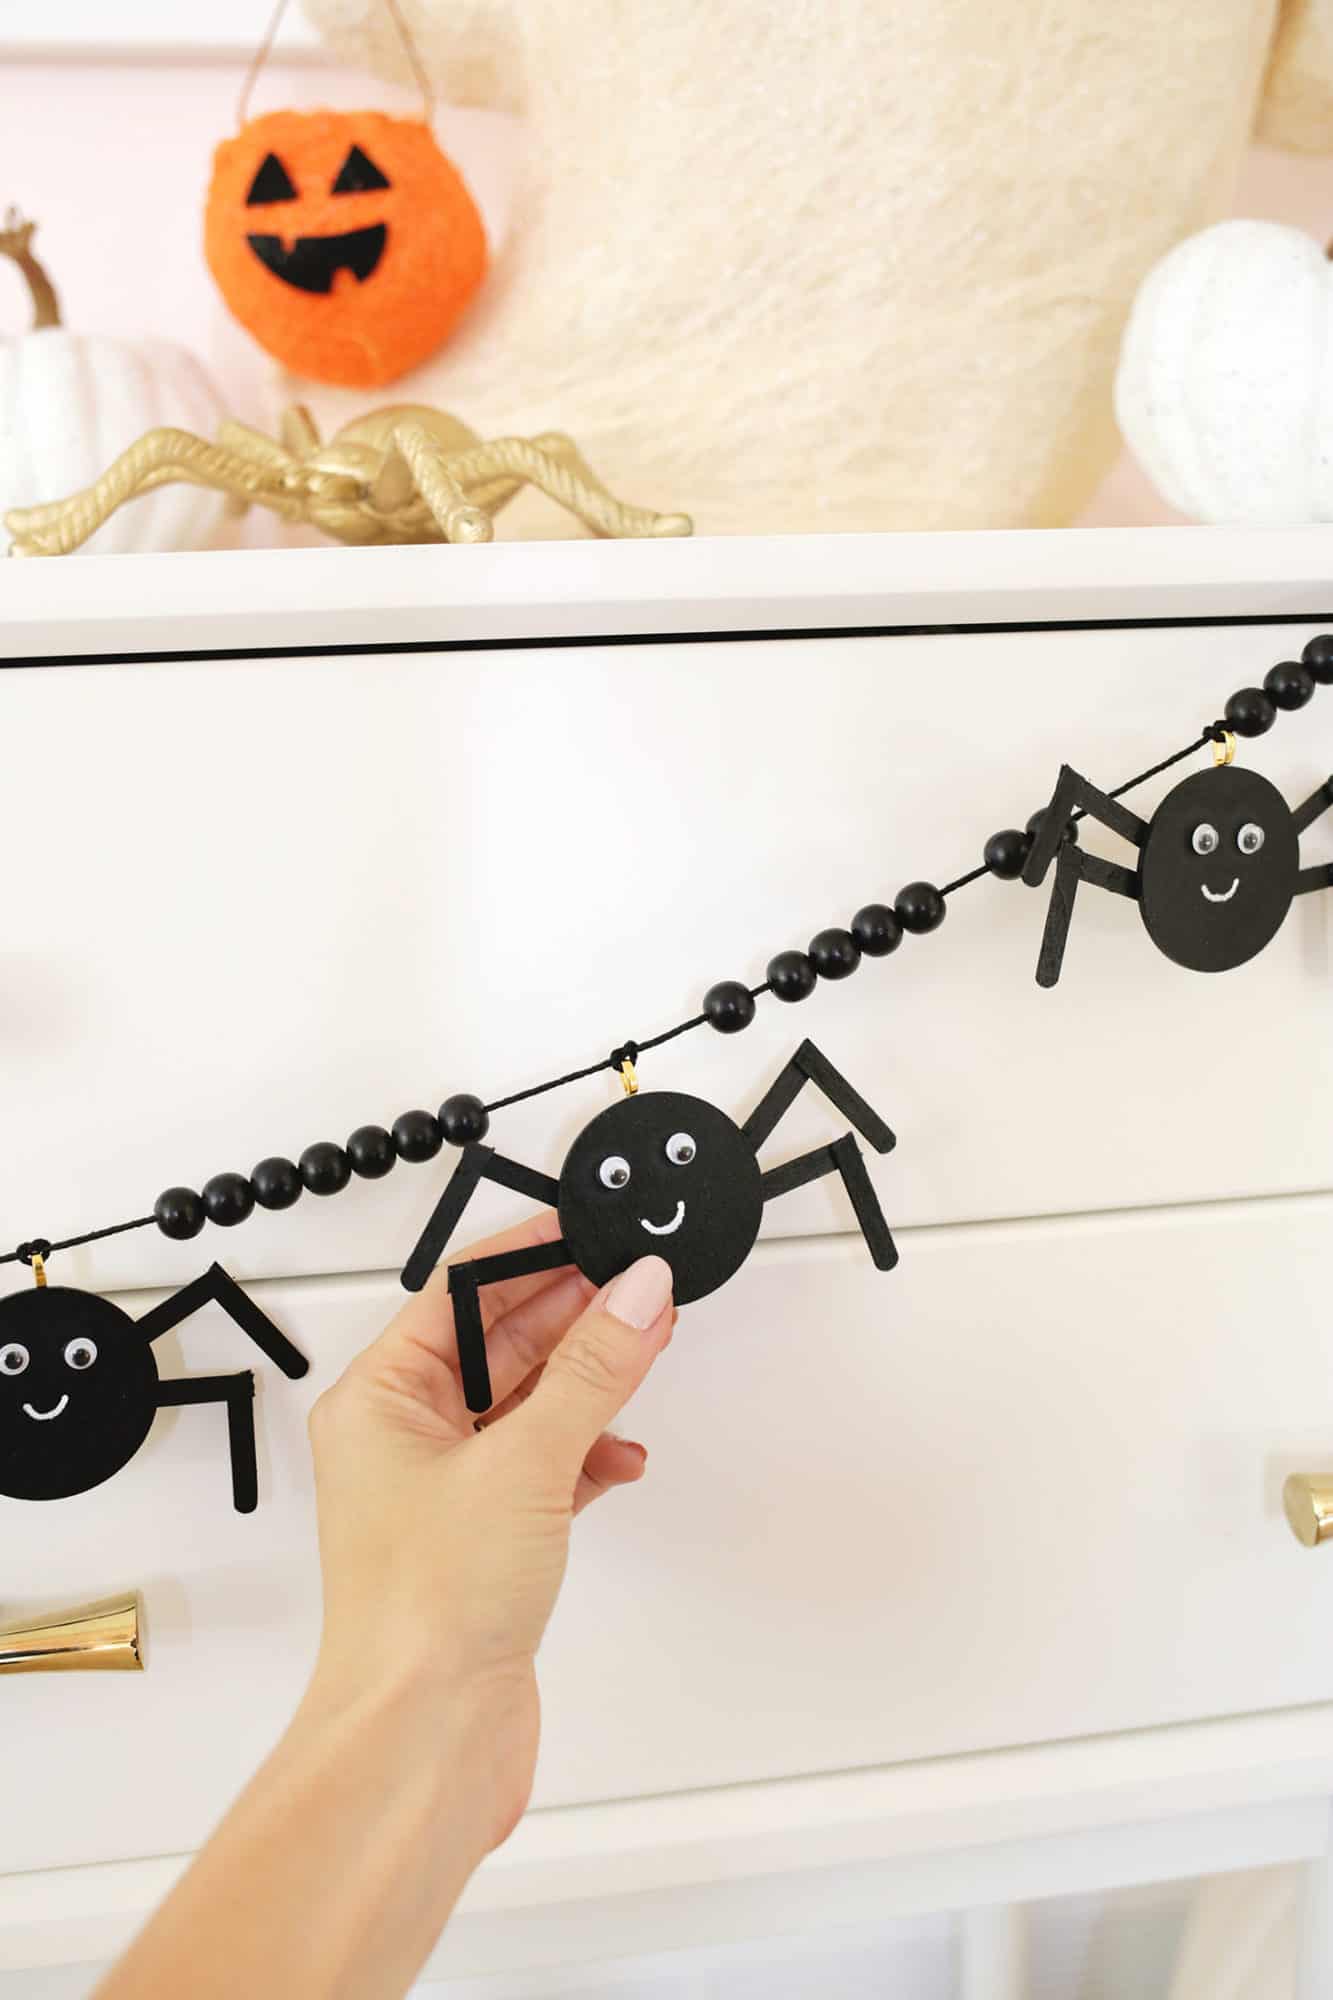
To begin, cut out your spider body shapes from the felt or cardstock. Ovals, circles, or even slightly elongated hexagons work well. A common and effective shape is a slightly flattened oval with a smaller circle attached to the top for the cephalothorax (head). Aim for a variety of sizes to create a more dynamic garland. For instance, you might cut a dozen medium-sized bodies and a few smaller ones.
Next, prepare the spider legs. Cut pipe cleaners or craft wire into equal lengths. For a standard-sized spider, six to eight pieces, each about 2-3 inches long, are usually sufficient. You can then bend these pieces in half or thirds to create a more spider-like leg structure. For a more realistic look, gently curve the ends of the legs.
Now, it’s time for assembly. Lay out your spider bodies and arrange the prepared legs. Typically, three to four legs will be attached to each side of the spider’s main body segment. Apply a small amount of glue to the body where the legs will attach and press the legs firmly into place. If using felt, the fibers will help the glue adhere securely. For cardstock, ensure even coverage.
Once the legs are attached, it’s time to add the eyes. Dab small dots of glue onto the cephalothorax and press the googly eyes into place. For a truly sinister look, consider using red eyes or even a cluster of small eyes.
The final step in creating your spider garland is to connect the individual spiders. You have a few options here. You can punch small holes in the top of each spider’s body and thread the string through, tying a knot to secure each spider. Alternatively, and often more simply, you can use hot glue to attach the string directly to the back of each spider. Lay out your string, place a dab of hot glue on the string, and press the spider onto it. Repeat this process, spacing the spiders evenly along the length of your string. The spacing will depend on the overall length of your garland and how full you want it to appear. Closer spacing creates a denser, more ominous effect, while wider spacing offers a more subtle touch.
For those seeking a more textured and perhaps slightly more intricate look, yarn or felted wool spiders offer a charming alternative. This method often involves needle felting or crochet.
Yarn Spider Garland (Crochet Method):
- Black Yarn: Worsted weight or bulky yarn works well for quick results.
- Crochet Hook: Sized appropriately for your yarn.
- Stuffing (Optional): For a slightly plumper spider body.
- Black Thread and Needle: For attaching legs and eyes if not crocheted on.
- Pipe Cleaners or Craft Wire: For legs.
- Googly Eyes (Optional):
To create crochet spiders, you’ll typically crochet small spheres or ovals for the body. A simple amigurumi technique can be used. Once the bodies are made, you can either crochet legs directly onto them or attach pipe cleaner legs as described in the felt method. For attaching googly eyes to crochet, a small dab of fabric glue or sewing them on with black thread can be effective. The garland can be formed by crocheting a chain to connect the spiders, or by threading string through small openings in their bodies.
Needle Felted Spider Garland:
- Black Wool Roving: Core wool for the body and finer wool for details.
- Felting Needles: Various gauges are useful.
- Felting Mat or Foam Pad: To protect your work surface and needles.
- Pipe Cleaners or Craft Wire: For legs.
- Googly Eyes (Optional):
- String or Twine:
Needle felting involves repeatedly poking wool roving with a barbed needle, causing the fibers to interlock and become dense. To create a spider body, start by rolling a small amount of wool into a ball and then stabbing it with the felting needle until it’s firm. You can add a smaller ball for the cephalothorax. For the legs, you can felt them directly onto the body by shaping thin strands of wool and felting them into place, or again, use pipe cleaners and attach them with hot glue or by carefully felting around them. Googly eyes can be glued on or small amounts of colored wool can be felted to create eyes. Connect them by threading string through a felted loop at the top of each spider or by gluing the string to the back.
Beyond the basic construction, consider these enhancements to make your spider garland truly stand out:
Customization and Embellishments:
- Glow-in-the-Dark Elements: Use glow-in-the-dark paint to add spots or stripes to your spiders, or incorporate glow-in-the-dark googly eyes for an extra spooky effect that comes alive in low light.
- Glitter Accents: A light dusting of black, silver, or iridescent glitter can add a touch of sparkle and magic to your spiders. Apply a thin layer of craft glue to the desired areas and sprinkle glitter on top.
- Textural Variety: Mix materials. Perhaps use some felt spiders and some cardstock spiders on the same garland for visual interest. You could even incorporate small, lightweight plastic spiders for added realism or creepy factor.
- Spider Web Accents: Weave small pieces of white yarn or string to mimic spider webs around your individual spiders or between them. This can be adhered with a dab of glue.
- Themed Colors: Instead of traditional black, consider a spooky Halloween color palette like deep purple and lime green, or a more subtle approach with shades of grey and white.
- Varying Leg Spiders: Not all spiders have the same number of legs. You can create some with fewer legs for a more unsettling, damaged look.
- Adding Wings: For a more fantastical creature, you could glue small black craft wings onto some of your spiders.
When it comes to SEO (Search Engine Optimization) for your DIY spider garland content, several strategies will help it rank higher in search results and attract more traffic.
SEO Optimization Strategies:
- Keyword Research: Identify relevant keywords that people are likely to use when searching for this type of craft. Examples include "DIY spider garland," "easy Halloween garland," "homemade spider decorations," "felt spider garland tutorial," "cardstock spider craft," "how to make spider garland," and "Halloween party decorations DIY."
- Title Tag Optimization: Your title tag is the first thing users see in search results. Make it compelling and keyword-rich, such as "Easy DIY Spider Garland Tutorial: Spooktacular Halloween Decor."
- Meta Description: Write a concise and engaging meta description (around 150-160 characters) that summarizes your content and encourages clicks. Include primary keywords.
- Header Tags (H1, H2, H3): Structure your article with header tags. Use an H1 for your main title. Use H2 tags for major sections (e.g., "Materials for Felt Spider Garland," "Step-by-Step Assembly," "Crochet Spider Garland Method," "SEO Tips for Your DIY"). Use H3 tags for sub-sections within those. This improves readability for both users and search engines.
- Keyword Integration: Naturally weave your target keywords throughout the article. Avoid keyword stuffing. Focus on creating valuable, informative content.
- Image Optimization: Use descriptive alt text for all your images. Include keywords in the alt text (e.g., "Black felt spider garland with googly eyes," "Close-up of DIY pipe cleaner spider legs"). Compress images to ensure fast loading times.
- Internal Linking: Link to other relevant DIY projects or Halloween content on your website. This helps keep users on your site longer and improves SEO.
- External Linking: Link to reputable sources if you reference any specific craft techniques or material providers.
- Readability: Use clear, concise language. Break up long paragraphs. Employ bullet points and numbered lists for instructions, making your content easy to scan and digest.
- User Experience: Ensure your website is mobile-friendly and loads quickly. A positive user experience is a significant ranking factor.
- Content Depth: Aim for comprehensive content that thoroughly answers the user’s query. The minimum word count of 1200 words for this article is a good example of creating in-depth content.
- Call to Action (Optional): At the end of your article, consider including a call to action, such as inviting readers to share their creations in the comments or to visit other related articles.
Troubleshooting and Tips:
- Glue Strength: If using craft glue, allow ample drying time between steps to ensure a strong bond. Hot glue is generally more forgiving for quick assembly.
- Leg Placement: For a more natural look, vary the angles of the spider legs slightly. Some can point forward, some backward, and some outward.
- Even Stringing: When attaching spiders to the string, measure and mark your desired spacing to ensure a consistent look.
- Storage: Once Halloween is over, carefully coil your garland and store it in a dry, safe place to prevent damage for future use. Consider a dedicated craft box or a large zip-top bag.
The DIY spider garland is a testament to how simple materials and a little creativity can transform your Halloween décor. Whether you choose the quick and easy felt method, the charming yarn approach, or the tactile satisfaction of needle felting, the result will be a personalized and eye-catching decoration that is sure to impress. By incorporating SEO best practices into your content creation, you can also ensure that your amazing DIY tutorial reaches a wider audience, inspiring fellow crafters and Halloween enthusiasts. Embrace the spooky season and get crafting!
