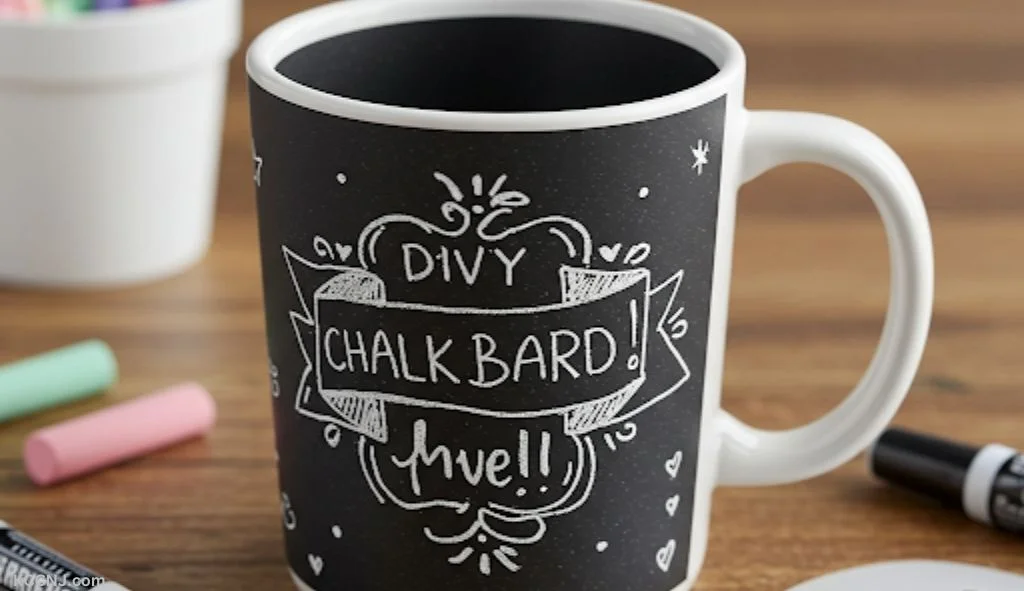

Chalkboard Mug DIY Project: Create Custom Mugs for Gifts and Decor
The chalkboard mug DIY project offers a fantastic opportunity to create personalized and practical items for gifting or home decor. This adaptable craft allows for endless creativity, transforming plain mugs into functional canvases for messages, drawings, or even organizational labels. The process is relatively straightforward, requiring minimal specialized tools and readily available materials. This guide will delve into a comprehensive step-by-step approach, covering material selection, preparation, application techniques, curing, and creative ideas to maximize the potential of your chalkboard mugs. Whether you’re looking for a unique Mother’s Day gift, a fun addition to your kitchen, or a creative way to leave notes for family members, this DIY project delivers impressive results.
The core of this project revolves around chalkboard paint, a specialized coating that, once cured, provides a writable surface that can be erased with a damp cloth, much like a traditional chalkboard. Selecting the right chalkboard paint is paramount for durability and a smooth writing experience. Several brands are available, each offering slightly different formulations. Some are water-based, making for easier cleanup, while others might offer superior scratch resistance. When choosing, consider the intended use of the mug. For a mug that will be frequently washed, opt for a more robust formula. Read product reviews to gauge user satisfaction with the paint’s adhesion, chalk-holding capacity, and longevity. It’s also worth noting that some chalkboard paints are available in various colors, expanding the aesthetic possibilities beyond the traditional black. For this project, we will focus on a standard black chalkboard paint, but the principles apply to colored variants as well.
Beyond the chalkboard paint itself, the choice of mug is equally important. Ceramic mugs are the most common and suitable substrate for this project. Look for mugs with a smooth, non-porous surface. Mugs with textured or heavily glazed finishes might not provide adequate adhesion for the paint. Consider the size and shape of the mug based on its intended use. For leaving short messages, a standard coffee mug is ideal. For more elaborate drawings or organizational labels, a larger mug or even a bowl might be more appropriate. Ensure the mug is clean and free of any grease or residue before beginning the application process. Even the slightest trace of oil can compromise the paint’s adherence.
Before embarking on the painting process, thorough preparation of both the mug and your workspace is essential. Begin by washing the chosen mug with warm, soapy water to remove any dust, fingerprints, or manufacturing residues. Rinse it thoroughly and allow it to air dry completely. If the mug has a very slick or glossy finish, a light sanding with fine-grit sandpaper (around 220-grit) can help to create a slightly rougher surface for the paint to adhere to. Wipe away any dust from sanding with a clean, damp cloth. Your workspace should be well-ventilated, especially if using spray chalkboard paint. Cover your work surface with newspaper, a drop cloth, or a disposable tablecloth to protect it from accidental spills or drips. Have all your tools and materials readily accessible.
Applying the chalkboard paint requires patience and a steady hand. For brush-on chalkboard paint, use a high-quality foam brush or a small, fine-bristled paintbrush. Foam brushes typically provide a smoother, streak-free finish. Dip the brush into the paint and apply thin, even coats. Avoid overloading the brush, as this can lead to drips and an uneven texture. Apply the paint in one direction for each coat to maintain consistency. It’s far better to apply multiple thin coats than one thick, gloppy coat. Allow each coat to dry to the touch according to the manufacturer’s instructions before applying the next. Drying times can vary significantly depending on the brand of paint and environmental humidity. Typically, a coat might take anywhere from 30 minutes to a couple of hours to dry.
If you opt for spray chalkboard paint, ensure you are in a well-ventilated area, preferably outdoors. Wear a mask to avoid inhaling the fumes. Hold the can about 8-10 inches away from the mug and apply in short, sweeping motions. Overlap each stroke slightly to ensure complete coverage. Again, thin, even coats are crucial. Rotate the mug as you spray to maintain consistent application. Allow each coat to dry completely before proceeding. Spray paint can sometimes dry faster than brush-on, but it’s still vital to follow the manufacturer’s recommended drying times between coats.
The number of coats required will depend on the opacity of the chalkboard paint and the desired coverage. Most chalkboard paints recommend at least two to three coats for optimal writing and durability. Some manufacturers might suggest more. Pay close attention to the instructions on your specific paint product. After applying the final coat, inspect the mug for any missed spots or imperfections. Touch them up carefully with a small brush or by applying an additional thin coat to those areas.
Once the paint has been applied, the curing process is critical for achieving a durable, erasable surface. Chalkboard paint, like many specialized paints, needs time to fully harden and bond to the surface. This curing time is typically much longer than the drying time between coats. It can range from 24 hours to several days, or even a week. Refer to the manufacturer’s instructions for the precise curing period. During the curing process, avoid touching or using the painted area of the mug. Also, avoid washing the mug during this time. It is crucial to allow the paint to cure fully before exposing it to moisture or chalk.
Before you can begin writing on your newly created chalkboard mug, you need to "prime" the surface. This involves rubbing a piece of chalk horizontally and vertically across the entire painted area, then erasing it with a dry cloth. This process fills in any microscopic pores in the paint and creates a smooth, even surface for your first chalk messages. This step is essential for preventing ghosting, where previous chalk marks can become permanently etched into the surface. After priming, wipe the mug clean with a dry cloth.
Now for the fun part: decorating your chalkboard mug! The possibilities are virtually endless. You can use regular chalk sticks or chalk markers. Chalk markers offer a more vibrant and precise line, and they are often more smudge-proof than traditional chalk. For a classic chalkboard look, use traditional chalk. Experiment with different fonts, lettering styles, and artistic designs. You can write inspirational quotes, funny messages, daily to-do lists, or even draw intricate pictures. For organizational purposes, label your mugs with names, types of beverages, or even dates for leftovers.
Consider the context of your chalkboard mug. If it’s a gift, personalize it with a message relevant to the recipient. For a child’s mug, simple drawings and their name are perfect. For a colleague, a motivational quote or a reminder of a meeting might be appreciated. Think about themes for different occasions. For Christmas, design festive patterns or write holiday greetings. For birthdays, create a celebratory design.
When it comes to cleaning your chalkboard mug, a damp cloth is usually sufficient for erasing chalk. For stubborn marks or if you’ve used chalk markers, you might need a slightly damp cloth with a drop of dish soap. Always ensure the mug is completely dry after washing to prevent moisture from damaging the paint. Avoid abrasive sponges or harsh cleaning chemicals, as these can scratch or strip the chalkboard paint. Dishwasher use is generally not recommended for DIY chalkboard mugs, as the high heat and harsh detergents can degrade the painted surface over time. Handwashing is the preferred method for maintaining the longevity of your creation.
For those who want to go the extra mile, consider embellishing your chalkboard mug with additional decorative elements. Once the chalkboard paint is fully cured, you can add touches like ribbon, twine, or even small charms tied around the handle. For a more permanent design, you could also use stencils with acrylic paint or permanent markers to add accents around the chalkboard area. However, remember that any additions will impact the overall functionality and cleaning of the mug, so plan accordingly.
The durability of your DIY chalkboard mug will largely depend on the quality of the materials used, the care taken during application, and how it is used and cleaned. With proper care, these custom mugs can last for a significant period, providing ongoing enjoyment and utility. They are not meant for extreme conditions or heavy-duty commercial use, but for everyday personal use, they are remarkably resilient.
In conclusion, the chalkboard mug DIY project is a rewarding and versatile craft. By carefully selecting your materials, preparing your workspace, applying the paint with precision, and allowing adequate curing time, you can create personalized mugs that are both functional and aesthetically pleasing. From practical labels to whimsical artwork, these custom creations serve as excellent gifts, charming home decor, or a unique way to express your creativity on a daily basis. The simplicity of the process, combined with the endless decorative possibilities, makes this project accessible to crafters of all skill levels. Embrace the opportunity to transform ordinary mugs into extraordinary, writable canvases.
