Sister Style Holiday Lanes sets the stage for this enthralling narrative, offering readers a glimpse into a story that is rich in detail and brimming with originality from the outset. Imagine a holiday lane transformed by the shared aesthetic of sisters, where every decoration, every festive treat, and every activity reflects their unique bond and style.
This blog post explores the concept of “sister style” and how it can be incorporated into holiday lane decorations, crafting projects, food, entertainment, and photography. We’ll delve into inspiring examples, DIY ideas, and tips for creating a festive atmosphere that celebrates the unique connection between sisters.
Holiday Lane Inspiration
Planning a holiday lane display that embodies “sister style” is a delightful way to create a festive and welcoming atmosphere. It’s an opportunity to showcase your shared aesthetic and celebrate the unique bond you share with your sister.
Examples of Holiday Lane Decorations Incorporating “Sister Style”
Here are some inspiring examples of holiday lane decorations that incorporate elements of “sister style.”
Sister style holiday lanes are all about sharing traditions and creating festive memories. This year, why not add a personal touch by upcycling old lip balms into charming ornaments? Check out this guide on upcycling a lip balm into an ornament for a fun and eco-friendly project.
Hang them on your tree or give them as gifts to spread holiday cheer!
- Matching Color Schemes:Choose a palette that reflects both sisters’ preferences. This could be a classic red and green, a whimsical pastel palette, or a sophisticated metallic scheme.
- Shared Interests:If you and your sister share a love of travel, incorporate elements like miniature airplanes, globes, or flags.
For nature enthusiasts, consider using pinecones, berries, or rustic wooden decorations.
- Personal Touches:Incorporate items that hold sentimental value, like family photos, vintage ornaments, or handmade decorations. This adds a personal touch that reflects your unique sisterly bond.
Designing a Holiday Lane Display Reflecting a Cohesive Aesthetic
Designing a holiday lane display that reflects a cohesive aesthetic shared by sisters requires thoughtful planning and collaboration.
- Choose a Theme:Start by selecting a theme that resonates with both sisters. This could be a traditional Christmas theme, a winter wonderland, or a more eclectic and personalized approach.
- Color Palette:Decide on a color palette that complements the chosen theme and aligns with both sisters’ style preferences.
- Materials and Textures:Consider incorporating a variety of materials and textures to create visual interest. This could include metallic accents, natural elements, or handcrafted decorations.
- Lighting:Use warm, inviting lighting to enhance the overall ambiance of the display. Consider using string lights, lanterns, or candles.
- Placement and Arrangement:Pay attention to the placement and arrangement of decorations to create a visually appealing and balanced display. Group similar items together and use varying heights to add dimension.
Creating a Welcoming and Festive Atmosphere
Creating a welcoming and festive atmosphere is key to a successful holiday lane display.
- Warm Lighting:Use warm white or amber string lights to create a cozy and inviting ambiance.
- Festive Music:Play soft holiday music to enhance the festive mood.
- Scented Candles:Use candles with holiday scents like cinnamon, pine, or gingerbread to create a warm and inviting aroma.
Sister style holiday lanes are all about coordinating outfits with your siblings, but sometimes the real challenge is finding a dish that everyone loves, even the picky eaters. This year, I’m going with a meaty mushroom lasagna vegetarian friendly recipe that’s sure to please everyone.
It’s got all the hearty flavors of a classic lasagna, but with the added bonus of being vegetarian-friendly, so everyone can enjoy it! After all, who doesn’t love a good lasagna, especially during the holidays?
- Personal Touches:Incorporate personal touches, like family photos, handwritten holiday greetings, or homemade treats, to create a sense of warmth and belonging.
Crafting & DIY Ideas

Creating a holiday lane that embodies your unique sister style is all about incorporating personal touches and showcasing your shared creativity. This is where DIY projects come into play, allowing you to craft decorations that are both beautiful and meaningful.
DIY Projects for Holiday Lane Decorations
Start by brainstorming ideas that reflect your individual personalities and interests. Think about colors, themes, and materials that resonate with each of you. Here are some DIY project ideas to get you started:
- Personalized Garlands:Create a garland that tells your story. Use fabric scraps, old photos, or even dried flowers to create a unique and sentimental piece.
- Upcycled Ornaments:Give new life to old items like bottle caps, buttons, or even old jewelry. Paint them with festive colors, add glitter, and attach them to ribbon for a charming touch.
- Paper Lanterns:Cut and fold paper into beautiful lanterns, decorating them with your favorite holiday patterns. Hang them from trees or fences for a whimsical glow.
- Painted Wooden Signs:Find wooden planks or signs at craft stores and paint them with festive messages or symbols. These can be displayed on your lane or even used as table centerpieces.
Crafting Personalized Ornaments
Personalized ornaments are a beautiful way to add a personal touch to your holiday lane. Here are some ideas for creating ornaments that reflect each sister’s individual style:
- Embroidered Ornaments:If you enjoy needlework, embroider ornaments with each sister’s initials, favorite quotes, or symbols that represent their interests.
- Photo Ornaments:Choose a favorite photo of each sister and print it onto clear ornament shapes. These make heartwarming additions to your holiday lane.
- Painted Clay Ornaments:Roll out clay and shape it into ornaments. Paint them with each sister’s favorite colors or decorate them with their favorite patterns.
- Beaded Ornaments:String beads together in different colors and patterns to create unique and colorful ornaments. You can even use beads to spell out each sister’s name.
Repurposing Materials for Unique Decorations
Repurposing materials is a great way to create unique and sustainable decorations for your holiday lane. This approach not only saves money but also reduces waste. Here are some ideas for repurposing everyday items:
- Wine Bottle Lanterns:Cut the bottom off wine bottles and decorate them with festive patterns. Insert a tea light or LED string lights to create beautiful lanterns.
- Tin Can Snowmen:Decorate tin cans with black paint and add buttons, scarves, and carrot noses to create whimsical snowmen.
- Recycled Paper Wreaths:Gather old magazines, newspapers, or even wrapping paper and roll them into circles. Glue the circles together to create a wreath base and decorate it with ribbon, berries, or pinecones.
- Upcycled Fabric Garland:Use old t-shirts, scarves, or other fabric scraps to create a garland. Cut the fabric into strips, tie them together, and decorate them with beads, buttons, or other embellishments.
Food & Beverages: Sister Style Holiday Lanes
A holiday lane wouldn’t be complete without a delectable spread of food and beverages. Think of it as a culinary adventure, where traditional favorites intertwine with modern twists, reflecting the unique personalities of the sisters behind the lane.
Holiday Lane Menu Design
Creating a holiday lane menu requires a balance between tradition and innovation. To capture the “sister style,” we’ll aim for a menu that’s both familiar and exciting, catering to a diverse range of tastes and preferences.
Sister Style Holiday Lanes are all about celebrating the joy of the season with family and friends. It’s a time for cozy gatherings, delicious food, and creating lasting memories. For some inspiring holiday decor ideas, check out the article at home with latonya staubs , where Latonya Staub shares her beautiful and festive home decor.
From there, you can draw inspiration to create your own unique and personalized holiday lanes, making your home a welcoming haven for the holidays.
- Traditional Favorites with a Twist:Consider offering classic holiday dishes with a modern twist. For instance, instead of the traditional turkey, serve a roasted duck with cranberry-orange sauce. A classic potato gratin could be elevated with truffle oil and parmesan cheese.
- Global Flavors:Embrace diversity by incorporating dishes from different cultures. A Moroccan tagine with lamb and apricots or a spicy Thai curry would add a unique and exciting element to the menu.
- Vegetarian and Vegan Options:It’s essential to cater to all dietary needs. A vibrant lentil salad with roasted vegetables, a creamy mushroom risotto, or a lentil loaf would be excellent additions for vegetarians and vegans.
- Sweet Treats:No holiday lane is complete without a tempting dessert selection. Classic cookies, gingerbread houses, and fruit pies can be paired with modern treats like macarons, mini cheesecakes, and mousse cups.
Signature Cocktails and Mocktails
Signature drinks are an excellent way to add a touch of festivity and personalization to your holiday lane. They should complement the overall aesthetic and theme of the lane, reflecting the sisters’ personalities.
- Festive Cocktails:Consider creating cocktails with seasonal ingredients like cranberries, pomegranates, and citrus fruits. A “Winter Wonderland” cocktail with gin, cranberry juice, and rosemary would be a refreshing and festive option.
- Non-Alcoholic Options:It’s important to have a variety of mocktails for those who prefer not to consume alcohol. A “Spiced Pear Punch” with pear juice, cinnamon, and star anise would be a delightful non-alcoholic option.
- Presentation:The presentation of drinks is crucial. Use festive garnishes like cranberries, rosemary sprigs, and cinnamon sticks to enhance the visual appeal.
Creating a Festive Spread
A festive and delicious spread should appeal to all tastes and preferences. Here are some tips for creating a memorable culinary experience:
- Visual Appeal:Pay attention to the visual presentation of your food. Use colorful platters, festive napkins, and decorative elements to create a visually appealing spread.
- Variety:Offer a diverse range of dishes to cater to different tastes. Include options for meat lovers, vegetarians, and vegans.
- Temperature Control:Ensure that hot dishes are kept warm and cold dishes are kept chilled. Use chafing dishes, ice baths, and other temperature control methods to maintain the quality of your food.
- Interactive Stations:Consider setting up interactive stations for guests to enjoy. A build-your-own taco station or a cheese and charcuterie board would be fun and engaging.
Entertainment & Activities
A festive holiday lane celebration should be brimming with fun activities for all ages. To create an unforgettable experience, consider incorporating a mix of interactive games, engaging performances, and festive entertainment.
Interactive Games & Activities
Engaging games and activities can bring families together, fostering laughter and shared memories. Here are some suggestions for interactive entertainment:
- Holiday-Themed Scavenger Hunt:Hide clues around the lane, leading participants to hidden treasures or special treats. This activity can be tailored to different age groups, making it suitable for all family members.
- Family-Friendly Karaoke:Set up a karaoke station with holiday classics and encourage everyone to sing along. This fun activity promotes participation and adds a touch of lightheartedness to the celebration.
- Holiday Crafts & Decorating:Create a designated area for holiday-themed crafts, such as ornament decorating, gingerbread house building, or card making. This allows guests to express their creativity and take home a personalized memento of the event.
- Holiday-Themed Trivia:Test your knowledge of holiday traditions, trivia, and pop culture with a festive trivia game. This can be a fun way to learn something new and engage in friendly competition.
Music Playlist
Music is an essential element in creating a festive atmosphere. Here is a playlist that embodies the “sister style” theme and sets the perfect tone for a holiday lane celebration:
- Classic Holiday Tunes:Include beloved holiday classics like “Jingle Bells,” “Silent Night,” and “White Christmas” to evoke a sense of nostalgia and warmth.
- Upbeat Pop Hits:Incorporate modern holiday pop songs with a cheerful and festive vibe, such as “Last Christmas” by Wham! or “Merry Christmas Everyone” by Shakin’ Stevens.
- Soulful Holiday Classics:Add a touch of soulful elegance with classic holiday tunes like “Have Yourself a Merry Little Christmas” by Frank Sinatra or “This Christmas” by Donny Hathaway.
- Modern Holiday Indie Music:Explore contemporary holiday music with a unique and indie twist, such as “Christmas (Baby Please Come Home)” by Darlene Love or “Wonderful Christmas Time” by Paul McCartney.
Performances & Entertainment, Sister style holiday lanes
Live performances can add a touch of magic and excitement to the holiday lane celebration. Here are some ideas for captivating entertainment:
- Local Choir Performance:Invite a local choir to perform holiday carols, spreading festive cheer and creating a heartwarming atmosphere.
- Live Holiday Music:Engage a live band or musician to play holiday tunes, creating a lively and festive soundtrack for the celebration.
- Holiday Storytelling:Hire a storyteller to share enchanting holiday tales, captivating guests of all ages with their captivating narratives.
- Interactive Holiday Performances:Consider incorporating interactive performances like holiday-themed magic shows or puppet shows, engaging children and adults alike.
Photography & Storytelling
Holiday Lane is not just about the decorations and the festive atmosphere; it’s about capturing those moments of joy and togetherness that make the season truly special. Photography plays a vital role in preserving these memories, turning them into lasting keepsakes that you can revisit year after year.
Designing a Photo Shoot Concept
A well-designed photo shoot concept can help you capture the essence of “sister style” within the holiday lane setting. The concept should reflect the unique personalities of the sisters, their shared interests, and the spirit of the celebration.
- Choose a theme:A theme can provide a unifying element for your photos. Consider themes like “Winter Wonderland,” “Cozy Cabin,” or “Festive Feast.”
- Select a location:The holiday lane itself provides a natural backdrop for your photos, but you can also explore other locations within the area. Consider a charming storefront, a decorated tree, or a picturesque street corner.
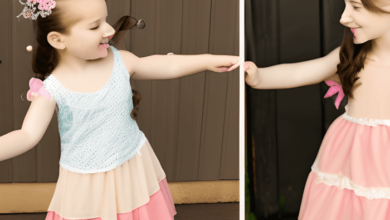
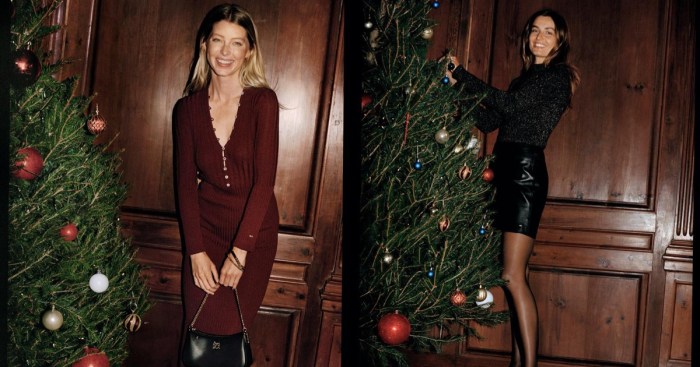
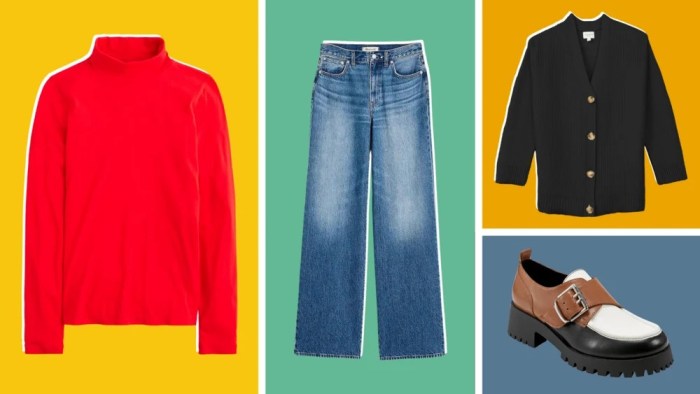
- Plan your outfits:Coordinate your outfits to create a cohesive look that complements the theme and the holiday setting. Consider matching colors, patterns, or accessories.
- Incorporate props:Props can add visual interest and enhance the storytelling aspect of your photos. Consider using festive decorations, holiday treats, or personalized gifts.