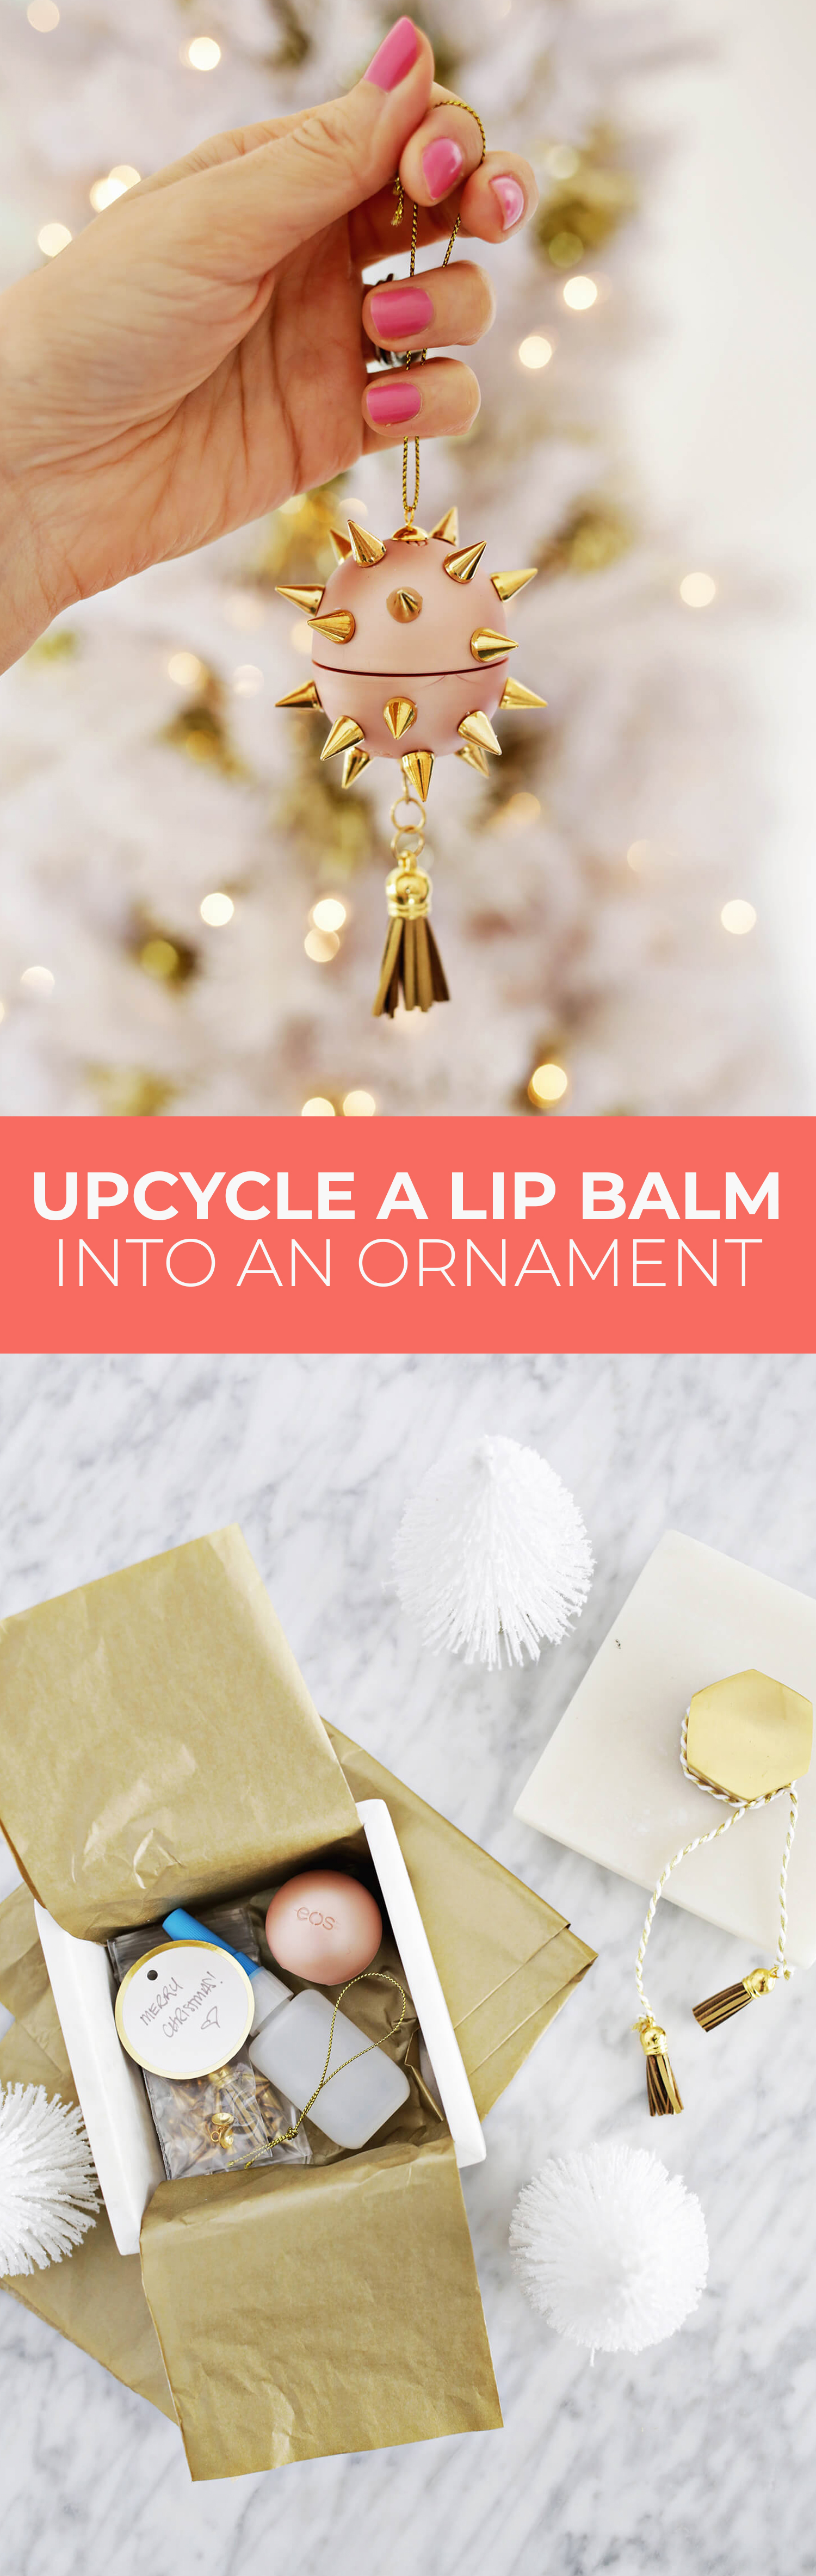

Upcycle a Lip Balm Tube into a Festive Holiday Ornament
Transforming discarded lip balm tubes into charming holiday ornaments is an accessible and eco-conscious DIY project. This guide provides a detailed, step-by-step process for upcycling these common plastic containers into unique decorations, emphasizing creative embellishment techniques and practical considerations. The aim is to equip crafters with the knowledge to repurpose these everyday items, reducing waste and adding a personalized touch to holiday décor. This endeavor not only promotes sustainability but also fosters artistic expression through crafting.
The fundamental principle behind upcycling a lip balm tube into an ornament lies in its inherent cylindrical shape, which lends itself well to various decorative applications. The typical screw-up mechanism of a lip balm tube can be utilized or adapted to create hanging loops or decorative elements. Before commencing any decoration, thorough cleaning and preparation of the lip balm tube are paramount. Any residual lip balm product must be meticulously removed to ensure a clean surface for adhesion and painting. A gentle washing with warm, soapy water followed by a thorough rinse and complete drying is usually sufficient. For stubborn residue, a small amount of rubbing alcohol can be employed, but caution should be exercised to avoid damaging the plastic. Once clean and dry, assess the condition of the tube. Minor scratches or scuffs can often be covered with paint or decorative layers. However, significant damage might necessitate a different approach or a more robust decorative finish.
The primary decorative phase involves transforming the plain plastic tube into a visually appealing ornament. Paint is a versatile medium for this purpose. Acrylic paints are ideal due to their fast drying time, durability, and broad color palette. Multiple thin coats are generally preferable to a single thick coat for a smoother, more professional finish. Consider the intended theme or aesthetic of your ornament. For a classic Christmas look, reds, greens, golds, and silvers are excellent choices. For a more contemporary or whimsical theme, consider pastels, neons, or metallic finishes. Before applying paint directly to the tube, it is advisable to apply a primer. A plastic primer will improve paint adhesion, prevent chipping, and ensure a more even color application. Allow each layer of primer and paint to dry completely before proceeding to the next step.
Beyond solid colors, various painting techniques can elevate the ornament’s design. Stenciling allows for intricate patterns and designs. Many affordable stencils are available, or you can create your own by cutting designs into cardstock or stencil film. For a painterly effect, consider freehand designs, small illustrations, or abstract patterns. Glitter glue or fine glitter can be applied to wet paint or over a layer of craft glue for a dazzling, festive sparkle. Edges can be highlighted with metallic paints or fine-tipped paint pens for added definition. If the lip balm tube has a clear cap or base, this can also be incorporated into the design. It can be left clear to reveal an inner decoration, or painted and sealed.
Adhesives play a crucial role in attaching embellishments and securing decorative elements. A strong craft glue, such as Tacky Glue or E6000, is recommended for attaching heavier items like beads, charms, or small figurines. For lighter materials like paper, glitter, or fabric, a thinner craft glue or Mod Podge will suffice. Mod Podge is particularly useful as it acts as both a glue and a sealer, providing a protective finish to your decorated surface. When working with glue, apply it sparingly to avoid excessive mess and ensure a clean bond. Allow ample drying time for all adhesive applications, as premature handling can compromise the integrity of the design.
The functional aspect of turning a lip balm tube into an ornament involves creating a hanging mechanism. Several methods exist for this. The most straightforward approach is to utilize the existing twist mechanism of the lip balm tube. If the tube is designed to twist up and down, you can potentially thread a thin ribbon or twine through the opening when the balm is fully retracted, then secure it with a knot or a small bead. However, this method can be less secure and may not be suitable for all lip balm tube designs.
A more robust and versatile method involves drilling a small hole near the top of the lip balm tube. This hole should be just large enough to accommodate your chosen hanging material, such as ribbon, twine, or wire. Before drilling, it is crucial to determine where the hole will be located to ensure it is balanced and does not interfere with any decorative elements. Using a small drill bit designed for plastic is recommended. Drill slowly and steadily to prevent the plastic from cracking. Once the hole is created, thread your chosen hanging material through it. For a secure knot, tie a double knot or use a bead as a stopper. Alternatively, you can thread a loop of thin jewelry wire through the hole and twist the ends together to form a secure loop.
Another effective hanging method involves creating a cap for the top of the ornament that incorporates a hanging loop. This can be achieved by using a pre-made cap that fits the lip balm tube or by crafting a cap from materials like polymer clay or sturdy cardstock. If using polymer clay, shape it into a small disc with an indentation to fit the top of the tube and embed a small eye hook or loop before baking. Once hardened, this cap can be glued securely to the lip balm tube. For a cardstock cap, cut a circle slightly larger than the tube opening, create a small slit in the center, and insert a looped ribbon or twine through the slit. Secure the ribbon with glue or tape on the underside of the cardstock, then glue the cap to the top of the lip balm tube.
The decorative possibilities are virtually endless, allowing for a wide range of artistic expression. Consider themes that resonate with your personal style or the recipient’s preferences. For a minimalist aesthetic, a single color with a metallic accent or a simple stamped design might suffice. For a more elaborate look, layer different textures and materials.
Fabric scraps can be cut and glued to cover the entire tube, creating a quilted or woven effect. Small buttons, beads, or sequins can be individually glued to add pops of color and shine. Washi tape, with its vast array of patterns and colors, offers a quick and easy way to decorate the tube. Simply wrap strips of washi tape around the tube, overlapping slightly for a seamless finish.
For a rustic charm, consider using natural materials like twine, burlap, or small twigs. Wrap the tube with twine, securing it with glue at intervals. Small pinecones, dried leaves, or berries can be glued around the base or top for a woodland-inspired ornament.
Incorporating miniature figurines or charms can personalize the ornament significantly. Small plastic animals, toy charms, or even tiny crafted figures can be glued to the tube. This is an excellent way to represent hobbies, favorite characters, or personal interests. For instance, a baker might have a miniature rolling pin glued to their ornament, while a book lover might have a tiny book charm.
The top of the lip balm tube, where the twist mechanism is located, presents an opportunity for a focal point. A small pom-pom, a decorative bead, or even a tiny painted character can be attached here to draw attention. If the original cap is still intact, it can be painted and adorned separately and then reattached.
For a touch of elegance, consider using metallic paints, gold leaf, or glitter. Applying a layer of metallic spray paint or acrylic paint can instantly elevate the ornament. Gold leaf can be applied with a special adhesive for a luxurious finish. Fine glitter can be sprinkled over wet glue or incorporated into paint for a subtle shimmer.
The bottom of the ornament can also be decorated. A small painted design, a cluster of beads, or even a small tuft of faux fur can add visual interest and a tactile element. If the lip balm tube has a clear bottom, you can insert a small piece of decorative paper or a tiny photograph inside before sealing it with glue.
When sealing the ornament, a clear acrylic sealer, either in spray or brush-on form, is highly recommended. This protects the paint and embellishments from chipping, fading, and moisture, ensuring the ornament’s longevity. Apply the sealer in thin, even coats, allowing each layer to dry completely before applying the next. This step is crucial for preserving the intricate details and vibrant colors of your upcycled ornament.
Personalization is a key aspect of upcycling. Consider adding names, dates, or short messages to your ornaments. Paint pens or fine-tipped permanent markers are suitable for writing or drawing on painted surfaces. For a more subtle effect, consider using letter stamps to apply individual letters.
When creating ornaments as gifts, think about the recipient’s interests and personality. A sports enthusiast might have an ornament decorated with their favorite team’s colors or small sports-related charms. A gardener might have an ornament adorned with miniature flowers or gardening tools. The act of upcycling itself sends a message of thoughtfulness and environmental consciousness, making these personalized ornaments even more meaningful.
Consider the scale and weight of your ornament when deciding on the hanging mechanism. A heavier ornament will require a sturdier ribbon or wire and a securely drilled hole. Conversely, lighter ornaments can accommodate thinner threads and less robust attachments.
The lip balm tube itself can be manipulated further before decoration. Some tubes have textured surfaces that can be enhanced with paint or sanding. Others have a smooth, glossy finish that is ideal for painting. If the tube has any logos or branding that you wish to remove, rubbing alcohol or a specialized adhesive remover can be effective. However, test these removers on an inconspicuous area first to ensure they do not damage the plastic.
Safety precautions should always be considered when undertaking DIY projects. Ensure adequate ventilation when using spray paints or sealers. Wear protective eyewear when drilling or working with sharp tools. Keep small embellishments out of reach of young children and pets.
The upcycling process can be a fun and engaging activity for individuals of all ages. Children can participate in the painting and gluing aspects under adult supervision, fostering creativity and an understanding of sustainability. The tactile nature of the materials and the immediate visual results can be very rewarding for young crafters.
In conclusion, upcycling a lip balm tube into a holiday ornament is a simple yet impactful way to reduce waste and add a personal touch to seasonal celebrations. By following these detailed steps and embracing creative embellishment techniques, you can transform discarded tubes into unique, cherished decorations that reflect your individual style and commitment to sustainability. The versatility of the lip balm tube as a canvas for artistic expression, combined with the practical consideration of creating a functional hanging mechanism, makes this DIY project both rewarding and environmentally responsible.
