DIY Cake Beverage Stencils: Elevate Your Edible Art with Precision and Flair
Creating visually stunning cakes and beverages is an art form that delights the senses. While intricate piping and fondant sculpting are hallmarks of professional pastry, achieving professional-looking decorative elements at home is more accessible than ever. One of the most effective and surprisingly simple DIY techniques for adding a professional touch is the beverage stencil, adaptable for both cakes and drinks. This article will provide a comprehensive, SEO-friendly guide to understanding, creating, and utilizing DIY cake beverage stencils, empowering you to achieve sophisticated designs with ease. We’ll delve into material selection, design considerations, cutting techniques, and application methods, ensuring you have all the knowledge to transform your edible creations.
The foundation of any successful DIY project lies in choosing the right materials. For cake beverage stencils, the primary consideration is a material that is food-safe, flexible, durable, and easy to cut. Acetate sheets, also known as transparency film or overhead projector film, are an excellent choice. These sheets are readily available at office supply stores and online, are typically 0.10-0.20 mm thick, providing a good balance of flexibility and rigidity. They are also non-porous, making them easy to clean and reusable. Another popular option is cardstock or heavyweight paper, which is inexpensive and easy to cut, but it is less durable and not as reusable as acetate, especially if it becomes saturated with moisture or frosting. For more intricate designs or repeated use, stencil plastic specifically designed for crafting and food applications is available. This plastic is often thicker than acetate, offering greater rigidity, and is certified food-safe. When selecting your material, always prioritize food-grade certification to ensure safety. Avoid materials that might leach chemicals or degrade when in contact with food. Consider the thickness of your chosen material in relation to the intricacy of your design and the medium you’ll be using for application. Thicker materials are better for bold designs and powdered sugar applications, while thinner, more flexible materials are ideal for frosting or liquid applications where the stencil needs to conform to curved surfaces.
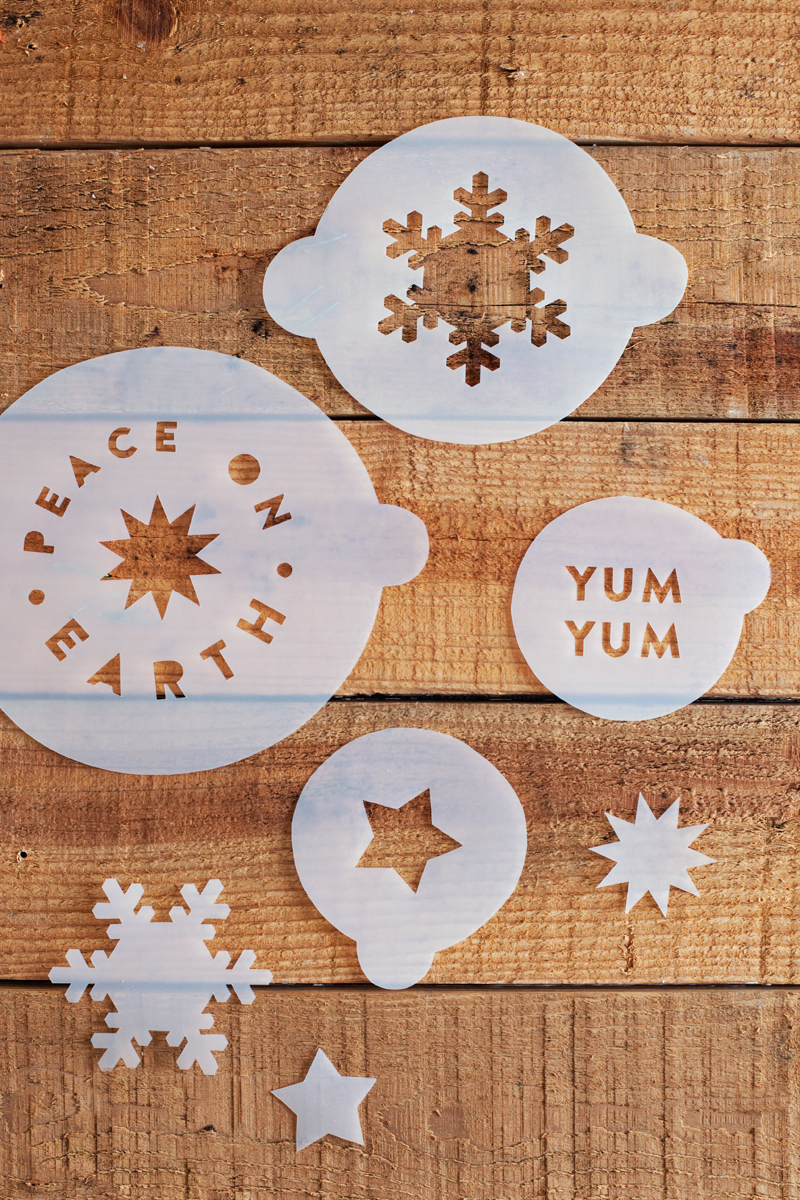
Design is the soul of any stencil. For cake beverage stencils, the key is to select or create designs that are clear, recognizable, and translate well to the chosen medium. Simple geometric shapes, repeating patterns, monograms, or silhouettes of popular motifs like stars, hearts, or leaves work exceptionally well. Consider the size of your cake or beverage surface when choosing your design. A large, intricate design might overwhelm a small cupcake, while a tiny, delicate pattern might be lost on a multi-tiered wedding cake. For beverages, consider the rim of the glass or the surface of the liquid. Common beverage stencil designs include latte art motifs, seasonal greetings (e.g., snowflakes for winter, pumpkins for fall), or even simple dots and lines for abstract effects. Think about the negative space – the areas that will not be covered by your design. This negative space is crucial for defining the shape and clarity of your stencil. When designing for cakes, remember that frostings and edible dusts have different viscosities and textures. A design that works perfectly with powdered sugar might become a blurry mess with thick buttercream. For intricate designs, it’s often beneficial to simplify them. Bold lines and distinct shapes tend to yield the best results. If you’re not artistically inclined, many free or paid design templates are available online, specifically for stencils. You can also use graphic design software to create your own, ensuring the lines are clean and the shapes are well-defined. When creating your own designs, remember to create enclosed shapes for elements you want to fill in, and conversely, ensure continuous lines for outlines.
The cutting process is where your design comes to life. Precision is paramount for achieving clean lines and professional-looking results. For acetate or stencil plastic, an electronic cutting machine like a Cricut or Silhouette is the gold standard. These machines offer unparalleled precision and can cut incredibly intricate designs with ease. Simply upload your digital design, select your material, and let the machine do the work. For those without an electronic cutter, a sharp craft knife (like an X-Acto knife) and a cutting mat are essential. Print your design onto paper or directly onto your acetate sheet if your printer allows. Carefully trace the design with your craft knife, applying consistent pressure. Take your time, especially with detailed areas. It’s often helpful to cut from the inside out to avoid tearing or distorting the surrounding material. For cardstock, a craft knife is also the best option. If you’re using thicker cardstock or stencil plastic without a cutting machine, a rotary cutter and a metal ruler can also be effective for straight lines. Regardless of your method, always ensure your blade is sharp. A dull blade will snag the material, resulting in jagged edges and an unprofessional finish. Practice on scrap material first to get a feel for the pressure and angle needed for a clean cut. Remember to remove any small internal pieces carefully, as these are critical to the stencil’s integrity. For example, if you’re stenciling the letter ‘O’, the inner circle needs to be removed.
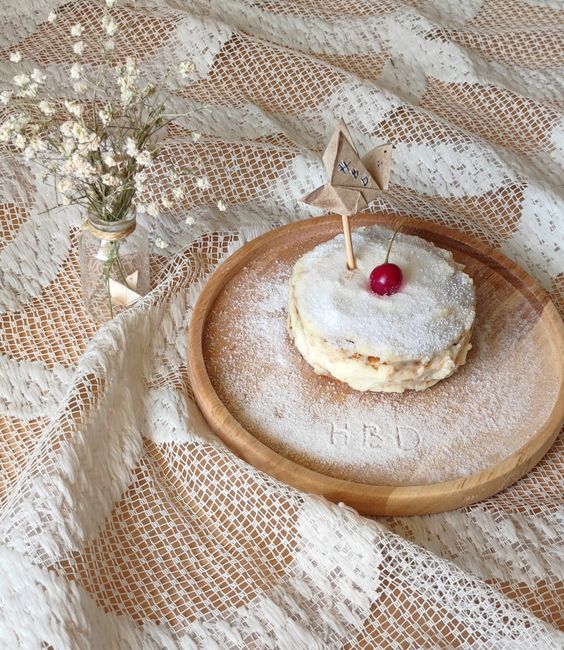
Applying your DIY cake beverage stencil is the final, exciting step. The method of application will depend on your chosen medium and the surface you’re decorating. For cakes, common application mediums include powdered sugar, cocoa powder, edible glitter, and even strategically placed frosting or edible paint. For powdered sugar or cocoa powder, a fine-mesh sieve or shaker is your best friend. Place the stencil firmly against the cake’s surface. Gently sift the powdered sugar or cocoa powder over the stencil, ensuring an even coating. Avoid over-sifting, which can cause the powder to seep under the stencil. Once coated, carefully lift the stencil straight up to reveal your design. For edible glitter, the same sifting technique applies. When using frosting, you can either apply it through the stencil using an offset spatula or piping bag, or use a palette knife to spread a thin, even layer over the stencil. For edible paint, a small stencil brush or an airbrush is ideal. Gently dab or spray the paint over the stencil. For beverages, the application is typically done with powdered ingredients like cocoa powder or cinnamon for coffee drinks, or sugar for cocktails. Place the stencil on the rim of the glass or directly on the surface of the drink (if it’s stable enough). Gently tap or sift the powdered ingredient over the stencil. For layered drinks, you can carefully place the stencil on the surface and then gently pour a contrasting liquid around the stencil to create a colored edge. Always ensure the stencil is held flat and securely against the surface to prevent bleeding. For liquid applications, a slightly thicker stencil material can help create a cleaner edge.
Cleaning and maintenance are crucial for extending the life of your DIY stencils. After each use, immediately wash your stencil with warm, soapy water. For acetate and stencil plastic, a soft sponge or cloth is recommended to avoid scratching. Rinse thoroughly and allow to air dry completely before storing. For cardstock, you can gently wipe it clean, but avoid soaking it as it can warp or degrade. If you’ve used edible paint or thick frosting, you might need a gentle cleaner or even a soft toothbrush to remove stubborn residue. Ensure all food particles are removed to prevent bacterial growth. Store your stencils flat and protected from dust and moisture. If you’re using electronic cutting machines, keep the cutting mats clean and free of debris. Proper care ensures your stencils remain in good condition, ready for your next creative endeavor. Consider dedicating a specific storage container for your stencils to keep them organized and prevent them from becoming damaged.
Troubleshooting common issues can save your decorating project. If your stencil design appears blurry or smudged, it’s usually due to one of a few reasons: the stencil wasn’t held firmly enough against the surface, the application medium was too wet or too thick, or you lifted the stencil too quickly. To fix this, ensure a firm seal by pressing the stencil down evenly. For powdered applications, use a lighter hand and tap gently. For frosting or paint, ensure a thin, even layer is applied. When lifting the stencil, do so slowly and deliberately, pulling straight up to avoid dragging the medium. If the stencil material is tearing during cutting, your blade is likely dull, or you’re applying too much pressure. If you notice the material is stretching or deforming during application, it might be too thin for the medium you’re using, or the surface you’re applying to has too much moisture or curvature. Experiment with different stencil thicknesses and application techniques to find what works best for your specific needs. Don’t be discouraged by initial imperfections; practice and experimentation are key to mastering any DIY technique.
Exploring advanced techniques and creative applications can further enhance your stencil use. Consider layering multiple stencils to create more complex designs. For example, you could stencil a solid shape and then use a second stencil to add intricate details within that shape. Experiment with different color combinations of edible dusts or frostings. You can also use stencils to create textured effects by applying a thicker frosting through the stencil and then scraping it off, leaving a raised pattern. For beverages, explore using stencils with colored sugar for rimming glasses or creating layered effects in drinks. Consider using stencils for edible image printing, where you can print a design onto edible paper and then use a stencil to mask off areas for selective coloring or detailing. The possibilities are truly endless, limited only by your imagination and the food-safe materials available. Thinking outside the box, such as using stencils for cookie decorating before baking, or creating custom cupcake wrappers with stenciled designs, can elevate your baking and entertaining.
In conclusion, DIY cake beverage stencils offer a powerful yet accessible method for adding a professional and personalized touch to your edible creations. By carefully selecting materials, thoughtfully designing your motifs, mastering precise cutting techniques, and employing effective application methods, you can unlock a new level of creativity in your baking and drink preparation. The ease of cleaning and the potential for reusability further cement their value as a cost-effective and versatile decorating tool. With a little practice and a lot of imagination, your DIY cake beverage stencils will become indispensable assets in your culinary arsenal, transforming ordinary treats into extraordinary works of art. Experiment, have fun, and enjoy the impressive results.
