DIY Hanging Clothes Rail: A Comprehensive Guide to Building Your Own Custom Storage Solution
Constructing a DIY hanging clothes rail offers a highly customizable and cost-effective solution for garment storage. Unlike pre-made units, a DIY project allows you to tailor the dimensions, materials, and aesthetic to perfectly fit your space and needs. This guide will provide a comprehensive overview of the process, covering essential considerations, popular design options, material choices, step-by-step construction techniques, and finishing touches. Whether you require a simple, minimalist rack for a small apartment or a robust, multi-tier system for a walk-in closet, this guide will equip you with the knowledge to build a functional and stylish hanging clothes rail.
Planning and Design Considerations
Before embarking on your DIY hanging clothes rail project, meticulous planning is paramount. The first step involves accurately measuring the intended space. Consider the height available for hanging garments, the desired width of the rail, and the depth the unit will occupy. For instance, a standard long dress requires approximately 50-60 inches of vertical clearance, while shirts and jackets typically need around 36-48 inches. Width is dictated by the amount of clothing you intend to store and the available wall space. Depth is crucial for ensuring clothes don’t protrude excessively into the room.
Next, determine the load-bearing capacity required. A rail intended for a light collection of delicates will have different structural needs than one designed to support heavy winter coats and denim. This will influence your material selection and the type of fasteners you employ. Consider the overall aesthetic you aim to achieve. Do you prefer a rustic, industrial, or modern look? This will guide your choice of materials, finishes, and hardware.
Think about the functionality beyond just hanging. Do you need integrated shelving for folded items, shoes, or accessories? Do you envision multiple tiers for maximizing vertical space, or a single, open rail? Consider the accessibility of the items you’ll store. If the rail is high, you might need a step stool or a lower shelf to reach items easily. Safety is also a critical consideration. Ensure the structure is stable and securely attached to the wall to prevent accidents, especially if children or pets are present.
Popular DIY Hanging Clothes Rail Designs
Several popular design archetypes form the basis for most DIY hanging clothes rail projects. Understanding these will help you select or adapt a design that suits your requirements.
-
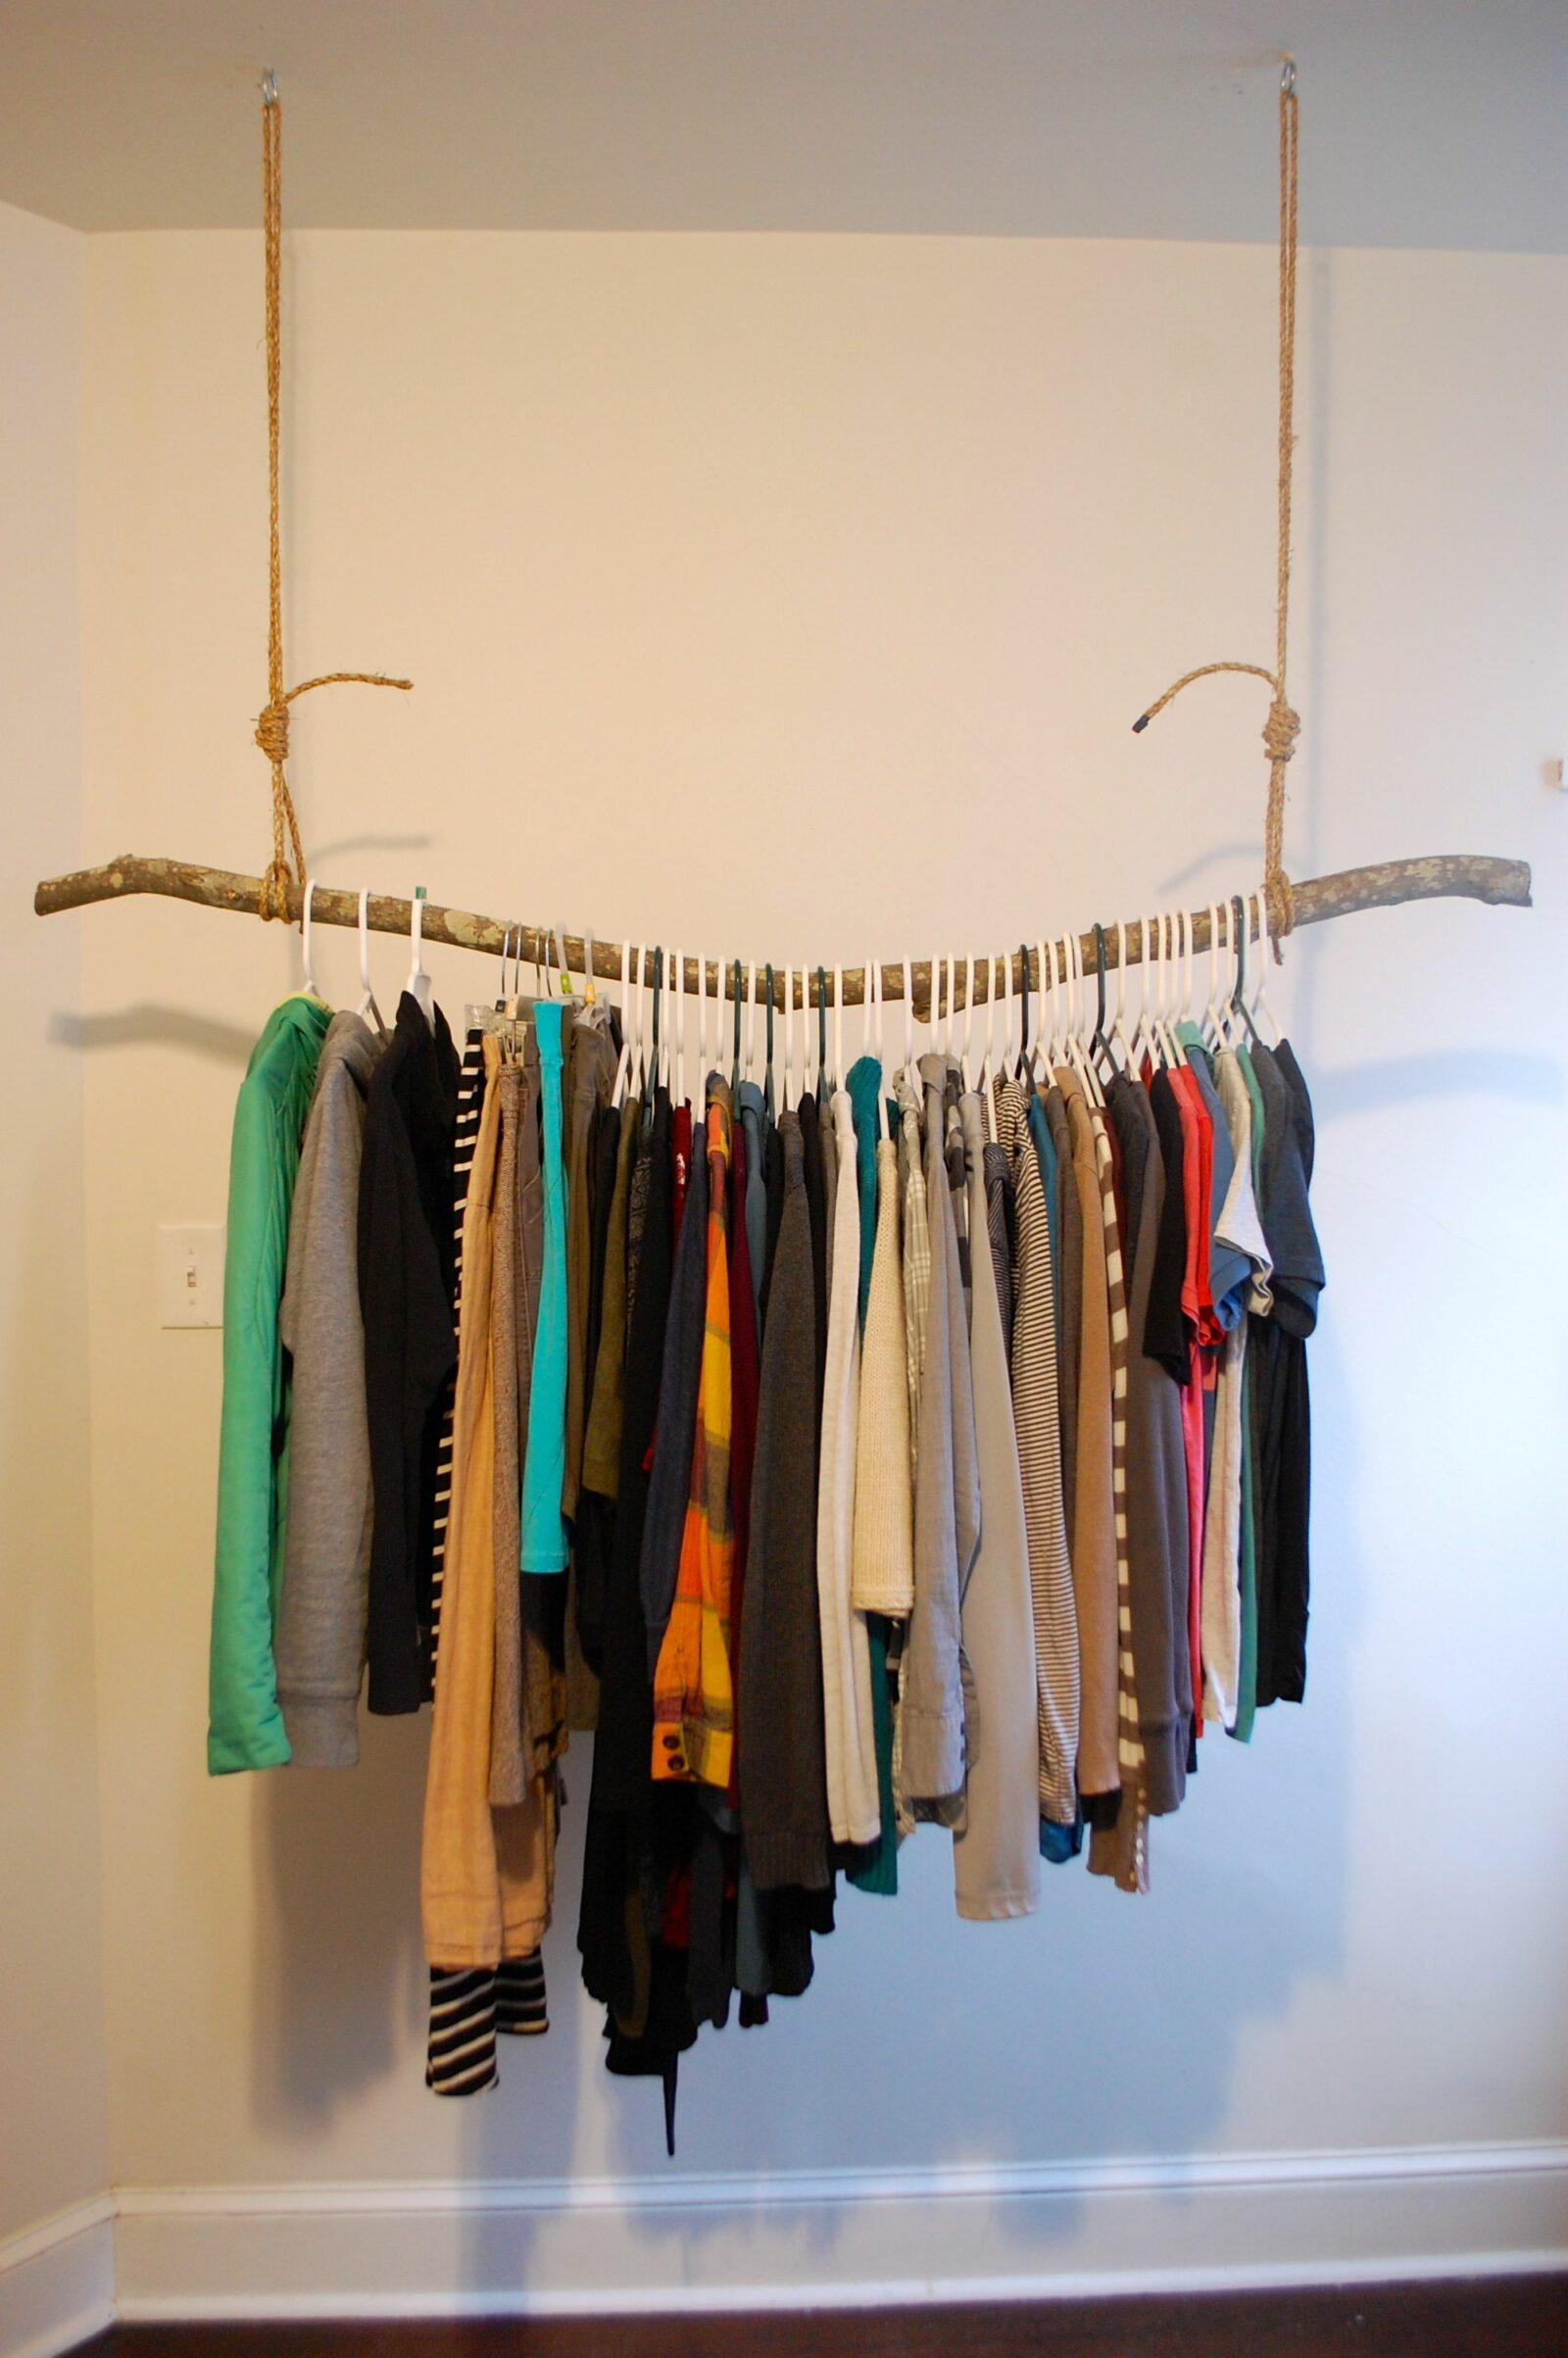
The Simple Wall-Mounted Rail: This is perhaps the most straightforward design, consisting of a single horizontal rail mounted directly to wall studs or using robust wall anchors. It’s ideal for maximizing floor space and is often used in smaller areas or as an accent piece. Materials typically include a sturdy pipe (metal or wood) and corresponding brackets.
-
The Freestanding Pipe Rack: Utilizing industrial-style pipes and fittings, this design is popular for its robust construction and modern aesthetic. It doesn’t require wall mounting, offering flexibility in placement. These racks often have a rectangular or square footprint and can be designed with multiple horizontal bars for increased hanging capacity.
-
The Shelf and Rail Combination: This design integrates shelving above or below the hanging rail, providing versatile storage for folded clothes, bags, or decorative items. The shelves can be made from wood, plywood, or even reclaimed planks. This is an excellent option for creating a complete wardrobe solution in a single unit.
-
The Industrial Loft Style: Characterized by exposed pipes, raw wood, and often a darker color palette, this design mimics the look of repurposed industrial fixtures. It’s visually striking and highly durable.
-
The Minimalist Wooden Rail: Using simple wooden beams or dowels, this design offers a clean and understated look. It can be easily integrated into Scandinavian or modern decor. The wood can be left natural, stained, or painted.
-
The Corner Unit: This design utilizes the often-underutilized corner space of a room, creating an efficient storage solution without encroaching on open floor areas. It can be adapted to include shelves and multiple hanging levels.
Material Selection: Durability, Aesthetics, and Cost
The choice of materials significantly impacts the longevity, appearance, and cost of your DIY hanging clothes rail.
-
Wood:
- Solid Wood (Pine, Oak, Maple, Cedar): Offers natural beauty, strength, and a wide range of finishing options. Pine is cost-effective and easy to work with, while hardwoods like oak and maple provide superior durability and a more premium finish. Cedar offers natural insect repellent properties, making it suitable for storing woolens.
- Plywood: A cost-effective option for shelving, offering stability and a smooth surface. Choose higher grades for a cleaner finish.
- MDF (Medium-Density Fiberboard): Less durable than solid wood and can sag under significant weight. Best suited for non-load-bearing elements or if a smooth painted finish is desired.
-
Metal:
- Steel Pipe (Galvanized or Black Iron): Extremely durable, offering an industrial aesthetic. Requires threading and fittings for assembly. Galvanized pipe is resistant to rust, while black iron pipe has a raw, matte finish that can be sealed.
- Aluminum Pipe: Lighter than steel but still strong. Offers a modern look and is naturally rust-resistant.
- Metal Rods (Steel or Aluminum): Can be used as hanging rails, offering a sleek and modern appearance. Ensure they are sufficiently thick to prevent sagging.
-
Hardware and Fasteners:
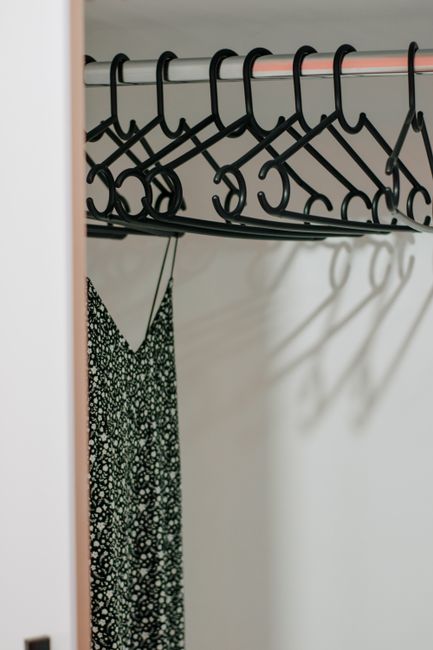
- Brackets: Crucial for wall-mounting. Choose heavy-duty metal brackets appropriate for the weight the rail will support. For wood, consider robust L-brackets or shelf brackets. For pipe systems, specialized pipe flanges are used.
- Screws: Use appropriate lengths and types for securing brackets to wall studs or for assembling wooden components. Wood screws, drywall screws (for attaching to studs), and lag screws are common.
- Wall Anchors: Essential if you cannot locate wall studs. Choose anchors rated for the intended weight load. Toggle bolts and heavy-duty expansion anchors are recommended for significant loads.
- Pipe Fittings: If using steel pipe, you’ll need couplings, elbows, tees, and flanges to create the desired structure.
Tools You’ll Need
The specific tools required will depend on your chosen design and materials, but a comprehensive DIYer should ideally have access to:
- Measuring Tape: For accurate measurements.
- Level: To ensure your rail is perfectly horizontal.
- Pencil: For marking measurements.
- Saw: A handsaw, circular saw, or miter saw for cutting wood or pipes.
- Drill/Driver: For pre-drilling holes and driving screws.
- Drill Bits: For wood, metal, and masonry as needed.
- Stud Finder: Essential for locating wall studs for secure mounting.
- Screwdriver Set: For manual screw driving if necessary.
- Sandpaper (various grits): For smoothing wood surfaces.
- Paintbrushes/Rollers: For applying finishes.
- Safety Glasses: Always wear eye protection when cutting or drilling.
- Gloves: For protecting your hands.
- Clamps: To hold pieces together while gluing or assembling.
- Pipe Wrench (for metal pipe): To tighten pipe fittings.
Step-by-Step Construction: A Versatile Example (Shelf and Rail Combination)
This example outlines the construction of a wall-mounted unit with a wooden shelf above a hanging rail, adaptable to various dimensions.
Step 1: Design and Measure
Reiterate your measurements and sketch out your design. Decide on the desired height of the shelf, the rail, and the overall width and depth.
Step 2: Cut Your Materials
- Shelf: Cut your chosen wood or plywood to the desired dimensions for the shelf.
- Rail: Cut your wood or pipe to the desired length for the hanging rail. If using wood, ensure it’s thick enough to support the weight of clothing without bowing. A 2×4 or a sturdy dowel can work.
- Support Brackets (if applicable): Cut any additional wooden supports if your design requires them.
Step 3: Prepare the Wood (if using wood)
- Sanding: Sand all wooden components, starting with a coarser grit (e.g., 80-120) and progressing to a finer grit (e.g., 180-220) for a smooth finish. Pay attention to edges and corners.
- Finishing (Optional but Recommended): Apply your chosen finish – stain, paint, varnish, or sealant. Allow each coat to dry thoroughly according to the product’s instructions.
Step 4: Mount the Shelf Supports
- Locate Studs: Use a stud finder to locate wall studs at the desired height for your shelf. Mark their centers with a pencil.
- Install Brackets: Attach robust shelf brackets to the wall studs using lag screws. Ensure the brackets are level. If studs are not in the right position, use heavy-duty wall anchors rated for the expected load.
- Place the Shelf: Position the shelf onto the brackets. Secure the shelf to the brackets from underneath using screws.
Step 5: Install the Hanging Rail
- Determine Rail Height: Measure down from the underside of the shelf to your desired hanging rail height. Mark this position on the wall.
- Install Rail Supports:
- For Wood Rails: Mount sturdy wooden cleats or metal brackets to the wall at your marked height, ensuring they are level and aligned with wall studs if possible. If using cleats, they should be sufficiently deep to support the rail.
- For Pipe Rails: Attach pipe flanges to the wall at the marked height, again ensuring they are level and secured into studs or using heavy-duty anchors.
- Attach the Rail:
- For Wood Rails: Rest the wood rail on the cleats or within the brackets and secure it with screws from the top or sides.
- For Pipe Rails: Screw the pipe into the flanges. If creating a multi-section pipe, use couplings to join the sections.
Step 6: Reinforce and Secure
- Check Stability: Gently push and pull on the rail and shelf to ensure the entire structure is stable and securely attached to the wall.
- Add Bracing (if needed): If you anticipate a very heavy load, consider adding diagonal braces from the wall to the shelf or rail for extra support.
Step 7: Finishing Touches and Accessories
- End Caps: For exposed wood edges or pipe ends, consider adding decorative caps or plugs.
- Hooks: Install small hooks on the underside of the shelf for hanging belts, scarves, or bags.
- Lighting: Consider integrating LED strip lighting under the shelf for improved visibility.
Building a Freestanding Pipe Rack: A Different Approach
For a freestanding unit, the process involves assembling pipe sections.
Step 1: Design and Measure
Sketch your desired frame (e.g., rectangular, square) and determine the dimensions.
Step 2: Gather Materials
Purchase steel pipes (e.g., 3/4" or 1" diameter), corresponding pipe fittings (flanges for feet, tees for vertical supports, elbows for corners), and any additional pipes for the hanging rail.
Step 3: Assemble the Base
Using flanges as feet, connect pipe sections with elbows and tees to create the base of your rack.
Step 4: Install Vertical Supports
Connect vertical pipes to the base using tees or appropriate fittings.
Step 5: Add the Hanging Rail
Connect horizontal pipes to the vertical supports using tees or elbows to form the hanging rail.
Step 6: Secure and Stabilize
Ensure all fittings are tightly screwed together using a pipe wrench. If the rack feels wobbly, consider adding cross braces or increasing the diameter of the pipes.
Step 7: Finishing (Optional)
You can paint or seal the metal pipes for a different aesthetic.
Safety and Maintenance
- Weight Limits: Always be mindful of the weight your rail is designed to hold. Overloading can lead to structural failure.
- Regular Checks: Periodically inspect the rail for any signs of loosening or damage. Tighten screws and fittings as needed.
- Cleaning: Clean the rail according to the material’s specifications. Wood may require dusting and occasional polishing, while metal can be wiped down with a damp cloth.
- Wall Integrity: If wall-mounted, ensure the wall itself remains structurally sound.
SEO Optimization for Your DIY Project
To make this article discoverable by those searching for DIY hanging clothes rail solutions, consider the following SEO strategies:
- Keyword Integration: Naturally incorporate keywords such as "DIY hanging clothes rail," "build your own garment rack," "custom clothing storage," "pipe clothes rail," "wooden clothes rail," "closet organization," "DIY wardrobe," and "easy clothes rail project."
- Descriptive Titles and Headings: Use clear and descriptive titles for each section (e.g., "Planning Your DIY Hanging Clothes Rail," "Choosing the Right Materials for Your Garment Rack").
- Image Optimization: If including images, use descriptive alt text that incorporates relevant keywords (e.g., "DIY industrial pipe hanging clothes rail," "wooden shelf and rail storage unit").
- Internal and External Linking: Link to other relevant DIY projects or articles on your site. If external links are used, ensure they are to reputable sources.
- User Intent: Focus on answering the questions and addressing the needs of someone looking to build their own clothes rail – from inspiration to execution.
- Long-Tail Keywords: Consider incorporating phrases like "how to build a heavy-duty hanging clothes rail," or "simple DIY clothes rail for small spaces."
- Structured Data Markup: If possible, use schema markup to help search engines understand the content, particularly for step-by-step instructions.
By following this comprehensive guide and incorporating these SEO best practices, you can successfully build a functional and stylish DIY hanging clothes rail that perfectly suits your storage needs and enhances the aesthetics of your space.