Sewing an Infinity Scarf: A Comprehensive Guide for Beginners and Beyond
Crafting an infinity scarf is an accessible and rewarding sewing project, offering both a stylish accessory and a practical way to utilize fabric remnants or showcase favorite textiles. This comprehensive guide will walk you through every step, from selecting the ideal fabric and understanding yardage to the precise cutting, sewing, and finishing techniques required to create a beautiful and durable infinity scarf. Whether you’re a seasoned sewer looking for a quick project or a complete beginner embarking on your sewing journey, this tutorial will equip you with the knowledge and confidence to successfully sew your own custom infinity scarf. We will delve into the nuances of fabric choice, discuss the importance of accurate measurements, and provide detailed instructions for achieving a professional-looking finish, all while keeping SEO best practices in mind to ensure this resource is discoverable by those seeking to learn this popular craft.
Choosing the Right Fabric for Your Infinity Scarf
The foundation of a successful infinity scarf lies in the fabric selection. The drape, texture, and weight of the material will significantly influence the final look and feel of your scarf. For beginners, opt for fabrics that are easy to handle and don’t fray excessively. Cotton, particularly quilting cotton or light to medium-weight apparel cotton, is an excellent starting point. It’s stable, easy to press, and comes in an endless array of prints and colors, allowing for immense personalization. However, cotton can sometimes feel a bit stiff for a scarf, so consider cotton blends for added softness and drape.
Knit fabrics, such as jersey knit, interlock, or French terry, are also popular choices for infinity scarves. Knits offer inherent stretch, which contributes to a wonderfully soft and comfortable drape. They are often forgiving for new sewers as they tend to roll rather than fray. When working with knits, it’s crucial to use a ballpoint needle on your sewing machine to prevent skipped stitches and fabric damage. Ensure the knit has good recovery, meaning it springs back into shape after being stretched. A knit that stretches out and stays stretched will result in a shapeless scarf.
For a more luxurious feel, consider fabrics like rayon, modal, or bamboo knits. These materials offer a beautiful, fluid drape and a silky-smooth texture. They can be slightly more challenging to sew than cotton due to their tendency to slip and stretch, so a walking foot on your sewing machine can be very helpful. Silk charmeuse or crepe de chine can create exquisite, high-end infinity scarves, but they are the most challenging for beginners due to their delicate nature and tendency to fray.
Flannel is a fantastic choice for cozy, winter infinity scarves. It’s warm, soft, and easy to work with. However, be prepared for some lint and potential fraying. Pre-washing flannel is highly recommended to prevent shrinkage after sewing.
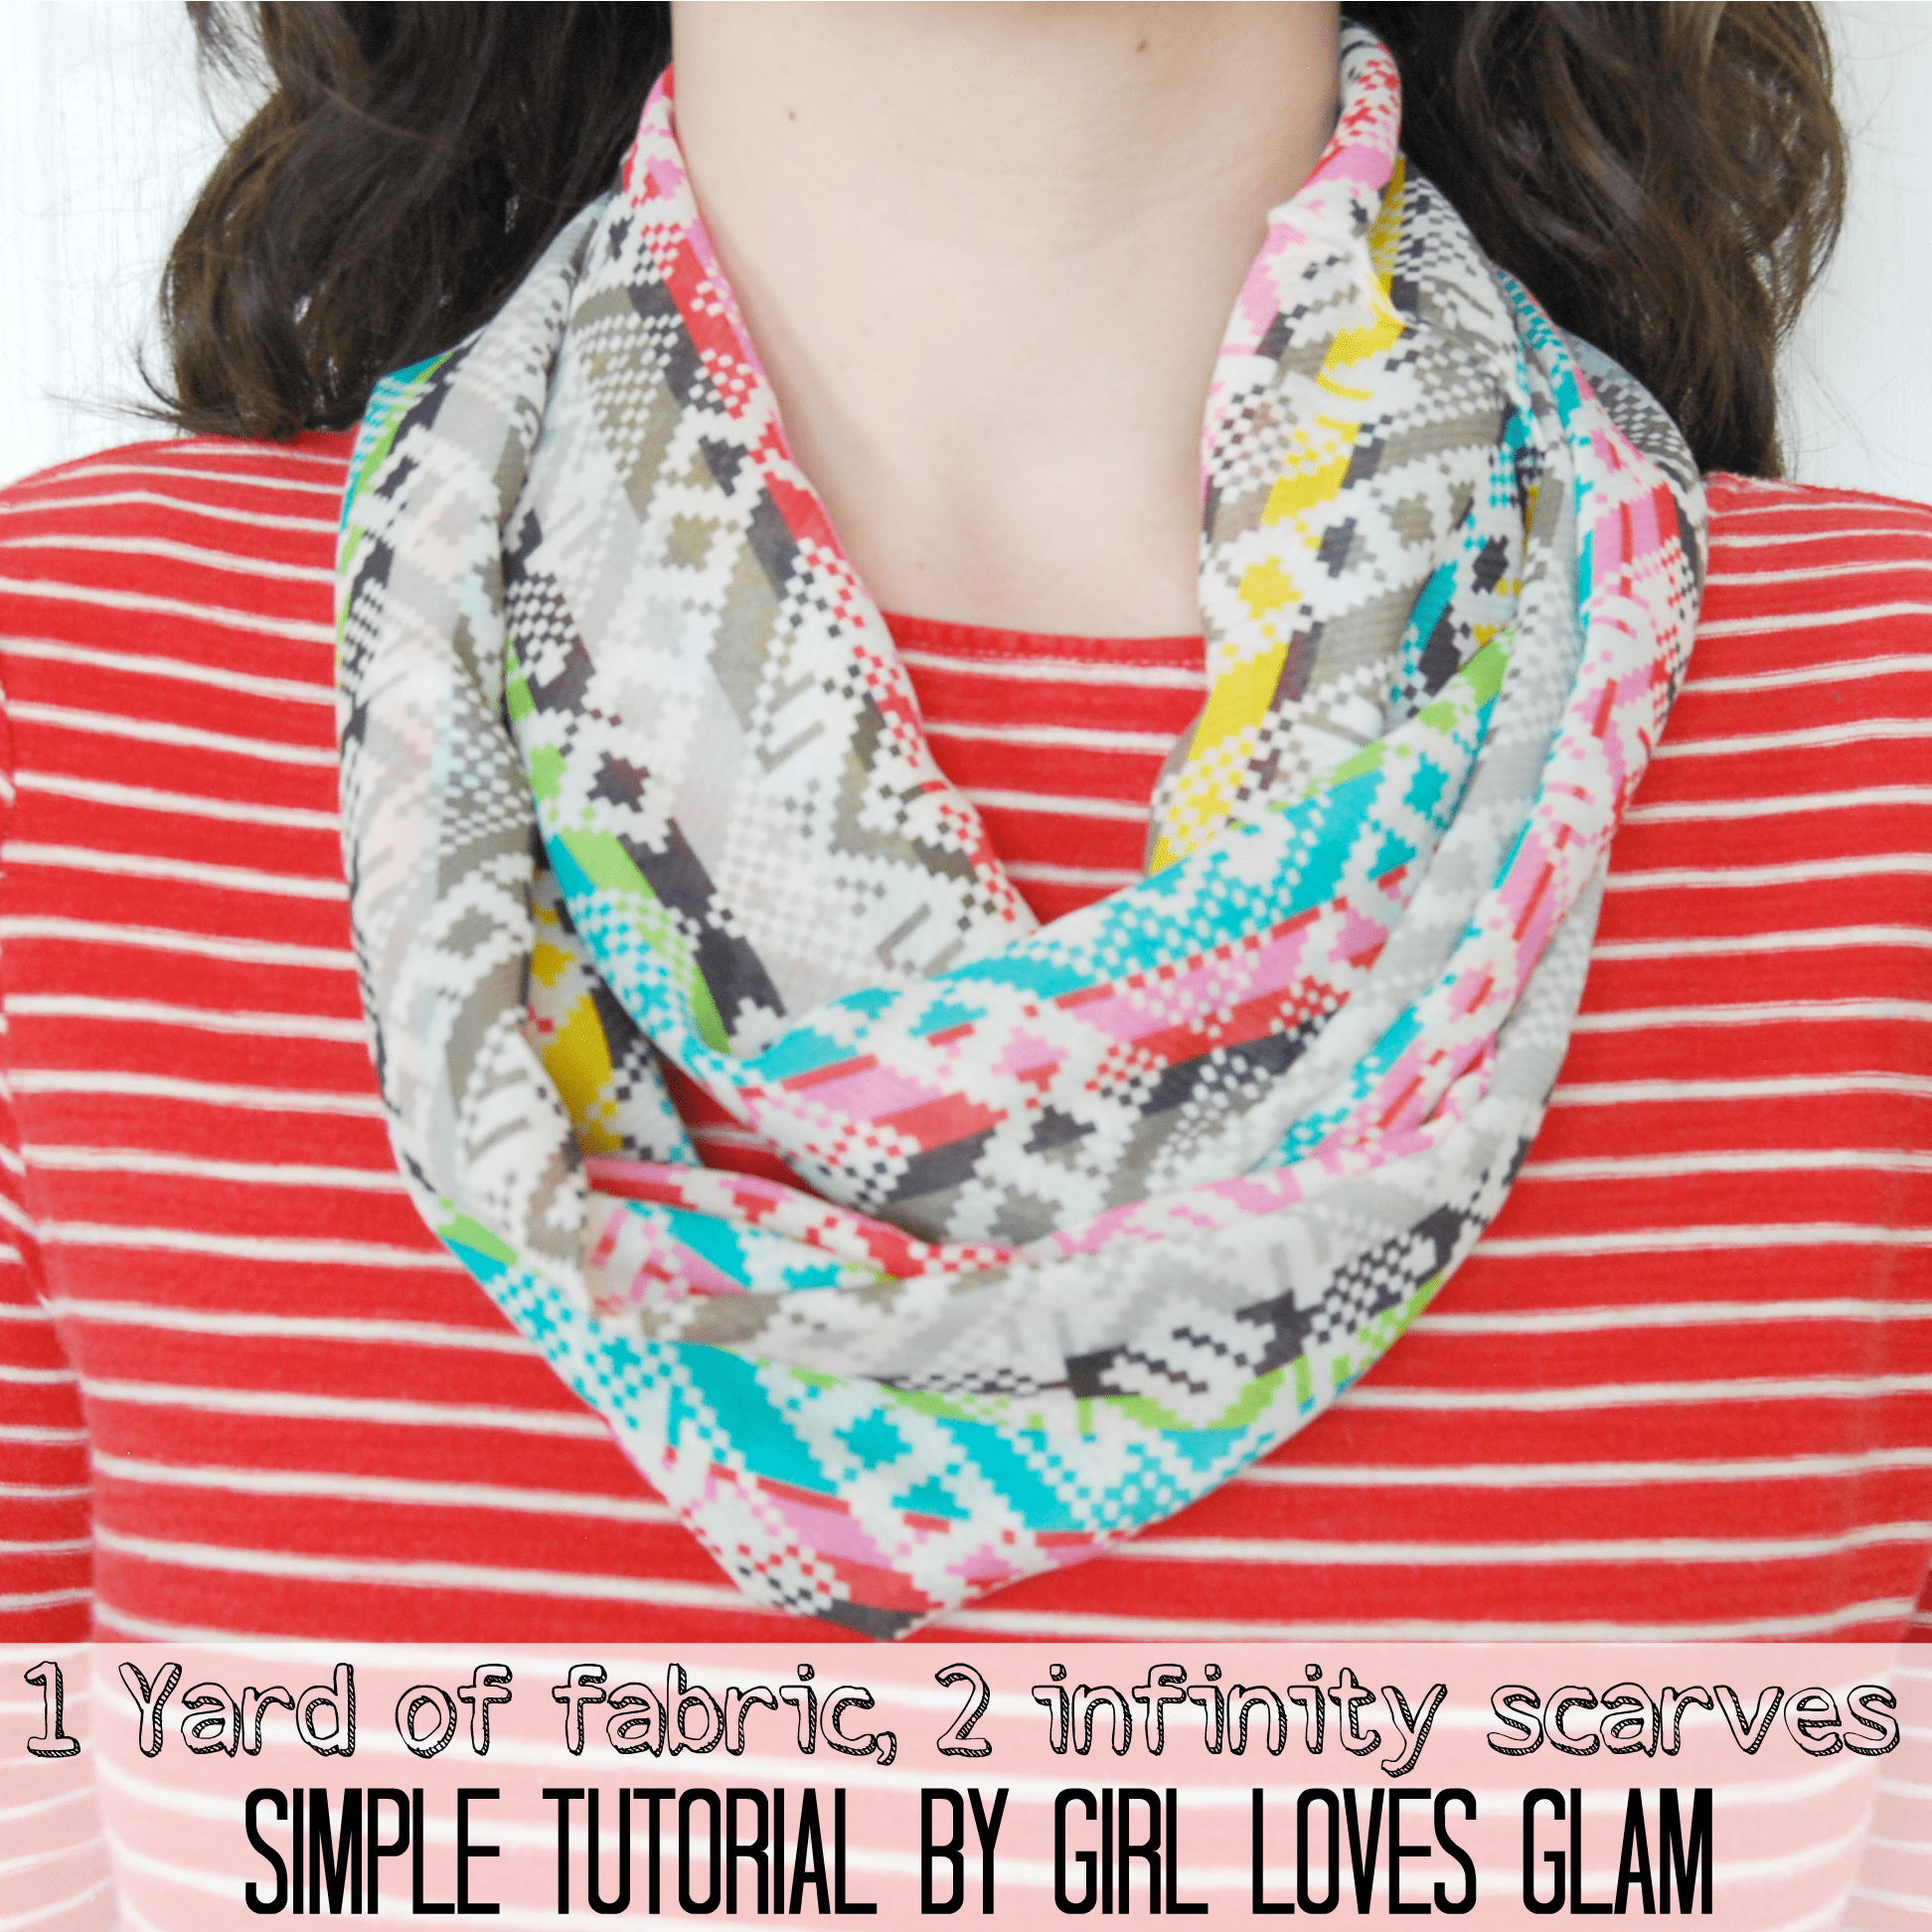
When considering yardage, the amount of fabric you’ll need depends on the desired fullness and circumference of your infinity scarf. A common measurement for a single loop infinity scarf is a rectangle that is approximately 25-30 inches wide and 70-80 inches long. For a double loop infinity scarf, you’ll often need double this length, or a wider piece cut to the full length. For a standard infinity scarf, you will generally need between 1.5 to 2 yards of fabric. It’s always a good idea to purchase a little extra fabric to account for any errors or to have on hand for matching motifs if you’re using a directional print. Always check the fabric width – most standard apparel fabrics are 44/45 inches wide, while wider fabrics can be 58/60 inches. This will impact how you cut your fabric.
Essential Sewing Tools and Notions
Before you begin cutting and sewing, gather the necessary tools to ensure a smooth and efficient process.
- Sewing Machine: A functional sewing machine is essential. Ensure it’s in good working order and you’re familiar with its basic operations.
- Thread: All-purpose polyester thread is suitable for most fabrics. Match the thread color to your fabric for a seamless look, or use a contrasting color for a decorative effect.
- Fabric Scissors: Sharp fabric scissors are crucial for clean, precise cuts. Never use your fabric scissors for cutting paper, as this will dull the blades.
- Rotary Cutter and Mat (Optional but Recommended): For very straight cuts and faster fabric preparation, a rotary cutter and self-healing mat are invaluable.
- Pins: Straight pins are used to hold fabric layers together while sewing. Ball-ended pins can be helpful for knits.
- Measuring Tape or Ruler: Accurate measurements are key. Use a flexible measuring tape for fabric and a quilter’s ruler for precise cutting.
- Iron and Ironing Board: Pressing seams as you go is a vital step in achieving a professional finish. It helps to set stitches and create crisp edges.
- Fabric Marker or Chalk: For marking cutting lines and sewing guides on your fabric.
- Ballpoint Needle (if using knits): As mentioned earlier, this is crucial for sewing knit fabrics.
- Walking Foot (Optional, for knits and slippery fabrics): This attachment helps to feed multiple layers of fabric evenly, preventing stretching and distortion.
- Serger (Optional): While not essential for an infinity scarf, a serger can be used to finish the raw edges of knit fabrics for a professional and durable finish.
Calculating Yardage and Cutting Your Fabric
The specific dimensions of your infinity scarf will determine the exact yardage and cutting requirements. For a common single-loop infinity scarf, you’ll typically cut a large rectangle. Let’s assume you want a finished scarf that is 25 inches wide and 70 inches long.
- Width: Since your fabric is likely 44/45 inches wide, you can cut the 25-inch width across the fabric’s width. You’ll need to account for seam allowances. A standard seam allowance is 1/2 inch. So, for a 25-inch finished width, you’ll cut 26 inches wide (25 inches + 1/2 inch for one side + 1/2 inch for the other side).
- Length: For a 70-inch finished length, you’ll need to add seam allowances for both ends. If you are creating a simple tube that will be turned right side out, you’ll need to consider the seam that joins the two ends. However, if you are simply hemming the short ends after creating a loop from a long piece of fabric, you’ll need to factor in the hem allowance. Let’s assume for a simple tube that you will sew a 1/2 inch seam to join the ends. This means you’ll need 70 inches plus seam allowance for joining the ends. A common method is to fold the fabric in half lengthwise and sew along the raw edge to create a tube. In this case, you would cut a rectangle that is 26 inches wide by 70 inches long.
- For a Double Loop Infinity Scarf: You’ll typically double the length. So, for a 25-inch wide by 140-inch long scarf (which will then be sewn into a loop, creating two hanging loops), you would cut a rectangle of 26 inches by 140 inches.
Fabric Preparation: Pre-washing and Ironing
Before cutting, it’s essential to pre-wash and dry your fabric according to its care instructions. This step is critical for several reasons:
- Shrinkage: Most fabrics will shrink to some degree when washed and dried. Pre-washing prevents your finished scarf from shrinking and becoming misshapen after its first wash.
- Colorfastness: Pre-washing helps to remove excess dye and prevents colors from bleeding onto other fabrics or onto the scarf itself.
- Removing Chemicals: Fabrics are often treated with chemicals during manufacturing. Pre-washing helps to remove these for a cleaner, softer fabric.
After pre-washing and drying, thoroughly iron your fabric. Use a hot iron and press out all wrinkles and creases. This will ensure that your measurements are accurate and that your cutting lines are straight, leading to a much more professional and neat final product.
Cutting the Fabric
Once your fabric is prepared, it’s time to cut.
- Lay Out Your Fabric: Spread your fabric out on a flat, clean surface, such as a cutting mat or a large table. Ensure it’s smooth and free of wrinkles. If you have a directional print, pay close attention to the orientation of the pattern.
- Measure and Mark: Using your measuring tape or ruler and fabric marker/chalk, carefully measure and mark the dimensions of your scarf. For the example of a 26-inch by 70-inch scarf:
- Measure 26 inches across the width of the fabric.
- Measure 70 inches along the length.
- Use your ruler to draw a straight line across the fabric at both measurements.
- Cut Precisely: Using your sharp fabric scissors or rotary cutter, carefully cut along the marked lines. Strive for the most accurate cut possible, as this will directly impact the symmetry and final appearance of your scarf. If you’re using a rotary cutter, ensure your ruler is firmly in place to guide the blade.
Sewing the Infinity Scarf: Step-by-Step Instructions
This section details the most common method for creating an infinity scarf – sewing a continuous loop.
Method 1: The Simple Tube Infinity Scarf
This method is straightforward and ideal for most fabrics.
- Fold the Fabric: Take your rectangular piece of fabric and fold it in half lengthwise, with the right sides of the fabric together. Align the raw edges precisely.
- Pin the Long Edge: Securely pin the long raw edge of the fabric together. Ensure the pins are placed perpendicularly to the edge to make sewing easier.
- Sew the Long Seam: Using your sewing machine, stitch along the pinned long edge with a 1/2 inch seam allowance. Backstitch at the beginning and end of your seam to secure it. If you are using a knit fabric, use a zig-zag stitch or a stretch stitch.
- Press the Seam Open: Carefully open up the fabric tube. Take your iron and press the long seam allowance open. This will create a flatter, neater seam inside your scarf. For knit fabrics, you might prefer to press the seam allowance to one side to reduce bulk, depending on the fabric weight.
- Prepare the Ends for Joining: Now you have a long, fabric tube. The next step is to join the two short ends to create the infinity loop.
- Take one short end of the tube and fold it over onto itself (right sides together), creating a smaller tube. Pin the raw edges of this smaller tube together. This will form one end of your infinity loop.
- Now, take the other short end of the fabric tube. You need to bring it around to meet the first end. This is where it gets a bit like sewing a magic circle. You will essentially be sewing the second end to the first end, inside out, so that when you turn it, it creates the continuous loop.
- To visualize this: Imagine your long tube is lying flat. Take one raw end and fold it in half, so the raw edges are together. Now, take the other raw end, and insert it into the first folded end, so the right sides are facing each other. You are essentially creating a full circle where the raw edges of both ends are aligned, but one end is essentially inside out relative to the other before you sew.
- Pin the Short Ends Together: This is the most crucial part for a seamless join. Align the raw edges of both short ends. You’ll have four layers of fabric to manage here. Carefully pin all four layers together. Ensure the seam allowances are all facing the same direction. Some sewers find it helpful to mark a few points on the raw edges to ensure perfect alignment.
- Sew the Short Ends: Stitch all four layers together with a 1/2 inch seam allowance. Backstitch at the beginning and end. Again, if using knits, use a zig-zag or stretch stitch. Be mindful of the bulk of four layers of fabric; you might need to sew slowly and carefully.
- Turn and Finish: Once the short ends are sewn, carefully reach into the tube and pull the entire scarf right side out. Gently poke out all the corners and seams. You should now have a continuous loop.
- Press Again: Press the entire scarf, paying special attention to the seams you just created. This will give your infinity scarf a polished and professional finish.
Method 2: The Infinity Scarf with Finished Ends (for a different look)
This method involves creating a rectangular piece of fabric with finished short ends before sewing the long sides to form a loop. This is a good option if you want a cleaner finish on the short edges, especially if you’re using a fabric that frays.
- Cut Your Fabric: Cut a rectangle of fabric. For example, 25 inches wide by 140 inches long (for a double loop). You will need to add hem allowances to both short ends. So, if you want a 25-inch finished width, cut 26 inches. For a 140-inch finished length, cut 140 inches plus 1 inch for each hem allowance (total 142 inches).
- Hem the Short Ends:
- Fold over each short edge by 1/4 inch and press.
- Fold over again by 1/2 inch (or your chosen hem allowance) and press. This creates a double-folded hem, which encloses the raw edge.
- Stitch along the inner folded edge of each hem to secure it. Use a straight stitch for wovens and a zig-zag or stretch stitch for knits.
- Fold and Pin the Long Edges: With the right sides of the fabric together, fold the long rectangle in half lengthwise. Align the raw long edges precisely. Pin the long edge.
- Sew the Long Seam: Stitch along the pinned long edge with a 1/2 inch seam allowance. Backstitch at the beginning and end.
- Press the Seam: Press the seam allowance open as described in Method 1.
- Join the Ends to Form the Loop: Now you have a tube with finished short ends. Take one finished end and fold it over onto itself, right sides together. Pin the raw edge. Take the other finished end and insert it into the first folded end, again right sides together, ensuring all raw edges are aligned. Pin all four layers together carefully.
- Sew the Loop: Stitch all four layers together with a 1/2 inch seam allowance.
- Turn and Press: Turn the scarf right side out and press thoroughly.
Finishing Touches and Variations
- Edge Finishing for Knits: If you used a serger, you can serge the raw edges of your fabric before sewing. This provides a clean, professional, and durable finish that prevents fraying on knits.
- French Seams (for Woven Fabrics): For a very neat finish on the long seam of woven fabrics, consider using French seams. This technique encloses the raw edges within the seam itself, creating a beautiful, professional look.
- Embellishments: Once your scarf is sewn, consider adding embellishments. Tassels can be added to the corners, or decorative stitching can be applied along the edges. Fabric paint or embroidery can also personalize your creation.
- Fabric Choice for Different Seasons: Experiment with different fabrics for various seasons. Lightweight cottons or silks are perfect for summer, while chunky knits or warm flannels are ideal for winter.
Troubleshooting Common Sewing Issues
- Uneven Seams: Ensure you are using consistent seam allowances and guiding your fabric smoothly through the machine. Practice on scrap fabric if needed.
- Skipped Stitches (with knits): This is usually caused by using the wrong needle (use a ballpoint or stretch needle) or by stretching the fabric too much while sewing.
- Fabric Puckering: This can happen if your tension is too tight, or if you’re not pressing as you sew. Check your machine’s tension settings and press every seam.
- Fabric Slipping: If you’re working with slippery fabrics like silk or rayon, use more pins and consider a walking foot for your machine.
Caring for Your Infinity Scarf
To ensure your handmade infinity scarf lasts, follow these care instructions:
- Washing: Most infinity scarves can be machine washed on a gentle cycle with cold water. Use a mild detergent. For delicate fabrics like silk, hand washing is recommended.
- Drying: Air drying is best for most fabrics to prevent shrinkage and damage. Lay the scarf flat to dry or hang it on a hanger. Avoid high heat in the dryer.
- Ironing: Iron on the appropriate heat setting for your fabric, being careful with knits to avoid stretching.
Sewing an infinity scarf is a versatile and satisfying project. By understanding fabric properties, utilizing precise cutting and sewing techniques, and paying attention to finishing details, you can create a stylish and durable accessory that you’ll enjoy for years to come. This comprehensive guide provides the knowledge to tackle this project with confidence, from initial fabric selection to the final press, ensuring your handmade infinity scarf is a true testament to your sewing skills.
