Wooden ride on car diy – Wooden ride-on car DIY is a fantastic way to create a unique and cherished toy for your little one. Instead of settling for store-bought options, crafting a wooden ride-on car allows you to personalize the design, ensuring it perfectly reflects your child’s interests and personality.
From classic cars to whimsical animal designs, the possibilities are endless!
Beyond the fun of building, a DIY wooden ride-on car offers numerous benefits. You’ll be using eco-friendly materials, promoting sustainability and reducing waste. The process itself fosters creativity and problem-solving skills, allowing you to bond with your child as you bring their imagination to life.
This project is a rewarding experience for both parents and children, resulting in a treasured keepsake that will be enjoyed for years to come.
Introduction to Wooden Ride-On Cars
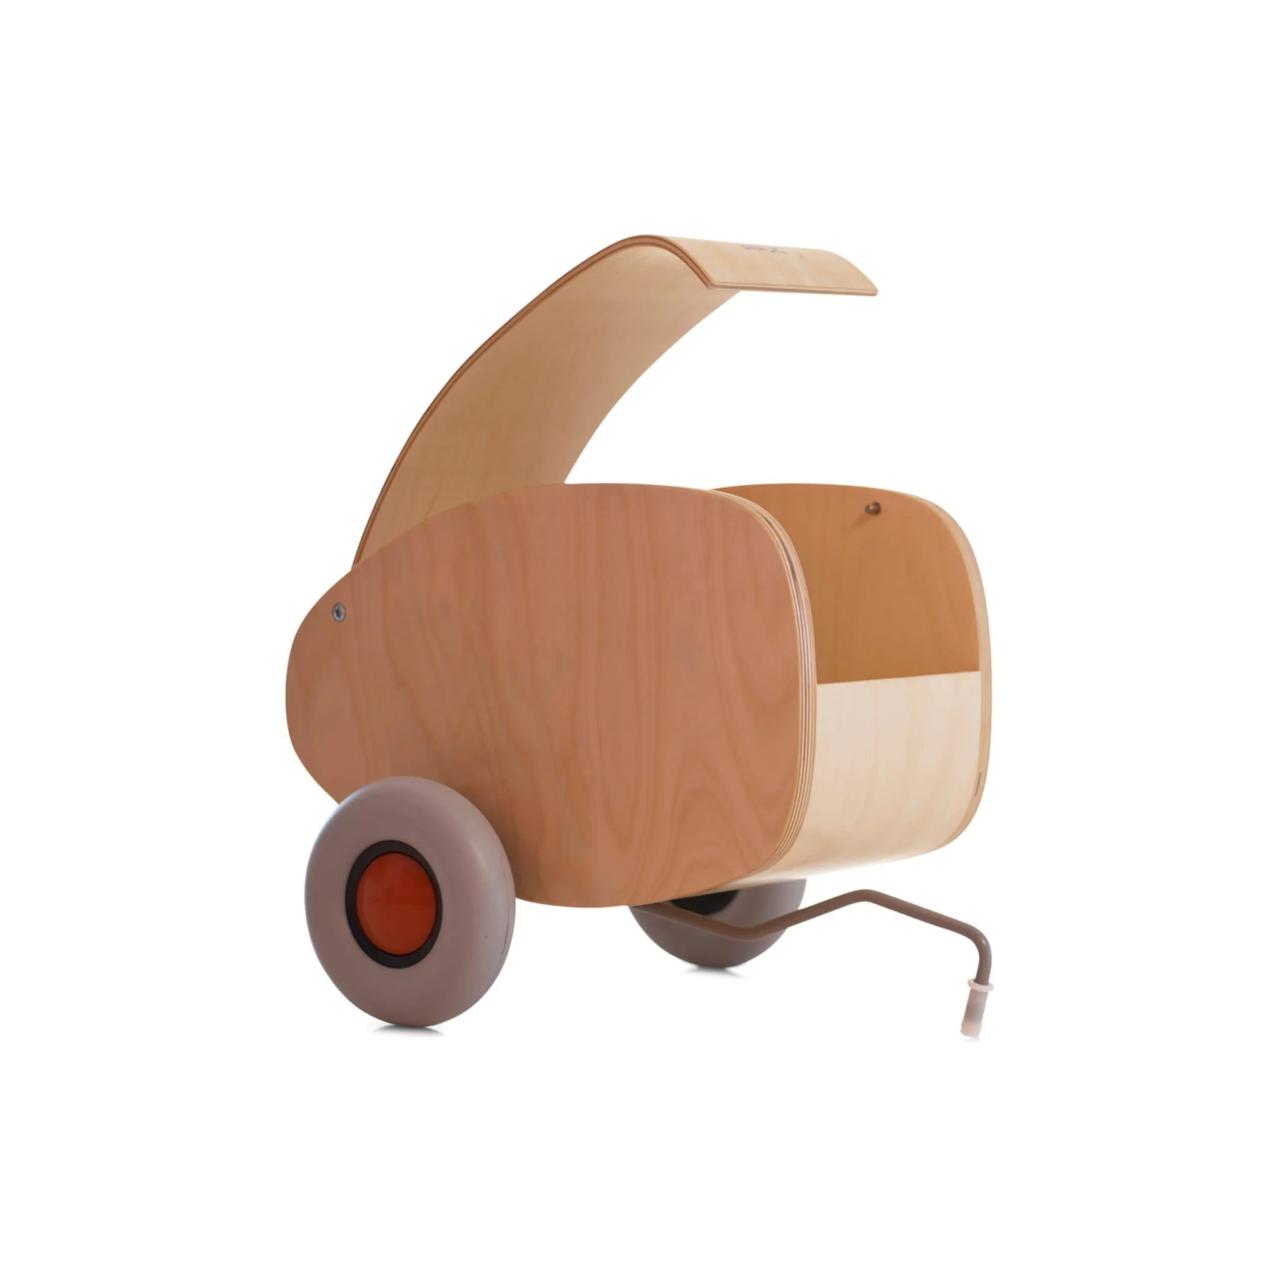
Wooden ride-on cars have become increasingly popular for children, offering a delightful blend of classic charm and modern play value. These sturdy and durable toys provide a unique and engaging experience for kids, fostering their imagination and physical development.
Building a wooden ride-on car for my little one has been a fun and rewarding project. It’s amazing how much detail you can add, from the steering wheel to the headlights. I’m even thinking about adding some custom touches, like a personalized license plate.
Speaking of detail, I’ve been wanting to try out a gold stud manicure DIY for a while now. It’s the perfect way to add a touch of sparkle to my nails, and I think it would complement the ride-on car’s shiny paint job perfectly.
Once I finish the car, I’ll definitely be giving that manicure a try!
Benefits of DIY Wooden Ride-On Cars, Wooden ride on car diy
Building a wooden ride-on car yourself offers several advantages over purchasing a pre-made option. The DIY approach allows for greater customization, enabling you to create a car that perfectly reflects your child’s preferences and interests. Additionally, crafting a wooden ride-on car can be a fun and rewarding family project, fostering bonding and shared memories.
Planning and Design

Planning and designing your wooden ride-on car is a crucial step in the DIY process. It ensures a successful project by allowing you to visualize the final product, choose appropriate materials, and create a detailed blueprint.
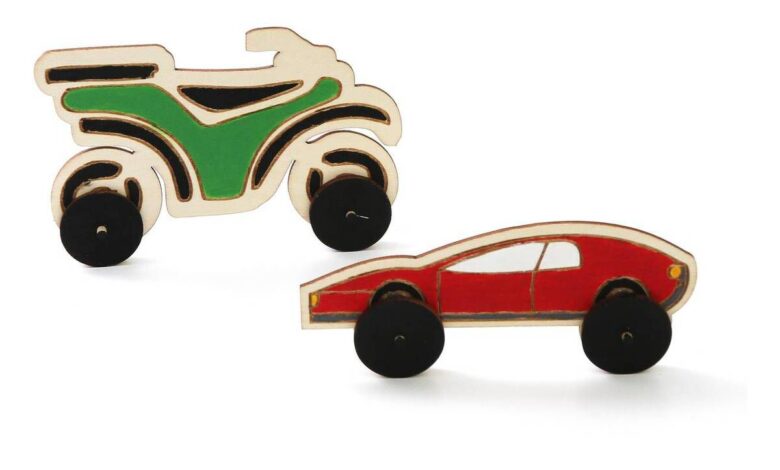
Basic Wooden Ride-On Car Designs
The simplest wooden ride-on car designs usually feature a rectangular body with four wheels, a steering wheel, and a seat. These basic designs can be easily modified to create different styles and functionalities.
- Classic Car:A classic car design typically includes a long, rectangular body with rounded edges, four wheels, a steering wheel, and a seat. It can be further enhanced with details like headlights, a windshield, and a license plate.
- Truck:A truck design can feature a larger, rectangular body with a flatbed in the back. It can also include additional features like a tailgate, a roll bar, and a ladder.
- Race Car:A race car design can be more aerodynamic with a low-profile body and a spoiler. It can also feature racing wheels, a roll cage, and a racing number.
Choosing Appropriate Wood Types and Sizes
Selecting the right type and size of wood is essential for building a durable and safe ride-on car. Consider factors like strength, weight, and availability.
- Plywood:Plywood is a popular choice for building ride-on cars due to its strength and affordability. It is available in various thicknesses and sizes, allowing you to choose the best option for your design.
- Hardwood:Hardwoods like oak and maple are durable and resistant to wear and tear. They are ideal for parts that experience a lot of stress, such as the frame and wheels.
- Softwood:Softwoods like pine and cedar are lighter and easier to work with. They are suitable for parts that don’t require high strength, such as the body panels.
Simple Wooden Ride-On Car Blueprint
Here’s a simple wooden ride-on car blueprint with detailed dimensions:
Body:* Length: 30 inches
Width
16 inches
Height
12 inches Wheels:* Diameter: 10 inches
Width
2 inches Seat:* Length: 12 inches
Width
10 inches
Height
6 inches Steering Wheel:* Diameter: 10 inches
Thickness
1 inch
Materials:* Plywood (1/2 inch thick)
- Hardwood (1 inch thick)
- Wood screws
- Wood glue
- Paint (optional)
Tools:* Saw
- Drill
- Sander
- Screwdriver
- Measuring tape
- Pencil
Instructions:
- Cut the body panels from plywood according to the dimensions in the blueprint.
- Cut the wheels from hardwood and drill holes for the axles.
- Assemble the body panels using wood screws and glue.
- Attach the wheels to the axles and secure them to the body.
- Cut the seat from plywood and attach it to the body.
- Create a steering wheel from hardwood and attach it to the front of the car.
- Paint the car (optional).
This blueprint provides a starting point for your design. You can adjust the dimensions and add additional features to create a unique and personalized ride-on car.
Materials and Tools: Wooden Ride On Car Diy
Building a wooden ride-on car is a fun and rewarding project that involves working with various materials and tools. Selecting the right materials and tools ensures a sturdy, safe, and enjoyable ride for your little one.
Essential Materials
The following materials are essential for building a wooden ride-on car:
- Wood:Plywood is a common choice for its strength and stability. Consider using 1/2-inch or 3/4-inch plywood for the car’s frame and body.
- Screws:Wood screws of various lengths are needed to assemble the car’s frame and attach other components. Use screws that are long enough to go through both pieces of wood and provide secure fastening.
- Wood Glue:Wood glue is used to bond the wood pieces together, creating a strong and durable bond.
- Paint or Stain:This is for the car’s finish. Choose a non-toxic paint or stain that is safe for children. Consider using bright colors for a playful look.
- Wheels:Choose sturdy wheels that are appropriate for the size and weight of the car. Consider using plastic wheels for a smooth ride or rubber wheels for better traction.
- Axles:Metal axles are used to connect the wheels to the car’s frame. Select axles that are the correct size and diameter for your chosen wheels.
- Hardware:Nuts, bolts, washers, and other hardware are needed to secure the axles, wheels, and other components.
- Optional Materials:These include:
- Fabric or upholstery:For creating a comfortable seat
- Sandpaper:For smoothing the wood surfaces
- Safety features:Such as a seat belt, padding, or a steering wheel
- Decorative elements:Such as stickers, paint, or stencils
Essential Tools
Having the right tools is crucial for a successful project. The following tools are essential:
- Saw:A circular saw, jigsaw, or handsaw is needed to cut the plywood to the desired sizes and shapes.
- Drill:A cordless drill with a variety of drill bits is used for drilling pilot holes and securing screws.
- Screwdriver:A screwdriver is needed for tightening screws and attaching other components.
- Measuring Tape:A measuring tape is used for accurate measurements and cutting the wood to the correct sizes.
- Level:A level is used to ensure that the car’s frame is level and stable.
- Clamps:Clamps are used to hold the wood pieces together while the glue dries.
- Sanding Block:A sanding block is used to smooth out the wood surfaces before painting or staining.
- Safety Gear:Always wear safety glasses, gloves, and a dust mask to protect yourself from flying debris and dust.
Building a wooden ride-on car for my little one was a labor of love, but it was so rewarding to see the joy on their face when they finally got to ride it. The project reminded me of the importance of craftsmanship and the joy of creating something unique.
It also got me thinking about other unique creations, like the new Forzieri bags by Balmain , which blend luxury and bold design. After all, both the ride-on car and these bags are testaments to the power of creativity and the desire to make something special.
Building a wooden ride-on car is a fun project for the whole family, and it’s a great way to get your kids involved in the creative process. Once the car is built, you can add a personal touch by painting it with bright colors and fun designs.
For some inspiration on painting techniques, check out Elsie’s Guide to Painting with Kiddos here. After you’ve finished painting, your little one will have a unique and personalized ride-on car they’ll love to zoom around in!