DIY Illuminated Marquee Signs: Craft Your Own Festive Christmas Decor
Creating a DIY illuminated marquee sign for Christmas offers a personalized and impactful way to inject festive spirit into your home or business. These eye-catching displays, characterized by their retro cinema-style lettering illuminated by exposed bulbs, are surprisingly achievable with basic DIY skills and readily available materials. The process involves selecting or crafting a letter or shape, building a sturdy frame, integrating the lighting system, and applying a finishing touch. This comprehensive guide will walk you through each step, focusing on material selection, construction techniques, safety considerations, and design variations to help you achieve a stunning, custom Christmas marquee.
The foundation of any DIY marquee sign is the letter or shape itself. You have two primary avenues: purchasing pre-made letter cutouts or crafting them from scratch. For beginners or those seeking expediency, pre-made MDF (Medium-Density Fiberboard) or plywood letters are excellent choices. These are commonly found at craft stores, lumber yards, or online retailers and come in various fonts and sizes. The advantage is their pre-cut precision, reducing the labor involved. However, if you desire a truly unique design, custom dimensions, or a specific font not readily available, constructing your own letters from plywood or MDF is the way to go. This requires a stencil of your desired font and shape, which can be printed from your computer or drawn freehand. You’ll then need a jigsaw or scroll saw to carefully cut along the stencil lines. Ensuring clean, straight edges is crucial for a professional finish and for the frame to fit snugly. Consider the scale of your project; larger letters require thicker material for structural integrity. For freestanding signs, a solid base is essential. MDF is generally easier to cut and sand than plywood, but plywood offers greater durability.
Once your letter(s) or shape is finalized, the next critical step is constructing the frame that will house the bulbs and hide the wiring. This frame typically encircles the perimeter of the letter, creating a shallow box. The depth of this box will be determined by the length of your light bulbs and the need for clearance behind them. Common materials for the frame include thin strips of wood, such as pine or poplar, or even sturdy cardboard or foam board for lighter, indoor-only projects. For wooden frames, precise measurements are key. Cut your wood strips to match the outline of your letter, ensuring mitered corners for a seamless, professional look. Wood glue and small brad nails are ideal for assembling the frame. If using cardboard or foam board, a hot glue gun or strong craft adhesive will suffice. The frame’s interior dimensions should allow for easy access to the bulbs and wiring. It’s imperative to leave enough space behind the bulbs to prevent them from touching the back of the letter, which can be a fire hazard. Furthermore, the frame should be robust enough to support the weight of the bulbs and wiring, as well as any potential handling.
The heart of any marquee sign is its illumination. For Christmas DIY projects, the choice of lighting is paramount for both aesthetic appeal and safety. Vintage-style incandescent marquee bulbs (often referred to as Edison bulbs or sign bulbs) are the classic choice, providing a warm, nostalgic glow. These typically come in a variety of wattages and styles, such as round, torpedo, or globe shapes. LED equivalents are also readily available and offer significant advantages in terms of energy efficiency, longevity, and heat generation, making them a safer and more sustainable option, especially for DIY projects. When selecting bulbs, consider their voltage and whether they require a specific socket. Standard E26 or E27 screw-in sockets are common and easy to work with. You’ll need to drill holes in your letter or shape to accommodate these sockets. The spacing of these holes is a design choice; closer spacing results in a brighter, more uniform illumination, while wider spacing creates a more subtle effect. The number of bulbs will depend on the size of your letter and your desired density of light.
Installing the lighting system requires careful planning and execution to ensure both functionality and safety. Begin by marking the precise locations for your bulb sockets on the interior of your letter or frame. Use a drill with a hole saw bit that matches the diameter of your light sockets. Ensure the holes are drilled cleanly and are large enough for the sockets to pass through. Once the holes are drilled, insert the light sockets, securing them in place as per the manufacturer’s instructions. Many sockets have a nut or locking mechanism that tightens from the back. For wiring, you have a few options. The simplest method for a single letter is to wire each bulb socket in parallel to a power cord with a plug. This involves running wires from the back of each socket, connecting them in parallel, and then running a single wire to the power cord. Using a strand of pre-wired LED or incandescent bulbs designed for marquees can significantly simplify this process, as the wiring is already integrated. These strands often come with a specific number of sockets at predetermined intervals, which can guide your hole spacing. Always use appropriate gauge electrical wire for the number of bulbs and their wattage to prevent overheating. Soldering connections is the most secure method, but crimp connectors can also be used if done correctly. It’s crucial to keep all wiring neat and tidy within the frame, using zip ties or electrical tape to secure them. Avoid any exposed wires or loose connections, as these pose a serious fire risk. Consider using a dimmer switch to control the brightness and ambiance of your marquee, especially for indoor use.
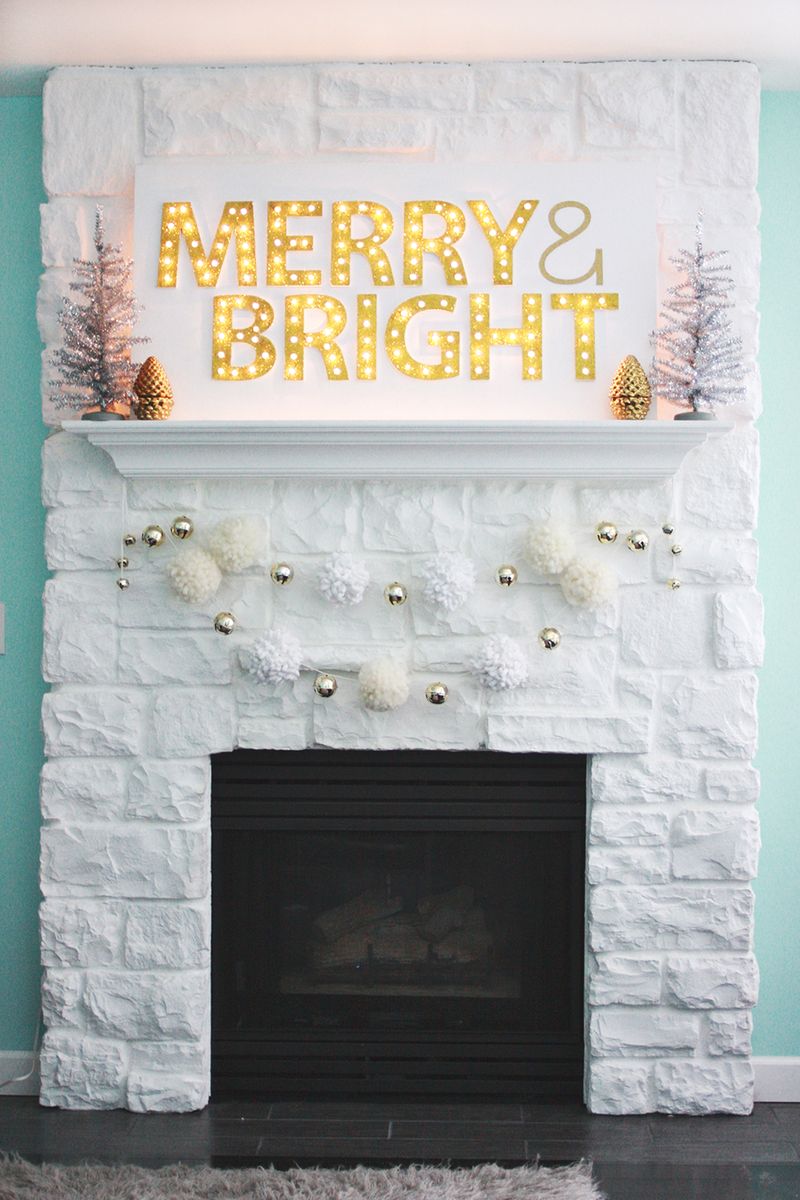
For the Christmas season, consider incorporating additional decorative elements to enhance your DIY marquee. Painting your letter in festive Christmas colors, such as bright red, emerald green, or classic white, is a simple yet effective way to tie it into your holiday theme. You can also add glitter, faux snow, or small embellishments like faux holly berries or mini candy canes around the frame or on the face of the letter. For a truly unique effect, you could create a multi-lettered word or phrase like "NOEL," "JOY," or "MERRY" by constructing multiple individual marquees. These can then be arranged together for a grander display. If your marquee will be displayed outdoors, ensure all electrical components are rated for outdoor use and that your construction is weather-resistant. Consider a clear coat sealant to protect the paint and wood from moisture. The placement of your outdoor marquee is also important; a porch, entryway, or garden path are ideal locations. For indoor displays, the living room mantel, a prominent wall, or a festive window are excellent choices.
Safety is paramount when undertaking any DIY electrical project, and creating an illuminated marquee sign is no exception. Always work with power disconnected. Before plugging in your completed sign, double-check all wiring connections for any loose wires, exposed copper, or potential short circuits. Use a multimeter to test continuity if you are unsure. Ensure your bulbs are not exceeding the wattage rating of your sockets or the power cord. Opting for LED bulbs significantly reduces heat generation, making them a much safer choice for prolonged use and for installations in enclosed spaces. If using incandescent bulbs, ensure there is adequate ventilation within the frame to prevent heat buildup. Never leave an illuminated sign unattended, especially if it’s an older, incandescent model. Regularly inspect your sign for any signs of damage, fraying wires, or overheating. For outdoor installations, ensure all electrical connections are properly sealed and protected from the elements. Consider using a Ground Fault Circuit Interrupter (GFCI) outlet for any outdoor electrical connections as an added safety measure. When purchasing electrical components like sockets, power cords, and wire, always opt for products that are UL-listed or have equivalent safety certifications. This indicates that they have met rigorous safety standards. Understanding basic electrical principles, such as parallel versus series wiring, is beneficial. In a parallel circuit, each component receives the full voltage, and if one component fails, the others continue to function. This is the standard for marquee signs. In a series circuit, components are wired in a single loop, and if one fails, the entire circuit breaks.
The aesthetic possibilities for your Christmas light-up marquee are vast and can be tailored to your personal style and the existing decor of your space. Beyond single letters, consider creating iconic Christmas shapes like stars, snowflakes, or Christmas trees. Building a star, for instance, involves creating a star shape from plywood or MDF, then constructing a shallow frame around its points. For a snowflake, you can create intricate patterns by joining multiple wooden or cardboard pieces to form the delicate arms. A Christmas tree marquee can be achieved by cutting a conical shape and adding horizontal strips for the branches, each with embedded bulbs. The type of paint finish can also elevate the look. A matte finish offers a sophisticated, understated glow, while a high-gloss finish can add a touch of glamour and reflect light more intensely. Consider using metallic paints, such as gold or silver, to enhance the festive feel. For a rustic Christmas theme, distressed paint techniques or the use of natural wood finishes can be highly effective. If you’re aiming for a whimsical or playful look, consider using brightly colored paint and adding playful embellishments. The scale of your project can also vary significantly, from a small, tabletop marquee to a large, freestanding installation that becomes the focal point of your holiday display. For larger projects, consider the structural integrity and weight. Using thicker plywood for the main letter shape and reinforced framing will be necessary.
For those who are less inclined to traditional woodworking, alternative materials can be used to construct your marquee. Cardboard, while less durable, is an excellent and inexpensive option for indoor displays. Large cardboard boxes can be cut and assembled to form letters or shapes. You can reinforce the edges with masking tape or duct tape for added strength. Foam board, available at craft stores, is also lightweight and easy to cut, making it ideal for creating intricate designs or for children’s projects. When using these lighter materials, you’ll need to ensure the weight of the bulbs and sockets doesn’t cause them to sag or warp. Consider using LED string lights with small, integrated bulbs that can be easily attached or threaded through the material. For a more industrial or modern look, you could explore using metal sheeting, though this requires specialized tools and skills for cutting and shaping. However, for the vast majority of DIYers, wood, MDF, and cardboard remain the most accessible and versatile materials for creating stunning Christmas light-up marquee signs.
The final step in creating your DIY Christmas light-up marquee is the finishing touches and installation. Once your bulbs are securely in place and wired, it’s time to conceal the wiring and frame. You can paint the inside of the frame to match the exterior of your letter, or use black paint to create a more defined contrast and hide the wiring more effectively. For a cleaner look, you can attach a thin piece of plywood or hardboard to the back of the frame, creating a completely enclosed box. Ensure there’s still adequate ventilation, perhaps by drilling small holes in this back panel. If your marquee is intended for outdoor use, consider applying a weather-resistant sealant or varnish to protect the wood and paint. For installation, consider how you will hang or position your sign. For smaller, lighter marquees, Command strips or picture hanging hardware can be effective. For larger, heavier signs, you’ll need more robust mounting solutions, such as L-brackets screwed into wall studs or sturdy floor stands. If your sign is freestanding, ensure it is stable and won’t tip over, especially in windy conditions. For indoor displays, a stable base or secure wall mounting is essential.
When planning your DIY Christmas light-up marquee, consider the overall theme and style of your holiday decorations. A rustic farmhouse theme might call for distressed wood and warm incandescent bulbs, while a modern, minimalist theme could suit sleek, unpainted MDF and cool-toned LED lights. The font choice is also a significant design element; a bold, blocky font will have a different impact than a delicate script. Don’t be afraid to experiment with color. While traditional red and green are classic, consider incorporating metallics, pastels, or even unconventional colors to make your marquee truly unique. For example, a bright turquoise letter with warm white bulbs could offer a whimsical, unexpected twist on Christmas decor. The spacing and type of bulbs will also dictate the final look. Densely packed, smaller bulbs will create a shimmering effect, while larger, more spaced-out bulbs will highlight the individual bulbs more prominently. Consider using different types of bulbs within the same marquee for a layered, textured effect.
Ultimately, the beauty of a DIY Christmas light-up marquee lies in its adaptability and personalization. Whether you choose a simple single letter or a complex, multi-word display, the process of crafting your own festive decor is a rewarding experience. By carefully selecting materials, paying close attention to safety, and allowing your creativity to shine, you can create a dazzling centerpiece that will illuminate your holiday season for years to come. The journey from raw materials to a glowing, festive statement piece is an achievable and highly satisfying DIY project, perfect for adding a personal touch to your Christmas celebrations.
