
Effortless Enchantment: Mastering Easy Halloween Window Decor for Maximum Impact
Transforming your home into a spooky sanctuary for Halloween doesn’t require extensive crafting skills or a hefty budget. Easy Halloween window decor offers a simple yet incredibly effective way to embrace the season’s spirit, captivating trick-or-treaters and neighbors alike. These accessible decorating strategies leverage readily available materials and minimal effort to achieve maximum visual impact, turning ordinary glass panes into portals of Halloween wonder. The key lies in strategic placement, thoughtful material choices, and a keen understanding of how light and silhouette play a crucial role in outdoor visibility. Think less about intricate DIY projects and more about impactful, quick wins that deliver on spookiness and charm. From classic ghost silhouettes to creepy crawly spiders and glowing pumpkins, the possibilities for creating memorable Halloween window displays are vast and surprisingly straightforward. This article will delve into a comprehensive range of easy Halloween window decor ideas, focusing on techniques that are beginner-friendly, budget-conscious, and highly effective for SEO by incorporating relevant keywords naturally throughout the content. We’ll explore various themes, materials, and application methods, ensuring you have a wealth of inspiration to create a hauntingly beautiful display this Halloween.
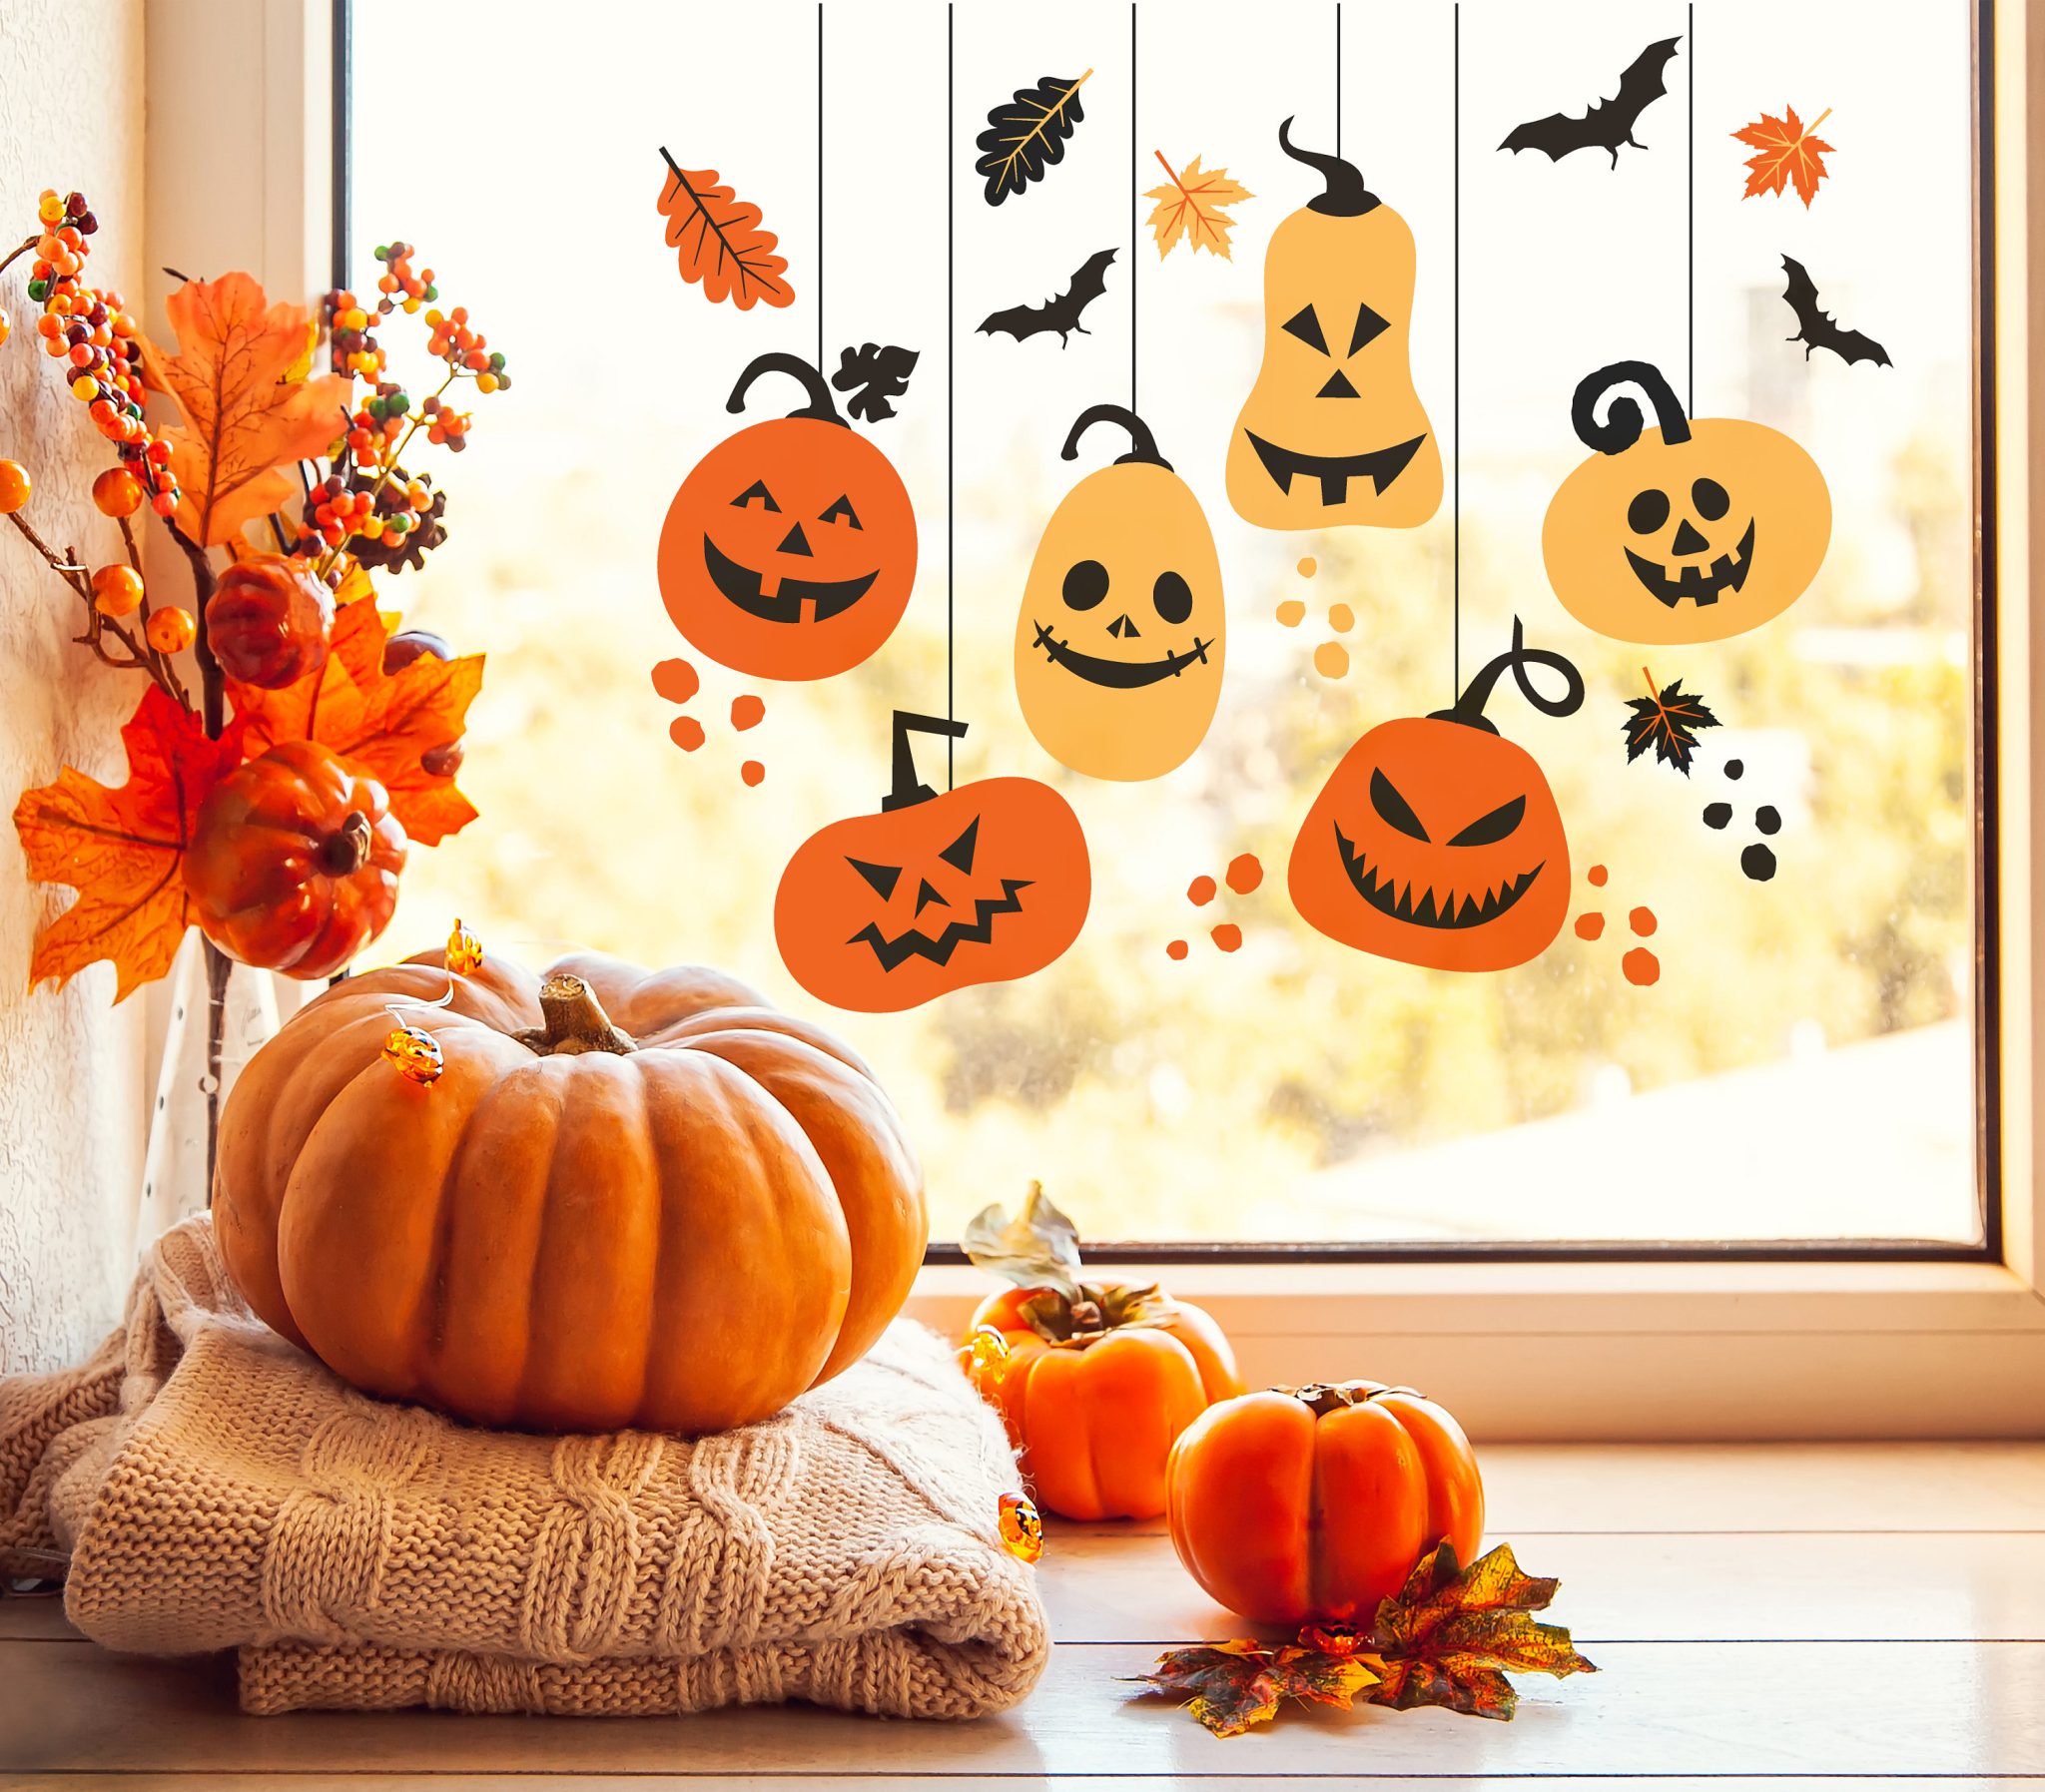
One of the most fundamental and universally effective methods for easy Halloween window decor is the use of black paper cutouts. These are incredibly versatile and can be adapted to numerous themes. The stark contrast of black against illuminated windows at night creates dramatic silhouettes that are instantly recognizable as Halloween motifs. Simple shapes like bats, spiders, ghosts, witches’ hats, pumpkins, and crescent moons are perfect starting points. To execute this, you’ll need black construction paper or cardstock, scissors or a craft knife, and a way to attach them. Tape (painter’s tape is ideal to avoid residue), static cling spray, or a thin layer of clear tape work well. For a professional and clean look, consider using pre-made stencils or printing out template outlines from the internet. You can then trace these onto the black paper and carefully cut them out. The advantage of black paper is its opacity; it effectively blocks light from within the room, enhancing the silhouette effect when the house lights are on. Consider layering different cutouts to create depth, such as placing a large crescent moon behind a flock of smaller bats. This technique is particularly effective for creating a "haunted house" feel, with gnarled trees or spooky figures peering out from the darkness. For a truly SEO-friendly approach, ensure you use terms like "black paper Halloween window decorations," "DIY bat window clings," "easy ghost window cutouts," and "spooky silhouette window art" when discussing this method.
Window paint or markers offer another accessible avenue for easy Halloween window decor. Specialized window paint, often washable or temporary, allows for freehand designs or the application of stencils directly onto the glass. This medium provides a more integrated and colorful approach compared to paper cutouts. Think about creating a vibrant pumpkin patch on your lower panes, or a spooky graveyard scene with tombstones and skeletal hands reaching out. For a subtle yet effective touch, consider drawing cobwebs with white window markers across multiple panes. If you’re not confident in your freehand drawing abilities, stencils are invaluable. You can purchase pre-made Halloween stencils or create your own by cutting intricate designs into thick cardstock or even plastic sheeting. Apply the paint or marker within the stencil for clean, crisp results. The beauty of window paint is its temporary nature; most formulations are designed to be easily wiped away with water or a glass cleaner after the holiday. When considering SEO, use phrases such as "washable Halloween window paint," "temporary spooky window art," "DIY Halloween window drawing," and "easy Halloween window stencils" to attract relevant searches.
Glow-in-the-dark elements add an undeniable magical and eerie dimension to Halloween window displays. These can range from glow-in-the-dark paints and stickers to specially designed window clings. Glow-in-the-dark window stickers are incredibly user-friendly; simply peel and stick them onto the glass. They come in a vast array of shapes and sizes, from friendly ghosts and smiling pumpkins to more menacing skulls and creepy spiders. The magic happens after they’ve absorbed light during the day, emitting an eerie glow throughout the night. For a more customizable approach, consider glow-in-the-dark window paint. This allows you to draw or paint your own spooky designs, which will then illuminate in the darkness. Applying a base layer of a lighter color can enhance the glow. Remember to "charge" these elements with light, either natural sunlight or artificial light, for the best effect. Phrases like "glow in the dark Halloween window decorations," "DIY spooky window glow," "luminescent Halloween window clings," and "nighttime Halloween window effects" are excellent for SEO.
Fabric and tissue paper can be surprisingly effective for creating textured and atmospheric Halloween window decor. White tissue paper can be cut into irregular shapes and adhered to the glass with a light mist of water or a diluted craft glue solution to create ghostly apparitions. As light filters through the translucent paper, it creates a haunting, ethereal glow. For a more robust option, consider using white fabric scraps. Cut them into strips and hang them from the top of the window frame, allowing them to drape down like ghostly curtains. You can also cut them into more defined ghost shapes. For a darker, more menacing effect, black or deep purple tissue paper can be used to create shadow effects or layered to create a stained-glass-like appearance when light shines through. Consider cutting out jagged shapes from black felt or craft foam and attaching them to the window to mimic cobwebs or thorny branches. When optimizing for search engines, use terms such as "DIY fabric Halloween window decor," "tissue paper ghost window display," "spooky fabric window hangings," and "easy Halloween window textures."
String lights and lanterns are quintessential Halloween window decor elements that provide both illumination and atmosphere. While not directly on the glass, they significantly impact the overall window display. Drape orange or purple string lights around the window frame, or weave them through other decorations like artificial spiderwebs. Small battery-operated LED fairy lights can be placed inside glass jars or lanterns to create flickering, eerie glows. Consider using Halloween-themed lanterns, such as those shaped like pumpkins or skulls, placed on the windowsill. For a more dramatic effect, a single spotlight directed at a key window decoration can create striking shadows and highlight specific elements. Ensure you are using lights designed for indoor or outdoor use as appropriate. To improve SEO, incorporate keywords like "Halloween string lights for windows," "spooky window lanterns," "DIY Halloween fairy light displays," and "ambient Halloween window lighting."
Artificial spiderwebs and fake spiders are classic, no-fuss Halloween window decor staples. These stretchy, wispy materials can be pulled thin and draped across window panes, mimicking neglected, cobweb-infested corners. Add plastic spiders of various sizes for an extra creepy factor. Position larger spiders as if they are lurking in the corners or mid-web. This is a particularly effective way to create an instant haunted house vibe with minimal effort. For a more integrated look, try attaching some of the web material to the window frame itself. You can also use a small amount of spray adhesive to attach the webs to the glass, ensuring they stay put. For SEO purposes, focus on phrases like "easy Halloween spiderweb window decorations," "DIY fake spider window display," "realistic Halloween cobwebs for glass," and "creepy crawly window decor."
Stickers and clings offer the ultimate in easy Halloween window decor. Static cling window decorations are incredibly simple to use: just peel them off the backing and press them onto the glass. They adhere through static electricity, leaving no residue and making them perfect for renters or those who prefer not to use adhesives. These come in an endless variety of Halloween themes, from cheerful pumpkins and friendly ghosts to terrifying monsters and spooky scenes. You can find individual stickers or large decals that cover an entire window. They are also repositionable, allowing you to experiment with different arrangements until you achieve your desired look. For a more permanent but still easy option, consider vinyl window decals. These are more durable and can be purchased online or at craft stores. When optimizing for search engines, use terms like "static cling Halloween window decorations," "reusable spooky window stickers," "easy Halloween window decals," and "no residue Halloween window art."
Themed window displays can elevate your easy Halloween decor from a collection of individual elements to a cohesive narrative. Consider a "haunted graveyard" theme where black paper tombstones are cut out and placed on the windowsill or adhered to the lower panes, with paper bats flying above. A "witch’s coven" theme could involve black silhouettes of witches and cauldrons, perhaps with some scattered glow-in-the-dark stars. A "spooky forest" theme might utilize black cutouts of gnarled trees and crescent moons. The key is to choose a theme and select a few key elements that represent it effectively without becoming overwhelming. Layering these elements, as mentioned earlier, adds depth and visual interest. For example, behind a black paper silhouette of a haunted house, you could place orange tissue paper or glow-in-the-dark stars for an eerie glow. When thinking about SEO, consider combining your chosen theme with the decoration method, such as "easy haunted house window decorations," "DIY witch window silhouettes," or "spooky graveyard window display ideas."
Lighting considerations are paramount for maximizing the impact of any Halloween window decor. During the day, natural light will interact with your decorations in one way, while at night, artificial light from within your home will transform them entirely. For black paper cutouts, the contrast between the dark paper and the illuminated interior is key. For glow-in-the-dark elements, ensure they have ample time to "charge" in sunlight or under bright artificial light. Consider the color of your interior lights; orange or purple bulbs can enhance the spooky ambiance. For a more dramatic effect, strategically placed external spotlights can cast eerie shadows onto your windows. The goal is to make your windows a focal point of Halloween spirit, visible and impactful from the street. SEO keywords to consider here include "Halloween window lighting ideas," "how to make Halloween windows spooky at night," "ambient lighting for Halloween windows," and "window spotlights for Halloween displays."
Seasonal and natural elements can also be incorporated into easy Halloween window decor. Dried leaves, twigs, and branches can be gathered and arranged on the windowsill to create a rustic, autumnal feel. You can even spray paint them black for a more dramatic effect. Small gourds and mini pumpkins can be placed on the sill, and if you’re feeling ambitious, a quick carved pumpkin with a battery-operated light can add a classic touch. Artificial spiderwebs can be interwoven with dried leaves for a more naturalistic creepy vibe. For a more subtle approach, simple silhouettes of bare branches can be cut from black paper and placed on the glass to suggest a haunted forest. When optimizing for search engines, think about terms like "natural Halloween window decor," "DIY autumn window decorations," "twig and leaf Halloween window display," and "pumpkin and gourd window sill ideas."
Combining different techniques is where easy Halloween window decor truly shines. Don’t be afraid to mix and match. Use static cling bats on one pane, black paper ghosts on another, and string lights draped around the frame. The key to a successful blend is to maintain a consistent theme or color palette. For example, if you’re going for a spooky, dark aesthetic, stick to black, white, orange, and deep purple. If you’re aiming for a more whimsical feel, you might incorporate brighter colors and friendlier character designs. The objective is to create a layered and visually interesting display that draws the eye and sparks imagination. Think about how each element contributes to the overall story you’re telling with your windows. SEO keywords for this approach could be "mixed media Halloween window decor," "creative Halloween window display ideas," "easy DIY Halloween window combinations," and "themed Halloween window decorating tips."
Maintenance and removal are crucial aspects of easy Halloween window decor. Opt for materials that are easy to apply and, more importantly, easy to remove without damaging your windows or paintwork. Painter’s tape, static cling, and washable window paints are excellent choices. Always test any adhesive on an inconspicuous area first to ensure it doesn’t leave residue or damage the surface. When it’s time to take down your decorations, do so gently and methodically. For stubborn stickers, a little bit of warm water and a gentle scraper can often do the trick. This foresight ensures that your decorating efforts are enjoyable throughout the season without creating post-holiday headaches. For SEO, consider terms like "easy Halloween window decor removal," "residue-free Halloween window decorations," "temporary Halloween window clings," and "washable window paint for holidays."
In conclusion, mastering easy Halloween window decor is about leveraging simple techniques and readily available materials to create maximum visual impact. By focusing on silhouette creation with black paper, artistic expression with window paint, ethereal effects with glow-in-the-dark elements, textural interest with fabrics and tissue paper, atmospheric lighting with string lights and lanterns, classic spookiness with spiderwebs, effortless application with stickers and clings, cohesive storytelling with themed displays, thoughtful lighting strategies, integration of natural elements, and the clever combination of techniques, anyone can transform their windows into enchanting Halloween spectacles. Prioritizing ease of use, budget-friendliness, and SEO-friendly keyword integration throughout the decorating process will ensure your Halloween window displays are not only visually stunning but also easily discoverable by those seeking inspiration. The magic of Halloween is accessible to everyone, and your windows are the perfect canvas to showcase your festive spirit.
