
The Golden Touch: Mastering the Gold Daisy Dot Manicure
The gold daisy dot manicure has emerged as a chic and versatile nail art trend, offering a delicate yet impactful statement. This design, characterized by small, precise gold dots arranged to mimic the petals of a daisy, is surprisingly adaptable, suitable for a myriad of occasions, from casual everyday wear to glamorous evening events. The metallic gleam of gold adds a touch of luxury and sophistication, while the floral motif brings a touch of playful femininity. Understanding the nuances of achieving this look, from nail preparation to dotting techniques and color pairings, is crucial for creating a flawless and salon-worthy manicure at home. This comprehensive guide will delve into every aspect of the gold daisy dot manicure, providing practical advice, creative variations, and SEO-optimized insights to help enthusiasts and nail art beginners alike master this elegant design.
Foundation for a Flawless Finish: Nail Preparation is Paramount
Before any decorative elements are applied, meticulous nail preparation forms the bedrock of a long-lasting and professional-looking gold daisy dot manicure. This initial stage significantly impacts the adhesion of polish, the smoothness of the finish, and the overall durability of the design. Begin by removing any existing nail polish using an acetone-free remover to prevent excessive drying of the nails and cuticles. Next, shape your nails to your desired length and form. Whether you prefer a classic square, elegant oval, or trendy almond shape, consistent shaping ensures a polished canvas. Use a fine-grit nail file to gently smooth any rough edges. Following shaping, it’s essential to address the cuticles. Gently push back the cuticle with an orange stick or a cuticle pusher. Avoid cutting cuticles unless absolutely necessary, as this can lead to infection and uneven growth. For an even smoother surface and enhanced polish adherence, lightly buff the surface of each nail with a fine-grit buffer. This step removes any natural oils and creates a slightly porous surface for the base coat to grip onto. Finally, cleanse the nails thoroughly with nail cleanser or rubbing alcohol to remove any dust, oil, or residue. This ensures that the base coat adheres properly, preventing lifting and prolonging the life of your manicure.
The Essential Base: Choosing the Right Nail Polish Hue
The success of a gold daisy dot manicure hinges significantly on the base color chosen. This color acts as the backdrop for your delicate gold accents, and its selection can dramatically alter the overall aesthetic. For a classic and universally flattering look, neutral tones reign supreme. Think soft milky whites, sheer nudes, pale blushes, or even a light grey. These understated hues allow the gold dots to truly pop and take center stage, exuding an understated elegance. A crisp white base provides a clean and bright canvas, ideal for a fresh, summery feel. Nude or blush bases offer a more subdued and sophisticated option, perfect for professional settings or when you want a touch of subtle glamour. For a bolder, more contemporary statement, consider deeper, richer tones. Navy blue, emerald green, or even a deep burgundy can create a striking contrast with gold, resulting in a more dramatic and eye-catching design. Pastels, such as baby blue, mint green, or lavender, can also work beautifully, offering a softer, more whimsical interpretation of the trend. When selecting your base color, consider the occasion and your personal style. If you’re aiming for everyday wear, a neutral or pastel might be more practical. For evening events or a special occasion, a darker or more vibrant base can add a touch of drama. Always ensure your chosen base polish is opaque enough to provide an even coverage and a smooth finish. Two thin coats are generally recommended for optimal results.
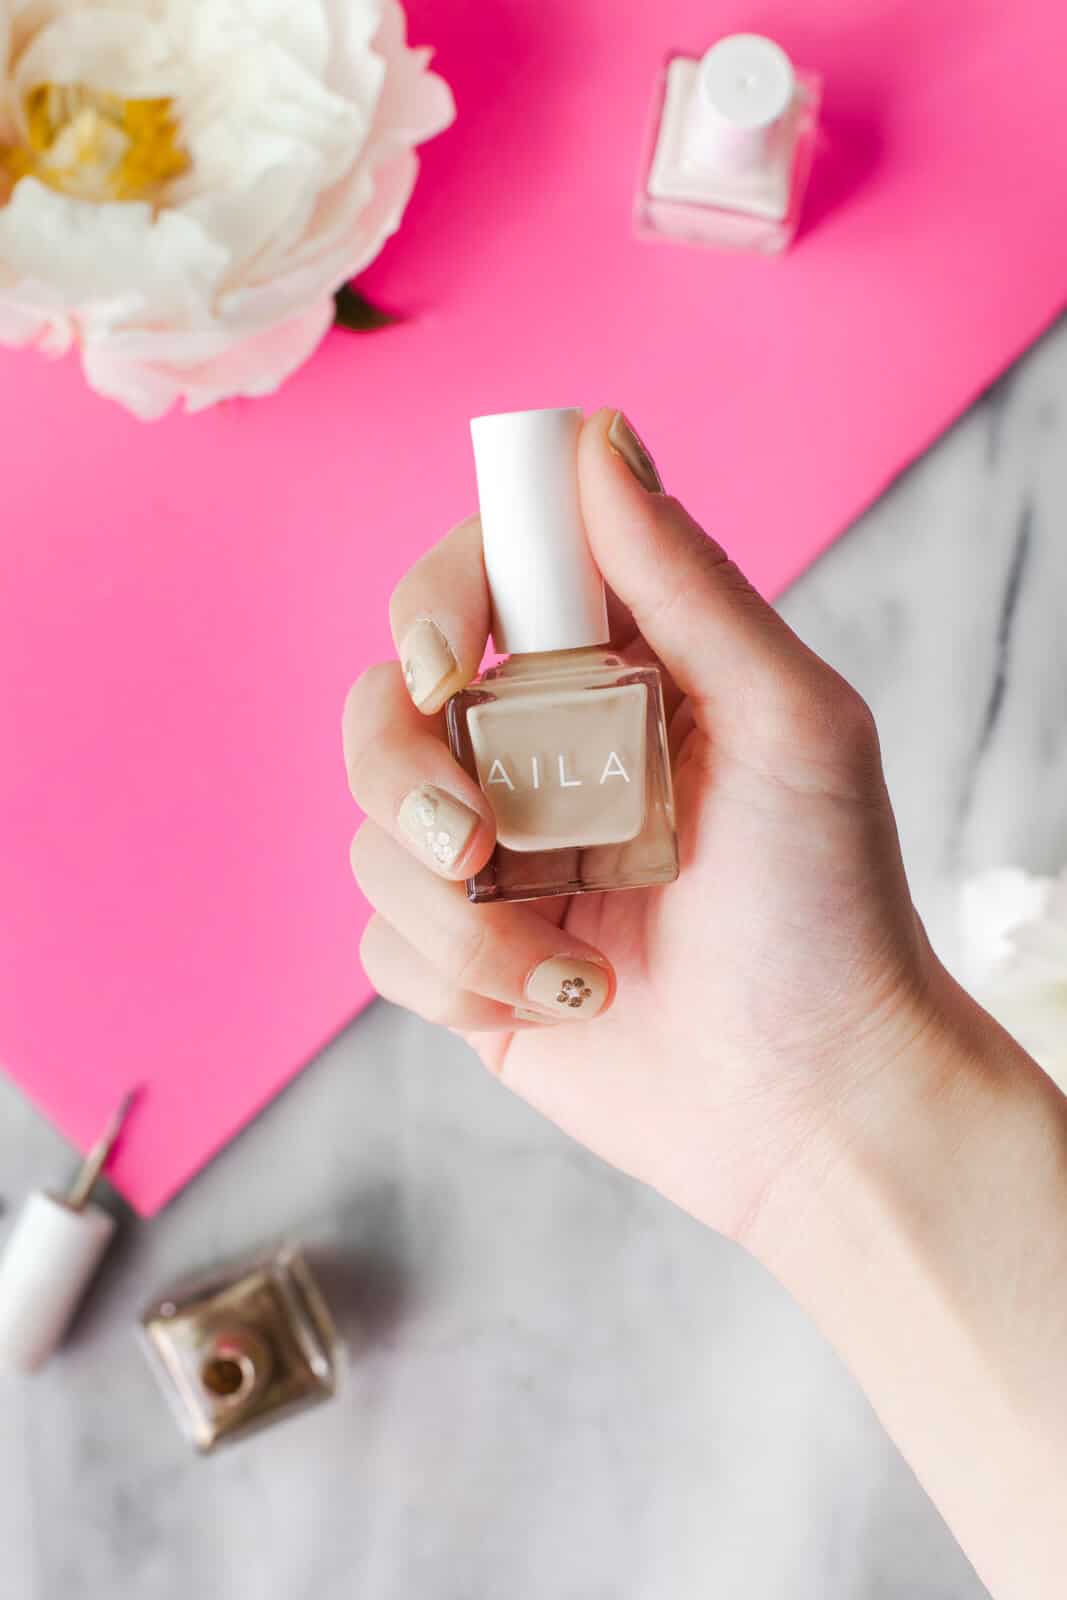
The Art of the Dot: Mastering the Gold Application
The defining element of this manicure is, of course, the gold dots. Achieving precise and consistent dots requires the right tools and a steady hand. The most effective tool for creating perfect gold dots is a nail art dotting tool. These come in various sizes, with ball-shaped tips that allow for controlled application of polish. If you don’t have a dedicated dotting tool, a fine-tipped toothpick or the end of a bobby pin can also be used, though they may require a bit more practice to achieve consistent results.
To begin applying the gold dots, dip the tip of your dotting tool into your gold nail polish. It’s crucial to use a good quality metallic gold polish that has a smooth, streak-free finish. Avoid polishes that are too thick or too thin. A metallic finish will provide the desired shine and reflectivity. For the daisy effect, you’ll typically want to apply five to six small dots in a circular pattern around a central focal point. The size of the dots is critical for achieving the desired delicacy. Aim for small, consistent dots rather than large blobs of polish.
When creating your daisy, consider the spacing between the dots. Evenly spaced dots will create a more symmetrical and visually appealing flower. The central focal point can be left as a single, slightly larger gold dot, or it can be represented by a different color, such as a tiny black dot for added definition, or even a small crystal for a touch of sparkle. Experiment with the density of the daisies. You can opt for a single, prominent daisy on each nail, or a scattered pattern of smaller daisies across the entire nail. For a more intricate design, you can create clusters of daisies or even a full floral field. Practice on a piece of paper or a nail swatch before committing to your actual manicure to refine your technique and achieve the desired size and spacing of the dots. Patience and a steady hand are key to mastering this aspect of the gold daisy dot manicure.
Strategic Placement: Designing Your Daisy Dot Manicure
The placement of your gold daisy dots is where your creativity truly shines. While the classic daisy motif is the core, the way you arrange these floral elements can transform the entire look. For a minimalist and elegant approach, consider placing a single, perfectly formed gold daisy on the accent nail (typically the ring finger). This creates a subtle yet impactful focal point, allowing the rest of the nails to remain a solid, complementary color.
For a more whimsical and playful aesthetic, opt for a scattered design. Place smaller, more delicate gold daisies randomly across all of your nails. This creates a charming, dewy-morning garden effect. You can vary the size of the daisies for added depth and interest, with some larger and some smaller.
Another popular placement strategy involves creating a French tip-inspired design. Instead of a traditional white tip, use your gold dots to form a delicate floral border along the free edge of the nail. This offers a modern and unexpected twist on a classic manicure style. Alternatively, you can place a single daisy near the cuticle, creating a "half-moon" floral accent.
Consider the natural shape of your nail when planning your designs. Elongated nails can accommodate larger, more detailed daisies, while shorter nails benefit from smaller, more concentrated dot patterns. Symmetry can be a powerful tool; ensure your daisy placements are balanced across the nails for a harmonious look. If you’re feeling particularly artistic, you can even create a trailing vine effect with tiny gold dots extending from a central daisy. Don’t be afraid to experiment with different arrangements and find what best suits your personal style and the occasion.
Beyond the Basic: Creative Variations and Embellishments
While the classic gold daisy dot manicure is undeniably chic, there are numerous ways to elevate this design and infuse it with your unique personality. Color Combinations: The beauty of the gold daisy dot manicure lies in its versatility. Beyond neutral and dark bases, experiment with vibrant colors like coral, teal, or even a bright yellow. A pastel pink base with gold daisies creates a sweet and romantic look, while a sophisticated navy base with gold dots offers a touch of evening glamour. For a bolder statement, consider a metallic base – a rose gold base with gold daisies can be incredibly striking, or a silver base with gold dots for a contrasting metallic effect.
Adding a Centerpiece: The center of your gold daisy can be a blank canvas for further embellishment. A single, tiny black dot at the center adds depth and definition, mimicking the natural appearance of a daisy. For a touch of sparkle, strategically place a minuscule crystal or a tiny rhinestone in the center. This adds a luxurious and eye-catching element, perfect for special occasions.
Glitter Accents: Introduce a hint of sparkle by incorporating fine glitter. You can apply a subtle layer of gold glitter over your base coat before adding the dots for an all-over shimmer, or dust a fine iridescent glitter onto the center of each daisy. Another option is to create a glitter accent nail, complementing the daisy design with a full glitter nail.
Ombre Effect: For a more complex and artistic approach, consider an ombre base. A gradient from a lighter shade at the cuticle to a darker shade at the tip, topped with gold daisies, creates a sophisticated and modern look.
Negative Space: Embrace the trend of negative space manicures by leaving sections of your nail bare. You can create a daisy design in the corner of a clear or sheer-toned nail, allowing the natural nail to peek through. This offers a minimalist and edgy interpretation of the floral motif.
Double Duty Dots: Don’t limit yourself to just daisies. Small gold dots can be used to create other patterns. Consider a polka dot design using gold dots, or create delicate geometric patterns with precise gold dot placement.
The Importance of Top Coat: Sealing the Deal
The final and arguably most critical step in achieving a durable and glossy gold daisy dot manicure is the application of a high-quality top coat. This clear protective layer serves multiple essential functions, ensuring your hard work remains intact and your nails look freshly manicured for an extended period.
Firstly, the top coat seals in your base color and, more importantly, your meticulously placed gold dots. This prevents chipping, smudging, and peeling of the polish, which are common culprits for shortening the lifespan of a manicure. The top coat acts as a barrier, protecting the delicate design from everyday wear and tear.
Secondly, a good top coat imparts a professional-level shine and gloss to your nails. This enhances the vibrancy of your base color and makes the metallic sheen of the gold dots truly pop. The smooth, high-gloss finish contributes significantly to the overall polished and sophisticated appearance of the manicure.
When applying the top coat, ensure you cap the free edge of your nails. This means sweeping a thin layer of top coat across the very tip of your nail. This seemingly small step is crucial for preventing chips and lifting from the edge, significantly increasing the longevity of your manicure. Apply one to two thin coats of top coat, allowing each coat to dry slightly before applying the next. Avoid applying the top coat too thickly, as this can lead to bubbling or a cloudy finish. For an even more extended wear, consider using a gel top coat if you are using gel polishes, or a quick-dry top coat if you are using regular nail polish and need to speed up the drying process. Regular application of cuticle oil can also help keep your cuticles hydrated and prevent them from interfering with the integrity of your manicure, further contributing to its overall durability.
Maintaining Your Golden Glow: Tips for Longevity
Even the most perfectly executed gold daisy dot manicure can be compromised by improper care. Implementing a few simple maintenance strategies will ensure your golden glow lasts as long as possible.
First and foremost, avoid prolonged exposure to water. Soaking your hands in water, whether for doing dishes, bathing, or swimming, can soften the nail polish and lead to premature chipping and lifting. Whenever possible, wear rubber gloves to protect your manicure.
Secondly, be mindful of abrasive activities. Activities that involve scrubbing, scraping, or excessive pressure on your nails can quickly damage even a well-sealed manicure. Be conscious of how you use your hands and avoid using your nails as tools.
Regularly moisturize your hands and cuticles with a good quality hand cream and cuticle oil. Hydrated skin and cuticles not only look healthier but also contribute to the overall integrity of your manicure. Dry, brittle cuticles can lift and peel, potentially snagging on your nail polish.
If you notice any small chips or areas where the top coat may have worn down, touch up with a thin layer of top coat. This can often salvage a manicure that might otherwise be headed for a complete redo.
Finally, avoid picking or peeling at your polish. This is a common habit that will invariably lead to significant damage and a less-than-ideal appearance. If you feel the urge to remove the polish, it’s better to use nail polish remover to take it off cleanly.
By incorporating these simple maintenance tips, you can significantly extend the life of your beautiful gold daisy dot manicure, allowing you to enjoy its elegant charm for an extended period.