
How to Add Cane Webbing to an IKEA IVAR Cabinet: A Comprehensive Guide for Enhanced Storage and Style
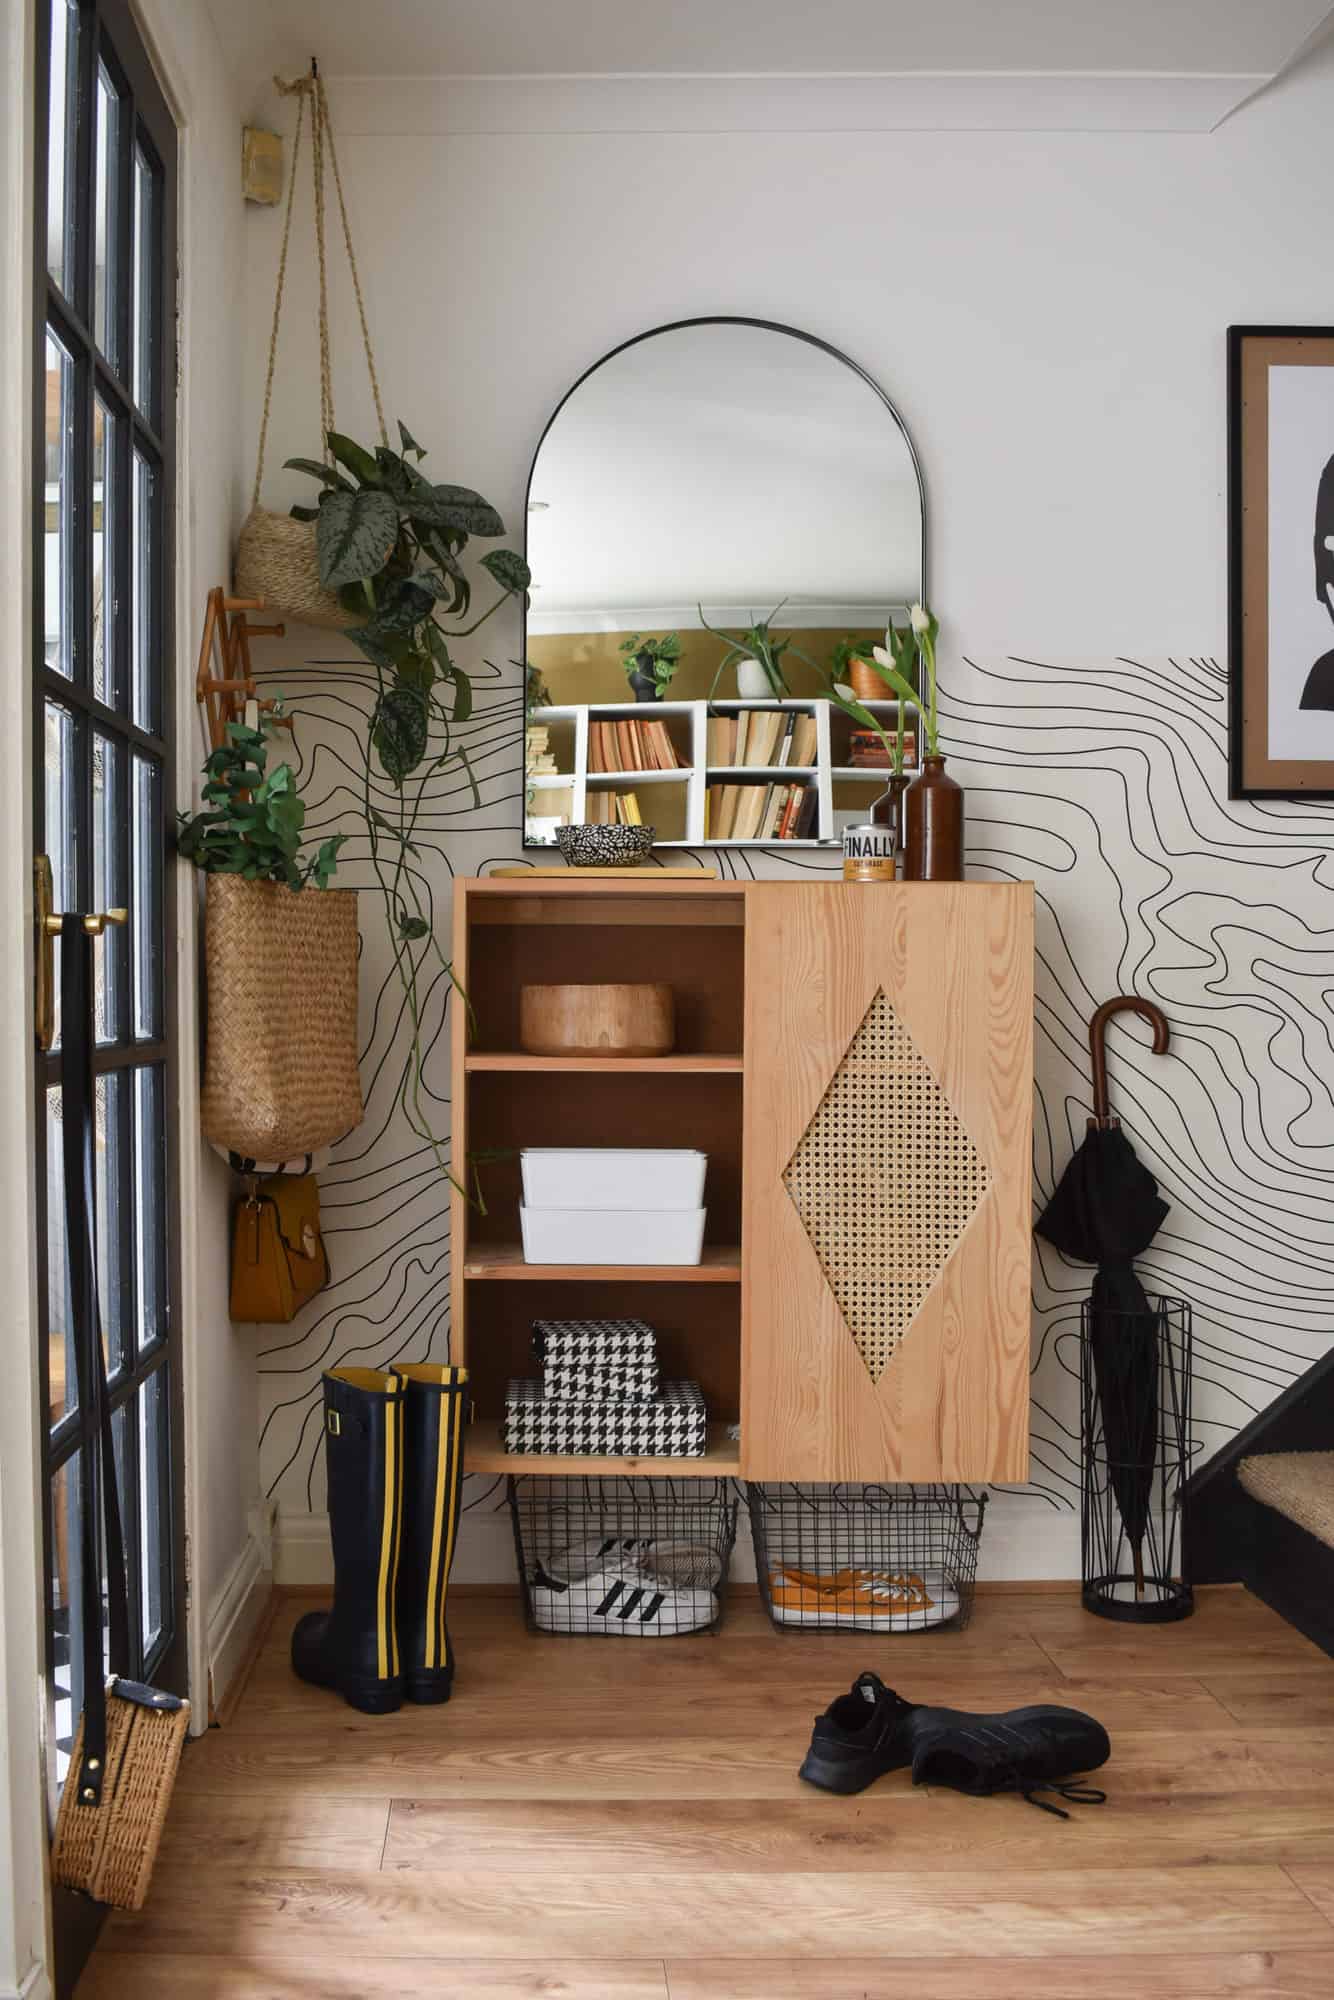
Adding cane webbing to an IKEA IVAR cabinet is a highly effective method for transforming a utilitarian storage unit into a visually appealing and textural piece of furniture. This DIY project offers a sophisticated upgrade, bringing warmth, natural elements, and a touch of mid-century modern or bohemian aesthetic to your home. Beyond aesthetics, cane webbing can also improve ventilation and diffuse light, making it an ideal choice for showcasing items while maintaining a degree of privacy. This guide will walk you through the entire process, from selecting the right materials to the final finishing touches, ensuring a professional-looking result.
Understanding Cane Webbing and Its Application:
Cane webbing, also known as rattan webbing, is derived from the outer bark of the rattan vine. It’s woven into various patterns, with the most common being the hexagonal weave, often referred to as "pressed cane" or "paneled cane." For cabinet doors, this hexagonal weave is particularly popular due to its strength, flexibility, and attractive appearance. The webbing comes in rolls or pre-cut panels, and the choice depends on the size and complexity of your project. When applying it to cabinet doors, the webbing is typically stretched taut and secured around the perimeter, either directly to the door frame or within a rebate. The IVAR cabinet’s simple, unadorned doors are exceptionally well-suited for this customization.
Materials and Tools You Will Need:
To successfully add cane webbing to your IVAR cabinet, gather the following:
- IKEA IVAR Cabinet: The base unit you intend to modify.
- Cane Webbing: Choose the pattern and width that best suits your desired aesthetic. For IVAR cabinet doors, a width of 18-24 inches is common. Ensure you purchase enough to cover all doors with a slight overlap for trimming.
- Wood Glue (or PVA Glue): A strong, reliable adhesive for securing the webbing.
- Water: For softening the cane webbing, making it pliable and easier to work with.
- Spray Bottle: To evenly mist the cane webbing with water.
- Staple Gun and Staples: A heavy-duty staple gun with staples suitable for wood is crucial for initial securing. Consider staples specifically designed for upholstery or woodworking for best results.
- Thin Wood Strips (Lath or Trim): These will be used to conceal the stapled edges of the cane webbing and create a clean, finished look. The width of these strips should be slightly narrower than the rebate of your IVAR doors or appropriate for covering the staple line if no rebate exists.
- Fine-Grit Sandpaper: For smoothing the wood strips and the cabinet doors if necessary.
- Wood Finish (Optional): Paint, stain, or clear varnish to match or complement your existing décor.
- Measuring Tape or Ruler: For accurate measurements of your cabinet doors.
- Utility Knife or Sharp Scissors: For trimming excess cane webbing.
- Clamps (Optional but Recommended): For holding the wood strips in place while the glue dries.
- Rag or Sponge: For wiping away excess glue.
- Pencil: For marking measurements.
- Safety Glasses: To protect your eyes from sawdust and flying staples.
- Work Gloves (Optional): To protect your hands.
Step-by-Step Guide to Adding Cane Webbing:
Step 1: Prepare the IVAR Cabinet Doors
Begin by removing the doors from your IVAR cabinet. If your doors have existing hardware, remove it as well. Inspect the doors for any imperfections. If there are any rough edges or splinters, lightly sand them smooth. If you plan to paint or stain the doors before applying the webbing, now is the time to do so. Ensure the finish is completely dry before proceeding. It’s often easier to work with the doors lying flat on a protected surface.
Step 2: Measure and Cut the Cane Webbing
Carefully measure the dimensions of the area where the cane webbing will be applied. For IVAR doors, this is typically the recessed panel or the entire door front if you are opting for a full overlay. It’s crucial to cut the cane webbing larger than the measured area to allow for stretching and securing. Aim for an overlap of at least 1-2 inches on each side. Use a sharp utility knife or heavy-duty scissors to make clean cuts. Be aware that cane webbing can fray, so cut carefully.
Step 3: Soften the Cane Webbing
Cane webbing needs to be hydrated to become flexible and pliable enough to stretch without breaking. Fill your spray bottle with clean water. Lightly mist the entire piece of cane webbing you will be using, ensuring it is evenly dampened but not saturated. You should see the weave relax and become easier to manipulate. Allow the webbing to sit for about 10-15 minutes to fully absorb the moisture. Avoid over-soaking, as this can weaken the fibers.
Step 4: Position and Secure the Cane Webbing (Initial Stapling)
Lay the softened cane webbing onto the prepared cabinet door, ensuring it is centered and the excess extends around the edges. Begin the securing process by using your staple gun. Start at the center of one edge, pulling the webbing taut as you staple it into the wood. Work your way outwards towards the corners, maintaining consistent tension. Staple every 1-2 inches along the edge. It is essential to pull the webbing as taut as possible at this stage. As the webbing dries, it will shrink slightly, further tightening the weave. For IVAR doors with a rebate, you will be stapling into the side walls of this rebate. If you are applying the webbing directly to the door face, ensure you are stapling into the solid wood of the door itself.
Step 5: Refine Edges and Corners
As you staple, pay close attention to the corners. You may need to fold or pleat the webbing to create a neat, finished corner. Work methodically, ensuring the weave remains even and free of puckering. Once one side is stapled, move to the opposite side, pulling the webbing taut again before stapling. Repeat this process for the remaining two sides, constantly checking for even tension and a smooth appearance. The goal is a drum-tight finish.
Step 6: Install Concealing Wood Strips (Trim)
This is where you will create a professional and finished edge. Measure and cut your thin wood strips to fit around the perimeter of the cane webbing, covering the stapled edges. The strips should be slightly narrower than the depth of the rebate on your IVAR doors. If your doors don’t have a rebate, you’ll be attaching these strips to the face of the door, creating a frame around the cane. Sand the edges of the wood strips smooth for a clean finish.
Apply a bead of wood glue to the underside of each wood strip. Carefully position the strips over the stapled edges of the cane webbing, pressing them firmly into place. If your IVAR doors have a rebate, the strips will sit flush within this. If not, they will overlay the cane. Use clamps to hold the strips securely while the glue dries. If clamps are not available, you can temporarily secure them with small nails or brads, ensuring they are countersunk and will be filled later. Wipe away any excess glue with a damp rag.
Step 7: Allow Glue to Dry and Trim Excess Webbing
Let the wood glue dry completely according to the manufacturer’s instructions. This is crucial for a durable bond. Once the glue is dry, carefully trim any excess cane webbing that protrudes beyond the wood strips or the edge of the door using your utility knife. Be precise to avoid damaging the new trim or the surrounding door.
Step 8: Final Sanding and Finishing (Optional)
Once the glue is fully cured and any excess webbing is trimmed, lightly sand the wood strips to ensure they are smooth and flush with the door surface. If you are painting or staining the wood strips, now is the time to do so. Apply your chosen finish, allowing it to dry thoroughly between coats. You can also apply a clear sealant to protect the cane webbing and the wood.
Step 9: Reattach Hardware and Cabinet Doors
Once all finishes are dry, reattach any hardware you removed, such as hinges and cabinet pulls. Finally, rehang the modified IVAR cabinet doors onto your IVAR unit. Step back and admire your beautifully updated furniture.
Tips for Success and Troubleshooting:
- Tension is Key: The most common issue is insufficient tension. Remember that the cane will shrink as it dries, so err on the side of pulling it very taut.
- Even Wetting: Ensure the water is applied evenly. Dry spots will result in uneven shrinking and a less attractive finish.
- Sharp Tools: Use a sharp utility knife or scissors for clean cuts to prevent fraying.
- Pre-Drill for Hardware: If you are adding new hardware, it’s often best to pre-drill pilot holes before attaching the cane and trim to avoid splitting the wood.
- Consider the Weave: Different cane weaves have varying degrees of flexibility. Hexagonal weave is generally the most pliable.
- Practice Makes Perfect: If you are new to working with cane, consider practicing on a scrap piece of wood before tackling your IVAR doors.
- Sealing for Durability: Applying a clear sealant to the cane webbing can help protect it from moisture and wear, especially in high-traffic areas or kitchens.
- Alternative Securing Methods: Some crafters prefer to use thin wooden reeds or splines inserted into a routed groove around the edge of the door to secure the cane webbing. This method offers a very clean finish but requires routing tools.
SEO Considerations and Keywords:
- Primary Keywords: "add cane webbing IKEA IVAR," "IVAR cabinet cane doors," "DIY cane webbing furniture," "rattan webbing cabinet."
- Secondary Keywords: "IKEA IVAR customization," "furniture makeover cane," "DIY rattan furniture," "how to cane furniture," "upgrade IKEA storage," "natural fiber furniture," "mid-century modern IKEA," "bohemian furniture DIY."
- Long-Tail Keywords: "how to apply cane webbing to IKEA cabinet doors," "best way to attach cane to IVAR," "making IKEA IVAR look high-end with cane," "tips for DIY cane furniture project."
- Content Structure: Use clear headings, subheadings, bullet points, and numbered lists to improve readability and for search engines to easily index the content.
- Image Optimization: If you were to include images, optimize them with descriptive alt text that includes relevant keywords.
- Internal and External Linking: Link to other relevant DIY posts or furniture articles. Link to reputable sources for purchasing cane webbing.
By following this comprehensive guide, you can successfully transform your basic IKEA IVAR cabinet into a stylish and unique piece of furniture that adds significant aesthetic value and textural interest to your living space. The process, while requiring patience and attention to detail, is highly rewarding and accessible to most DIY enthusiasts.
