
How to Make a Bolster Pillow: A Comprehensive Guide to DIY Cushion Creation
Creating a bolster pillow is a rewarding DIY project that yields a versatile and stylish addition to any home décor. Bolster pillows, characterized by their cylindrical shape and often used as decorative accents or for lumbar support, are surprisingly straightforward to construct. This comprehensive guide will walk you through every step, from selecting materials to final finishing touches, ensuring a professional-looking result even for novice sewers. Understanding the fundamental construction techniques will empower you to customize your bolster pillows to perfectly match your aesthetic and functional needs.
The initial step in making a bolster pillow involves careful material selection. The outer fabric is paramount and dictates the pillow’s aesthetic and durability. Cotton, linen, and polyester blends are excellent choices for their breathability, texture, and washability. For a more luxurious feel, consider velvet, silk, or faux fur. The weight of the fabric is also a consideration; heavier fabrics like canvas or denim offer more structure and durability, while lighter fabrics may require a more robust interlining. For the filling, polyester fiberfill is the most common and cost-effective option, offering a soft and yielding cushion. Alternatively, you can opt for buckwheat hulls for a firmer, more supportive pillow, or a blend of fiberfill and down for a luxurious, cloud-like feel. It’s important to buy slightly more fabric than your calculated needs to account for any errors or shrinkage during washing. Consider also any embellishments you might want to add, such as piping, tassels, or buttons, and gather those materials now.
Accurate measurement and pattern creation are the bedrock of a well-fitting bolster pillow. The most common bolster pillow design involves two circular end caps and one rectangular body. To determine the dimensions, decide on your desired length and diameter. The diameter will determine the circumference of the rectangular piece. A simple formula for calculating the circumference is Pi (approximately 3.14) multiplied by the desired diameter. For example, if you want a 6-inch diameter bolster, the circumference will be approximately 18.84 inches. This circumference will be the length of your rectangular fabric piece. The width of your rectangular piece will be the desired length of your bolster plus seam allowances. For the circular end caps, the diameter of each circle should match the desired diameter of your bolster. Add a seam allowance, typically ½ inch, to the radius of these circles. Therefore, if your bolster has a 6-inch diameter, you’ll need two circles with a radius of 3 inches plus ½ inch, making each circle 3.5 inches from the center to the edge. Remember to add a seam allowance of ½ inch to the perimeter of these circles as well. For ease of cutting, it’s advisable to create a paper pattern. Draw your rectangle and circles to scale on paper, ensuring all measurements are precise and clearly marked. This paper pattern will serve as your template for cutting the fabric.
Cutting your fabric accurately is crucial for a professional finish. Lay your chosen fabric flat on a clean, hard surface, ensuring it’s free of wrinkles. If your fabric has a distinct right and wrong side, pay close attention to this. For the rectangular body of the bolster, fold the fabric in half lengthwise, aligning the selvage edges if using. Place your paper pattern for the rectangle onto the folded fabric, ensuring the grainline of the fabric runs parallel to the longer edge of the pattern. Pin the pattern securely to the fabric. Carefully cut along the edges of the pattern. For the circular end caps, unfold the fabric. Place your circular end cap pattern onto the fabric, again paying attention to the grainline if applicable. Pin the pattern to the fabric and cut out two identical circles. If you are adding piping, you will also need to cut fabric strips for this. For piping, cut strips on the bias (at a 45-degree angle to the selvage) to ensure they can curve around the circular ends. The width of these strips will depend on the desired thickness of your piping, typically 1.5 to 2 inches wide, to accommodate a cord and seam allowance.
The construction process begins with the rectangular body. If you are adding piping to the long edges of the bolster, this is the time to do it. Pin a pre-made piping cord (or a fabric-covered cord) to the right side of the fabric along the two long edges of the rectangle, aligning the raw edges. Baste the piping in place using a zipper foot or a piping foot on your sewing machine. This will create a channel for the piping. Now, take the second rectangular piece of fabric (or the other half of your folded fabric), and place it right sides together with the first piece, aligning all raw edges. If you didn’t add piping, simply place the two rectangular pieces right sides together. Stitch along the two long edges, ¼ inch from the raw edge, using your chosen seam allowance. If you basted piping, stitch along the stitching line of the piping. This ¼ inch seam allowance will create a small hem or channel for the piping to sit in, and your main seam will be a further ½ inch or so. For a more robust seam, consider using a French seam or serging the raw edges. Leave one of the shorter ends of the rectangle completely open for now; this will be where you attach the end caps.
Attaching the circular end caps requires a bit of careful manipulation. This is where the gathered edge technique comes into play. Take one of your cut circular end caps and place it right sides together with the open short end of your rectangular body, aligning the raw edges. Pin the circle to the rectangle, easing the fabric of the circle to fit the straight edge of the rectangle. You will notice that the circumference of the circle is smaller than the straight edge of the rectangle due to the diameter of the bolster. This is intentional. Begin stitching around the circumference, about ½ inch from the raw edge, stretching the fabric of the circle slightly as you go. The excess fabric from the circle will naturally gather or pleat as you sew, creating a smooth curve. Go slowly and pin frequently to ensure even distribution of the gathers. Repeat this process for the other end cap on the opposite short end of the rectangle. Ensure the raw edges are aligned as closely as possible for a neat finish. Once both end caps are attached, you will have a tube with two closed ends.
The next step involves preparing the opening for stuffing and the closure method. You have a few options for how to close the seam where you attach the end caps, and how you will stuff the pillow. The simplest method is to leave one of the short ends of the rectangle unsewn until after stuffing. This means you will only attach one end cap permanently. For the other end, you will create a seam allowance that allows for an opening. Alternatively, and for a cleaner finish, you can sew both end caps permanently and then create an opening in the main body of the rectangle, about midway along its length. This opening will then need a closure. Common closure methods include a zipper, Velcro, or a simple overlap with buttons or ties. For a zipper closure, you’ll need to sew the zipper into the opening you created in the main body of the bolster. For Velcro, sew one side of the Velcro to each edge of the opening. If opting for buttons and buttonholes, you’ll need to create buttonholes on one side of the opening and sew buttons onto the other. Ensure your chosen closure method is robust enough to withstand the pressure of a stuffed pillow.
Stuffing the bolster pillow requires patience and even distribution. If you’ve opted for a permanent closure on one end, you can begin stuffing. If you have an opening in the main body, begin stuffing through that. Use your chosen filling material, whether it’s polyester fiberfill, buckwheat hulls, or a blend. Start by stuffing the very ends of the bolster, pushing the filling firmly into the corners where the end caps meet the body. This is crucial for achieving a well-shaped bolster. Gradually work your way towards the center, adding filling in small handfuls. Periodically pat and shape the bolster to ensure the filling is evenly distributed and there are no lumps or voids. Continue stuffing until the bolster reaches your desired firmness. For a firmer pillow, you’ll need more filling. For a softer pillow, less. Avoid overstuffing, as this can create a rigid and uncomfortable pillow.
Closing the bolster pillow is the final construction step. If you left one of the short ends unsewn, carefully hand-stitch the remaining opening closed using a ladder stitch (also known as a blind stitch) for an invisible finish. If you created an opening in the main body for stuffing and closure, ensure your chosen closure mechanism is securely sewn. For a zipper, carefully stitch it in place, ensuring it’s aligned and functions smoothly. For Velcro, ensure both strips are firmly attached. For buttons and buttonholes, make sure the buttonholes are adequately sized and the buttons are securely sewn to withstand pulling. Once your closure is complete, give the bolster a final pat and shape to ensure everything is in place.
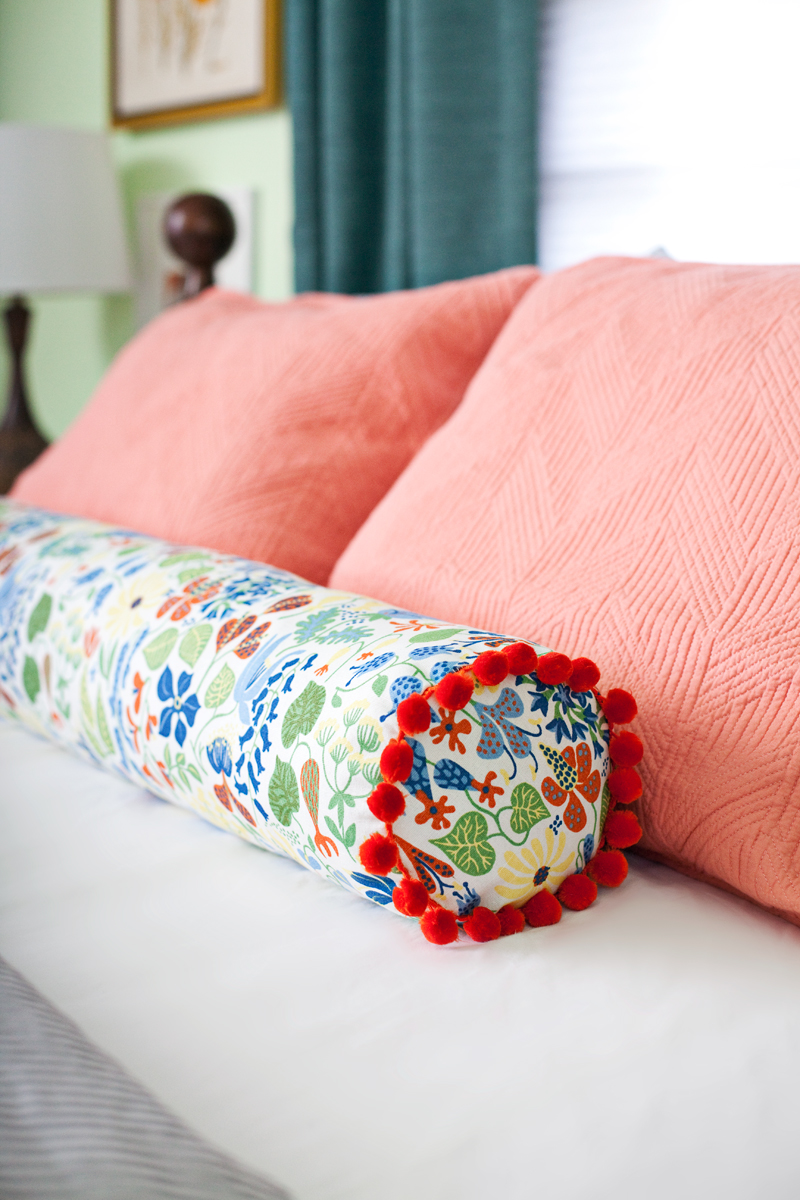
Adding embellishments can elevate your DIY bolster pillow from functional to fabulous. Piping, as discussed earlier, is a classic choice that adds a defined edge and a touch of sophistication. Tassels or fringe can be sewn onto the end caps or along the length of the bolster for a bohemian or decorative flair. Consider contrasting fabric panels or appliqué designs for a personalized touch. Buttons can be used as decorative closures or simply as accents sewn onto the surface. If your fabric is plain, embroidery or fabric paint can add unique patterns and textures. When adding embellishments, ensure they are securely attached to prevent them from unraveling or detaching with use. Test the durability of your embellishments before finalizing.
Care and maintenance of your handmade bolster pillow will ensure its longevity and continued aesthetic appeal. Always check the care label of your chosen fabric. Most cotton and linen fabrics can be machine washed on a gentle cycle with cold water. Delicate fabrics like silk or velvet may require dry cleaning or hand washing. Polyester fiberfill can typically be machine washed and dried on a low setting. Buckwheat hulls, however, should generally not be washed; if they become soiled, spot clean the outer cover and allow the hulls to air out in a dry, sunny location. Regular fluffing and patting will help maintain the pillow’s shape and prevent the filling from settling. For removable covers, consider creating an envelope closure or a zipper for easy removal and washing. This is particularly beneficial for high-traffic areas or if you have pets or children.
Customization is where the true joy of DIY sewing shines. The dimensions of your bolster pillow are entirely up to you. Create a long, slender bolster for a sofa arm, a shorter, thicker one for a window seat, or a series of small bolsters for floor cushions. Experiment with different fabric combinations, mixing textures and patterns to create a truly unique piece. Consider using complementary fabrics for the end caps and the body, or a bold print for the body with a solid, coordinating fabric for the ends. If you’re feeling adventurous, you can even incorporate different closure types for different bolsters, or add contrasting piping for a playful detail. The possibilities are as limitless as your imagination. The process of making a bolster pillow is a building block for countless other sewing projects. Mastering the techniques of creating cylindrical shapes, attaching circular elements, and implementing various closure methods will open the door to creating a wide array of home décor items.
The SEO focus for this article revolves around keywords such as "how to make a bolster pillow," "DIY bolster pillow," "sewing bolster pillow," "homemade bolster cushion," "bolster pillow tutorial," "cylinder pillow pattern," "upholstery pillow making," "lumbar pillow tutorial," and "decorative pillow DIY." By naturally integrating these terms throughout the article, particularly in headings, subheadings, and within the descriptive text, search engines will be able to identify and rank this content for relevant user queries. The comprehensive nature of the guide, covering material selection, pattern making, cutting, sewing techniques, stuffing, finishing, and care, ensures that users will find valuable and detailed information, leading to longer dwell times and increased engagement, further boosting SEO performance. The inclusion of practical tips and customization ideas also adds value and encourages sharing, contributing to organic search visibility.
