
How to Make Cakesicles: A Comprehensive Guide
The allure of the cakesicle lies in its charming presentation and delightful taste. A fusion of cake and confection, these treats offer a delightful twist on traditional cupcakes and cake pops. The process of making cakesicles, while seemingly intricate, is remarkably achievable with a step-by-step approach. This guide will demystify the creation of perfect cakesicles, covering everything from essential equipment and ingredients to advanced decorating techniques, ensuring your cakesicles are as visually appealing as they are delicious.
The foundational element of any successful cakesicle is, unsurprisingly, cake. While any cake recipe can be adapted, a denser, moister cake texture is generally preferred for cakesicles. This is because the cake needs to hold its shape when molded and remain stable once coated in chocolate. A pound cake, a dense vanilla cake, or even a red velvet cake are excellent choices. The key is to bake your cake in a sheet pan or a rectangular baking dish, rather than individual rounds. This allows for easy crumbling and mixing with frosting, which acts as the binder for the cakesicle mixture. Aim for a cake that is not overly crumbly or dry. If your cake is a bit dry, you can add a touch more frosting or a tablespoon of milk to the crumbles to achieve the desired consistency. The goal is a dough-like mixture that can be pressed into the cakesicle molds without falling apart.
The frosting is the crucial element that binds the crumbled cake together, transforming loose crumbs into a malleable mass. A buttercream frosting is the most common and effective choice. Cream cheese frosting can also be used, but it might introduce a slightly softer texture, which may require a firmer cake base. The amount of frosting needed will vary depending on the moisture content of your cake and how finely you crumble it. Start by adding frosting gradually, mixing it in thoroughly after each addition, until the mixture can be easily pressed into a ball that holds its shape. Over-mixing can lead to a gummy texture, so be mindful of this. The ideal consistency is similar to playdough – firm enough to mold but not sticky or dry.
Specialized cakesicle molds are essential for achieving the iconic shape. These are typically made of silicone or plastic and feature hollow cavities designed to be filled with the cake mixture. They come in various shapes, including traditional popsicle shapes, rectangular bars, and even more intricate designs. Ensure you have a sufficient number of molds for the amount of cake you are preparing. Cleaning these molds is straightforward; most are dishwasher safe, or can be washed with warm, soapy water. For the sticks, standard popsicle sticks or specialized cakesicle sticks, which are slightly wider and flatter to better fit the molds, are required.
The assembly process begins with preparing your cake mixture. Once your cake has cooled completely, crumble it into a large bowl. Add your prepared frosting, a few tablespoons at a time, and mix until well combined. Use your hands or a sturdy spoon to thoroughly incorporate the frosting into the cake crumbs. Test the consistency by taking a small amount and attempting to form a ball. It should hold its shape without crumbling. Once you have achieved the desired consistency, it’s time to fill the molds.
To fill the cakesicle molds, press small portions of the cake and frosting mixture firmly into each cavity. Ensure there are no air pockets, as these can cause the cakesicles to break or appear uneven. A small offset spatula or your fingers can be used to compact the mixture and smooth the surface. Fill each mold to the brim, creating a flush surface with the top of the mold. Once filled, place the molds in the freezer for at least 15-30 minutes. This chilling period is crucial for allowing the cake mixture to firm up, making it easier to handle and dip in chocolate.
While the cake mixture is chilling, prepare your chocolate coating. High-quality melting chocolate, often referred to as confectionery coating or candy melts, is ideal. These chocolates are formulated to melt smoothly and harden quickly, providing a crisp shell for your cakesicles. You can also use tempered chocolate, which offers a superior taste and sheen, but requires a more precise tempering process. For beginners, candy melts are a more forgiving option. Melt the chocolate according to package instructions, typically in a microwave-safe bowl in 30-second intervals, stirring between each interval until smooth. Alternatively, you can melt it in a double boiler.
Once the cakesicles have firmed up in the freezer, carefully remove them from the molds. This is where the flexibility of silicone molds proves advantageous; gently flex the mold to release each cakesicle. For plastic molds, a slight tap on a flat surface might be necessary. Insert a popsicle stick into the designated slot of each cakesicle, ensuring it’s firmly seated within the cake mixture. This stick will serve as the handle for your finished treat.
The dipping process requires a bit of finesse. Hold a chilled cakesicle by its stick and carefully dip it into the melted chocolate, ensuring it is fully submerged. Allow any excess chocolate to drip back into the bowl. A small offset spatula can be used to gently guide the chocolate and ensure even coverage. For a clean finish, scrape the excess chocolate against the rim of the bowl. Place the dipped cakesicle onto a parchment-lined baking sheet to set. Repeat this process for all your cakesicles. If the chocolate begins to harden too quickly, gently re-melt it.
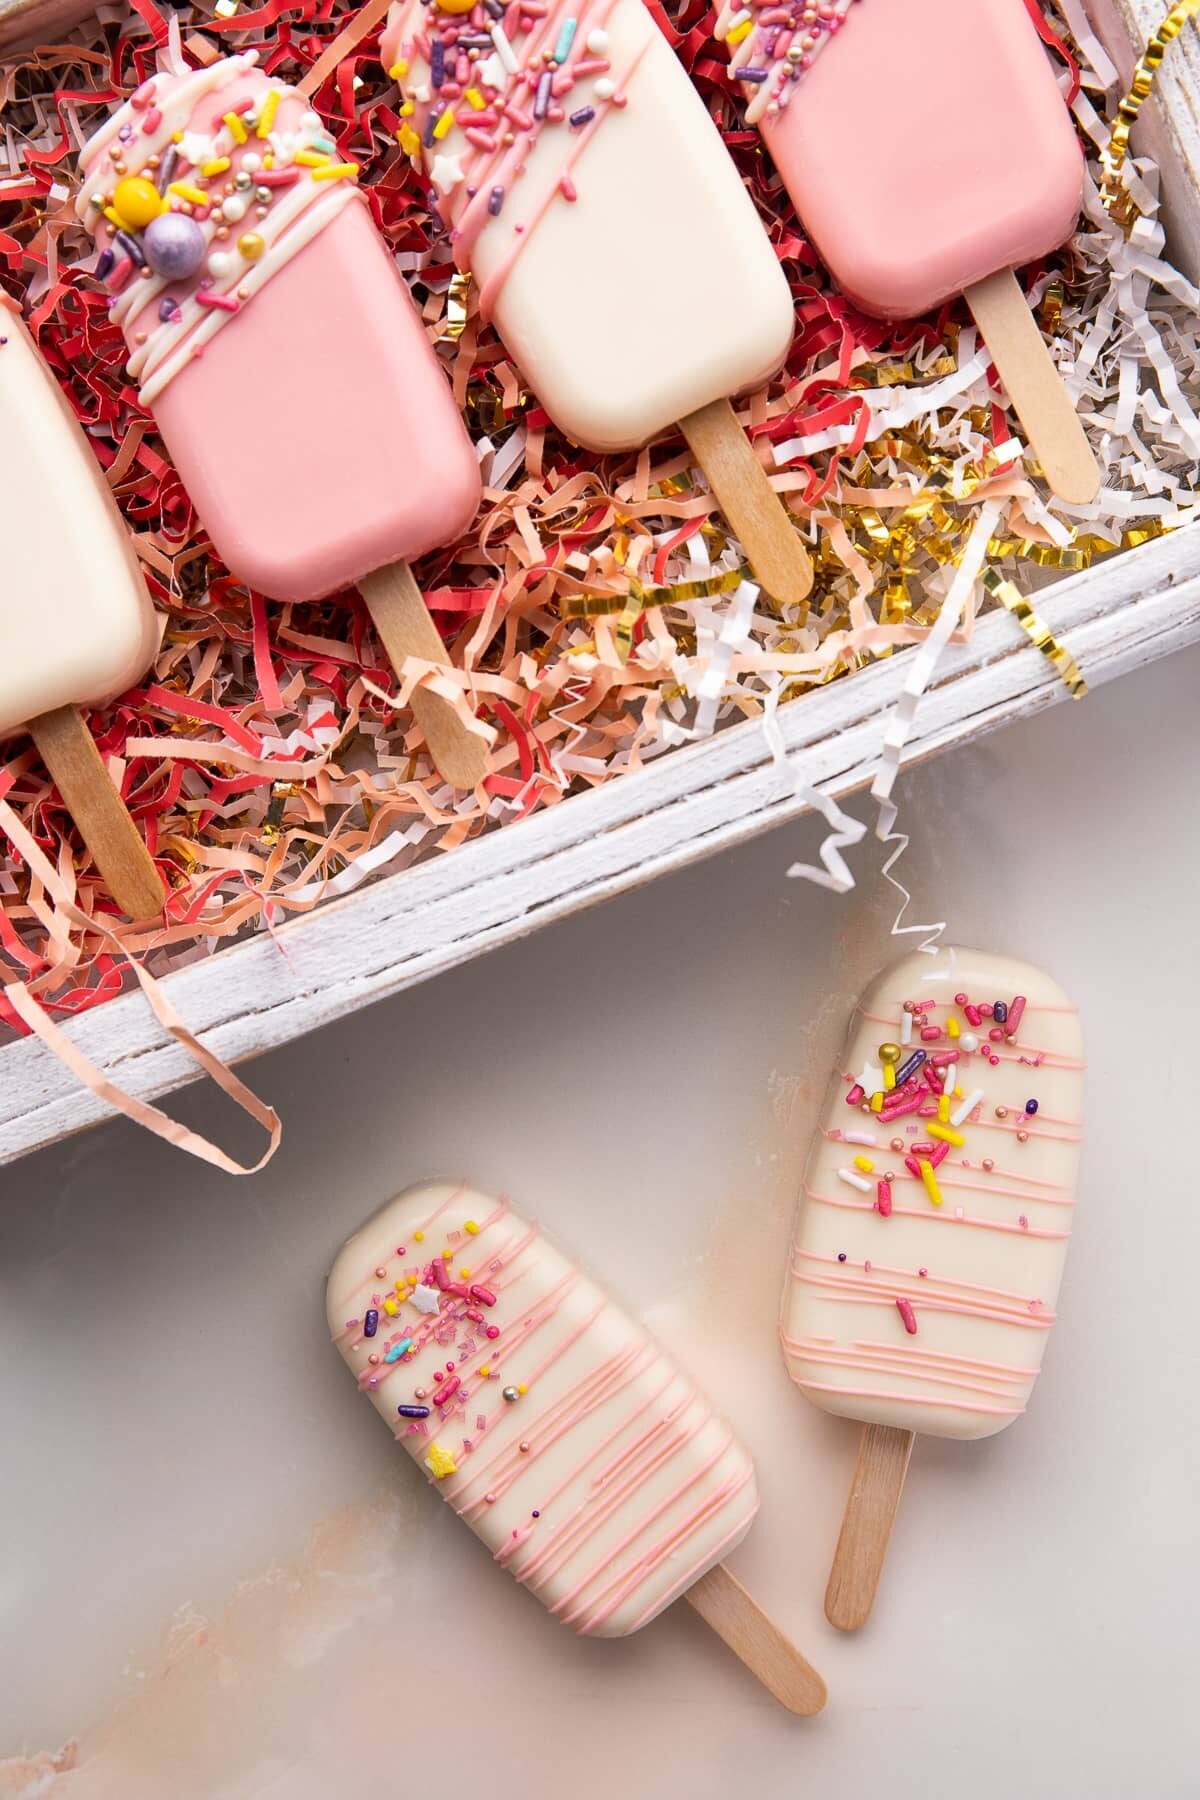
Decorating is where your cakesicles can truly shine. The possibilities are virtually endless, limited only by your imagination and available supplies. Before the chocolate coating hardens completely, you can sprinkle on edible glitter, sanding sugar, sprinkles, or edible pearls. For more intricate designs, allow the initial chocolate coating to set, then drizzle melted chocolate of a contrasting color over the cakesicles using a piping bag or a fork. You can also adhere fondant cutouts, edible flowers, or even small candies to the wet chocolate. Edible markers can be used to draw designs or write messages on fully set chocolate.
For a truly polished look, consider a double dip. After the first layer of chocolate has set, you can dip the cakesicles a second time for a thicker, more opaque coating. This also provides a fresh surface for further decoration. If using candy melts, adding a small amount of paramount (a solid coconut oil-based shortening) can help thin the chocolate and achieve a smoother consistency for dipping.
Storage is an important consideration for maintaining the quality of your cakesicles. Once fully decorated and set, store them in an airtight container. If decorated with buttercream, it’s best to refrigerate them, especially in warmer climates. Cakesicles stored in the refrigerator should be brought to room temperature for about 15-20 minutes before serving to allow the chocolate coating to soften slightly and the cake to regain its optimal texture. Cakesicles can typically be stored in the refrigerator for up to a week, though they are best enjoyed within a few days of making them. For longer storage, they can be individually wrapped in cellophane or plastic wrap and frozen. Thaw frozen cakesicles in the refrigerator overnight before serving.
Troubleshooting common cakesicle issues can save you a lot of frustration. If your cakesicles are breaking when you remove them from the mold, it often indicates that the cake mixture wasn’t firmly pressed into the mold or that it wasn’t chilled long enough. Ensure you are packing the mixture tightly and freezing it for the recommended duration. If the chocolate coating is cracking, it could be due to temperature shock; ensure your cakesicles are cold but not frozen solid when dipping, and allow them to set at room temperature or in a cool environment. If the chocolate isn’t adhering well, it might be too thick; thin it with a little more melted candy melts or paramount.
Beyond the classic designs, consider thematic cakesicles for holidays and special occasions. For Halloween, create spooky ghost or pumpkin cakesicles. For Christmas, decorate them with festive colors and edible snowflakes. For birthdays, personalize them with the recipient’s favorite colors and characters. The versatility of the cakesicle format makes it a perfect canvas for creative expression.
The process of making cakesicles, from baking the cake to the final decorative flourish, offers a rewarding culinary experience. By understanding the nuances of cake texture, frosting binding, mold usage, and chocolate coating, you can confidently create these delightful treats. Whether you’re a seasoned baker or a novice looking for a new challenge, this comprehensive guide provides the essential knowledge to master the art of cakesicle creation, ensuring your creations are a hit at any gathering. Remember to experiment with flavors and decorations to make each batch uniquely yours. The satisfaction of presenting beautifully crafted, homemade cakesicles is immeasurable.
