
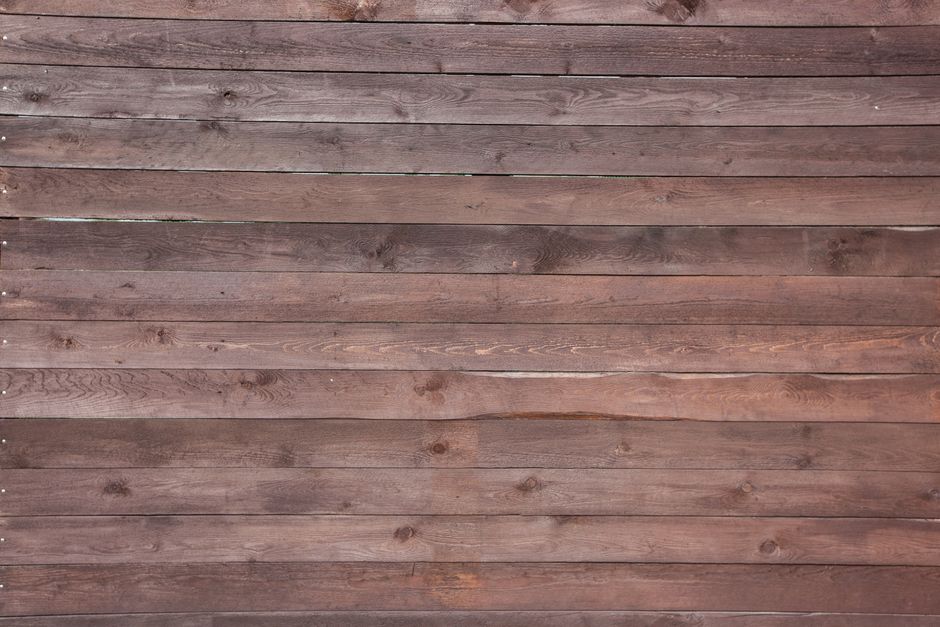
How to Make a Wood Plank Photo Backdrop: A Step-by-Step Guide for Stunning Visuals
Creating a realistic and versatile wood plank photo backdrop is an achievable DIY project that can significantly elevate the quality of your photography. Whether you’re a product photographer, food stylist, or crafter looking to showcase your creations, a custom-made wood backdrop offers a professional and aesthetically pleasing surface that readily enhances the subject matter. Unlike expensive pre-made options, a DIY approach allows for complete control over size, color, and finish, ensuring it perfectly complements your specific needs. This guide will walk you through the process of constructing a durable and visually appealing wood plank photo backdrop, covering everything from material selection to finishing touches, all optimized for search engines to help you find the information you need.
The foundational element of your wood plank photo backdrop is the selection of appropriate lumber. For a realistic wood grain and durability, consider using pine, poplar, or even plywood. Pine is a cost-effective choice with a good natural grain that takes stain well. Poplar offers a smoother surface, which can be advantageous for certain finishes. Plywood, particularly birch or cabinet-grade plywood, provides a stable and uniform base, though you’ll need to get creative with adding texture to mimic real wood planks. The thickness of your chosen material is also important; aim for at least 1/2 inch to 3/4 inch thick planks or plywood to prevent warping and ensure a solid feel. The dimensions of your backdrop will depend on your intended use. A common size for product photography is 2 feet by 3 feet, while larger backdrops might be 3 feet by 4 feet or even larger for lifestyle shots. Remember to factor in the weight and portability if you anticipate moving it frequently. When purchasing your wood, inspect each piece for significant knots or imperfections that might detract from the final aesthetic, unless you specifically desire a rustic, distressed look.
For a project mimicking distinct wood planks, cutting your chosen lumber into uniform strips is the next crucial step. If you’re using a large sheet of plywood, you’ll need to rip it into planks of your desired width. A table saw or a circular saw with a guide will provide the cleanest, straightest cuts. For a more authentic plank appearance, varying the width slightly (e.g., 3 inches, 4 inches, and 5 inches) can add visual interest and realism. The length of your planks should be consistent for a tidy finish, or you can experiment with slightly staggered lengths for a more natural, reclaimed wood look. If you are working with pre-cut dimensional lumber, ensure all pieces are the same length. Precision in your cuts will translate to a more professional-looking finished product and will make the assembly process much smoother. Measure twice and cut once to avoid wasting precious material.
Assembly is where your wood planks begin to resemble a cohesive backdrop. The most common method involves attaching your individual planks to supporting crossbeams or a solid backing. If using crossbeams, aim for two or three pieces of thicker wood (e.g., 1×2 or 1×3 lumber) running perpendicular to your planks, spaced evenly. This method allows for a slightly more flexible backdrop that can be rolled or stored more compactly. For a sturdier, more rigid backdrop, attach your planks directly to a full sheet of plywood. This provides a solid surface that won’t flex. Use wood glue and screws or nails for attachment. Pre-drilling pilot holes is essential to prevent the wood from splitting, especially when working with softer woods like pine or along the edges of your planks. Countersink the screws or nails so they sit flush with or slightly below the surface, which will be important for the finishing process. Ensure your planks are laid out with minimal gaps between them for a more solid appearance, or intentionally leave small, consistent gaps for a more rustic, weathered effect.
Once your planks are securely assembled, the real magic of transforming them into a convincing wood texture begins. This stage involves staining and distressing to achieve the desired aesthetic. Start by sanding all surfaces to remove any rough edges or splinters. A medium-grit sandpaper (100-120 grit) is a good starting point, followed by a finer grit (180-220 grit) for a smoother finish. For a more pronounced wood grain effect, you can use a wire brush or a stiff-bristled brush to gently scrape along the grain of the wood before staining. This opens up the softer wood fibers, allowing the stain to penetrate more deeply and create richer color variations.
Staining is where you’ll achieve your desired wood tone. There are a plethora of stain colors available, from light natural oak to deep walnut and even painted finishes. For a realistic wood look, consider using a combination of stains. A base coat of a lighter stain followed by a darker glaze can add depth and dimension. Apply the stain evenly with a brush or rag, following the direction of the wood grain. Wipe off any excess stain with a clean cloth after a few minutes, depending on the desired intensity of the color. For a truly authentic look, don’t strive for perfect uniformity; slight variations in color and saturation are what make wood appear natural. Allow the stain to dry completely according to the manufacturer’s instructions before proceeding.
Distressing techniques are crucial for imparting a weathered, aged appearance that elevates your backdrop from a simple painted surface to a convincing wood texture. Several methods can be employed to achieve this effect. Sandpaper is your primary tool; use it to lightly sand down edges and corners, creating the illusion of wear and tear. You can also use sandpaper to create scuffs and scratches in random areas across the surface. For more pronounced distress marks, consider using a hammer, screwdriver, or even a set of keys to gently tap or scratch the wood. Be mindful not to overdo it; the goal is to mimic natural wear, not to damage the structural integrity of the backdrop. Another effective technique is using a paint scraper or even a putty knife to chip away at the edges and corners, revealing layers of underlying color or the raw wood itself.
Beyond physical abrasion, chemical and layering techniques can further enhance the distressed look. Steel wool can be used to create a subtle, aged patina by gently rubbing it over the stained surface. For a whitewashed or limed wood effect, apply a thinned-down white paint or a specialized liming wax. Apply it with a brush, allowing it to settle into the grain and crevices. Then, wipe away the excess with a clean rag, leaving a subtle, aged finish. Alternating between different stain colors, allowing them to dry, and then distressing can create a layered, multi-tonal effect reminiscent of reclaimed wood. For instance, stain your planks a medium brown, then apply a darker stain or glaze, and finally distress to reveal hints of the base color. Consider using dark wax or black paint subtly applied and then wiped away to highlight the grain and create shadow effects, adding depth and realism.
Protecting your finished wood plank photo backdrop is essential for its longevity and continued usability. A clear sealant or topcoat will shield the painted and stained surfaces from moisture, fingerprints, and general wear and tear. Polyurethane is a popular choice, available in various finishes like matte, satin, and gloss. For a natural, non-reflective wood look, a matte or satin finish is generally preferred for photography backdrops as it minimizes glare. Apply the sealant in thin, even coats with a high-quality brush or foam applicator, allowing each coat to dry completely before applying the next. Sand lightly between coats with very fine-grit sandpaper (220-320 grit) to ensure a smooth, even finish and to remove any dust particles. Two to three coats of sealant are typically sufficient to provide adequate protection. For an even more durable finish, consider using a water-based polycrylic, which is less prone to yellowing over time compared to oil-based polyurethane.
Once your backdrop is constructed, stained, distressed, and sealed, you’ll want to consider its practical application and storage. For ease of use in a studio setting, consider attaching a sturdy hanging mechanism if you plan to mount it on a wall or backdrop stand. D-rings and eye hooks are excellent options for this. Alternatively, if portability is a priority, the crossbeam construction method allows for easier rolling and transport. You can secure rolled backdrops with Velcro straps or bungee cords. For storage, a dry, climate-controlled environment is ideal to prevent warping or damage. If your backdrop is large, consider investing in a dedicated backdrop stand or a large canvas bag for protection. Keeping your backdrop clean is also straightforward; a damp cloth with mild soap is usually sufficient for general cleaning. Avoid harsh chemicals that could damage the finish. Regular inspection for any wear and tear will help you address minor issues before they become significant problems, ensuring your DIY wood plank photo backdrop remains a valuable asset for your photographic endeavors for years to come.

