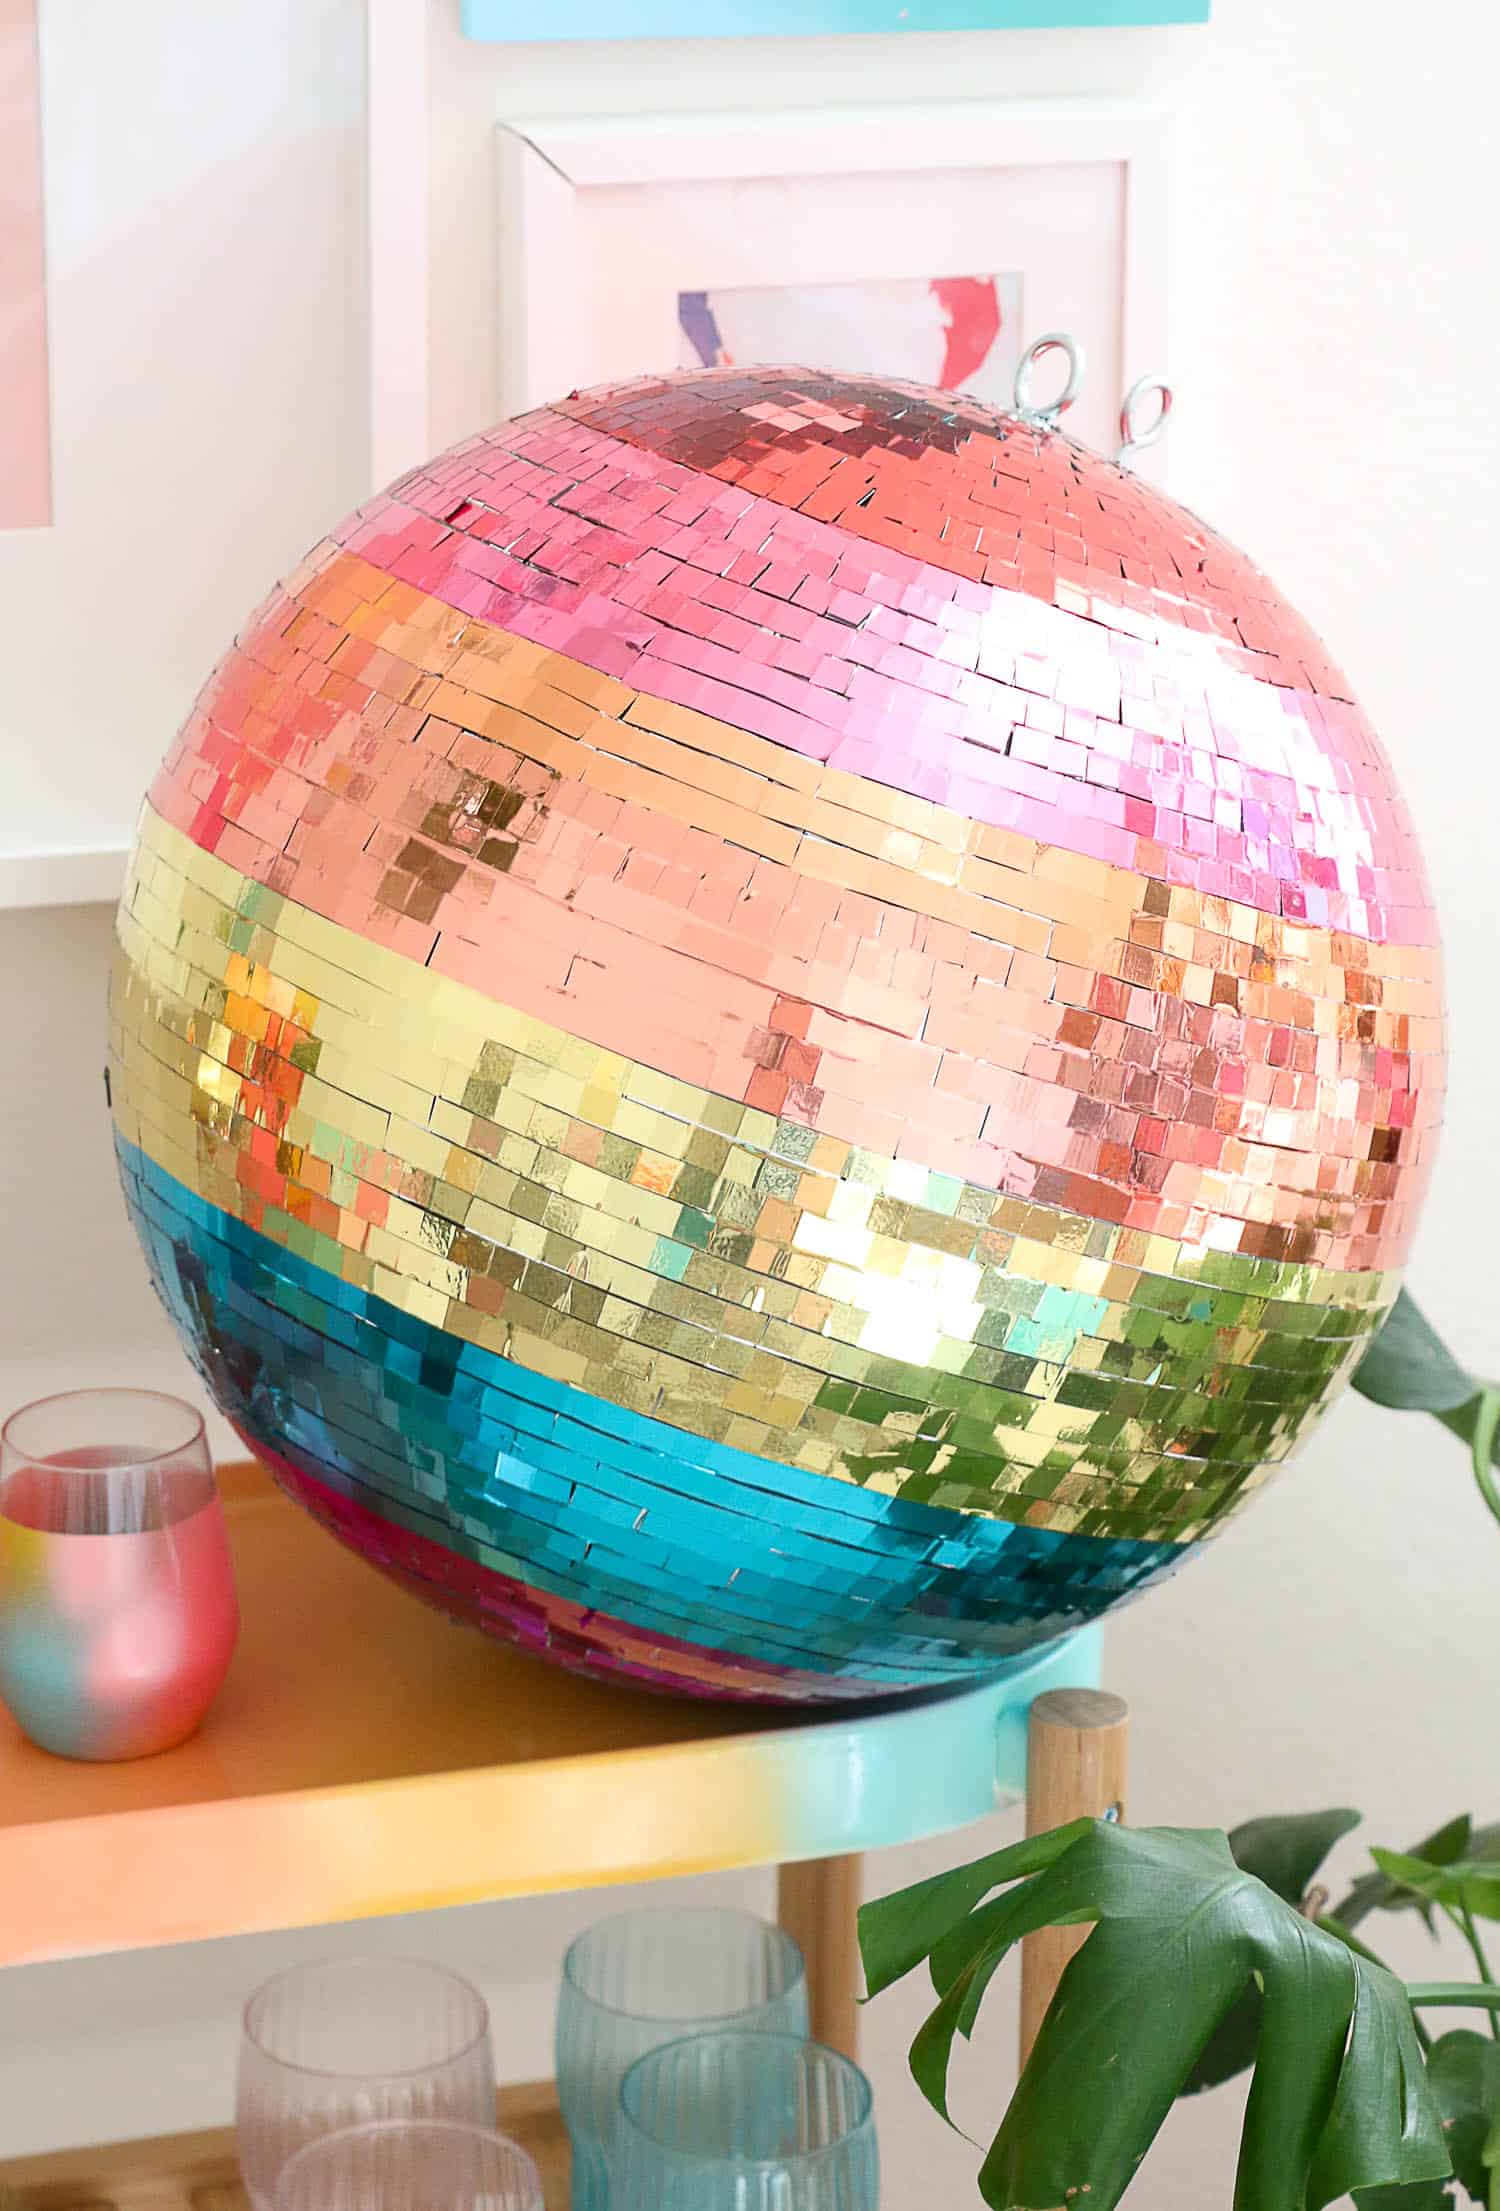

DIY Rainbow Disco Ball: A Step-by-Step Guide for Ultimate Party Ambiance
Crafting your own rainbow disco ball is an achievable and immensely rewarding project that can transform any space into a vibrant, retro-infused party zone. This comprehensive guide will walk you through every stage, from material selection to the final dazzling touches, ensuring your homemade creation outshines the competition. Forget the expense and limited options of store-bought disco balls; with a little ingenuity and readily available supplies, you’ll be projecting mesmerizing light shows in no time. The core principle behind a disco ball’s magic lies in its reflective surfaces, which scatter light in a multitude of directions. By meticulously replicating this effect with a DIY approach, you achieve a personalized and potentially larger, more impactful centerpiece.
The foundation of your rainbow disco ball will be a spherical object. Styrofoam balls are an excellent choice due to their lightweight nature, ease of handling, and affordability. They come in a wide range of diameters, allowing you to customize the size of your disco ball. For a truly impressive display, consider opting for a larger sphere, perhaps 10-12 inches in diameter. However, smaller spheres are also perfectly viable for more intimate settings or for creating a cluster of disco balls. Alternatively, a hollow plastic sphere, often found in craft stores or even repurposed from old decorations, can also serve as a base. The key is to select a smooth, intact sphere that will provide an even surface for applying your reflective elements. Ensure the sphere is sturdy enough to withstand the weight of the embellishments and the eventual hanging mechanism. If using a Styrofoam ball, it’s a good idea to reinforce it slightly by applying a thin layer of craft glue or Mod Podge to its surface, allowing it to dry completely. This will create a more durable base and prevent excessive chipping or crumbling as you work. For plastic spheres, a quick wipe-down with a damp cloth will suffice to remove any dust or debris.
The most crucial component for achieving the iconic disco ball shimmer is your reflective material. Mirror tiles are the most traditional and effective option. These are typically small, square or hexagonal tiles with a genuine mirror backing, available at most craft and hardware stores. They come in various sizes, and for a disco ball, smaller tiles (e.g., 1/2 inch to 1 inch squares or hexagons) are generally preferred as they conform better to the curved surface and create a more densely packed, dazzling effect. When purchasing mirror tiles, look for those with a beveled edge; these can add a subtle depth and dimension to your finished disco ball. Another excellent and often more budget-friendly alternative to traditional mirror tiles is mirrored cardstock or mirrored vinyl. These materials are flexible and can be cut into small pieces. While they might not offer the same crisp reflection as glass mirror tiles, they can still create a very effective shimmer, especially under direct light. Consider experimenting with both to see which aesthetic you prefer. For an even more unique and budget-conscious approach, you can also use old CDs or DVDs. These can be broken into small shards (handle with extreme caution due to sharp edges) or cut into geometric shapes. The holographic nature of CDs can lend a particularly psychedelic and colorful sheen to your disco ball. When working with any of these reflective materials, it’s advisable to purchase slightly more than you think you’ll need. This accounts for any breakage during cutting or application, as well as potential mistakes.
The adhesive is paramount for ensuring your reflective elements stay firmly attached. A strong, all-purpose craft glue or a hot glue gun are the most popular choices. If you’re using a hot glue gun, opt for a low-temperature model if you’re working with a Styrofoam base to prevent melting. High-temperature glue guns offer a stronger bond but require more careful application to avoid damaging the sphere. For mirror tiles, a strong craft glue that dries clear is ideal. Ensure the glue is flexible once dry to accommodate any slight shifts in the sphere’s surface. If using mirrored cardstock or vinyl, a spray adhesive can also be an effective option for larger sections, followed by a bead of craft glue along the edges for added security. For those utilizing broken CD shards, a powerful epoxy or a strong craft glue formulated for plastic and metal would be recommended to ensure a durable bond. Whichever adhesive you choose, test it on a small, inconspicuous area of your sphere and a scrap piece of your reflective material beforehand to ensure compatibility and drying time. This will prevent any unpleasant surprises once you’ve committed to applying it to your entire project.
The process of attaching the reflective elements is where the disco ball truly begins to take shape. Start by marking out a division on your sphere if you are using multiple colors of reflective material, or simply plan your starting point. If you’re using mirror tiles, it’s often easiest to work in small sections. Apply a thin, even layer of your chosen adhesive to a small area of the sphere. Immediately begin pressing your mirror tiles onto the adhesive, working from the center of the section outwards. For a seamless look, try to place the tiles as close together as possible, minimizing gaps. If using hexagonal tiles, you might find it easiest to arrange them in a honeycomb pattern. For square tiles, you can opt for a brick-like pattern or a more random, mosaic-style arrangement. Periodically step back and assess your progress to ensure even coverage and aesthetic appeal. When using mirrored cardstock or vinyl, cut it into small geometric shapes – squares, diamonds, or triangles work well. Apply the adhesive to the sphere and then carefully place the cut shapes, overlapping them slightly for maximum coverage and shimmer. If using old CDs, break them into small, manageable pieces, being extremely careful of sharp edges. Wear protective gloves and eyewear. Apply adhesive to the sphere and then press the CD shards into place, ensuring the reflective side is facing outwards. This method requires patience and meticulous attention to detail due to the irregular shapes and sharp edges. Don’t be afraid to fill in small gaps between the larger pieces with even smaller shards.
The application of multiple colors to create a rainbow effect is where your DIY disco ball truly comes alive. Divide your sphere into sections using a pencil or a thin line of masking tape. These sections can be as simple as vertical stripes, horizontal bands, or even more intricate geometric patterns. Work through your chosen color palette – red, orange, yellow, green, blue, indigo, and violet – applying each color section by section. Ensure you allow each color section to dry sufficiently before moving onto the next to prevent colors from bleeding or adhesive from smudging. For a smooth transition between colors, you can slightly overlap the edges of the reflective pieces from adjacent sections. If you’re using mirror tiles, you can create a gradient effect by gradually introducing the next color’s tiles into the edge of the current color’s section. Alternatively, if you’re working with mirrored cardstock, you can cut out strips of different colors and apply them in alternating bands. The key to a visually appealing rainbow is careful planning and precise application. Consider the order of your colors carefully; a standard ROYGBIV spectrum is classic, but you can also experiment with less conventional rainbow arrangements. Remember to maintain consistent spacing between your reflective elements within each color section for a uniform shimmer.
Once your entire sphere is covered in reflective material and the adhesive is completely dry, it’s time to address the finishing touches and hanging mechanism. For a professional, polished look, you can use a clear sealant or a clear craft varnish to protect the reflective surfaces and add an extra layer of shine. Apply this with a soft brush or spray, ensuring an even coat. Be mindful that some sealants might slightly alter the reflectivity, so testing on a spare piece is always a good idea. The hanging mechanism is crucial for displaying your disco ball. You’ll need a secure way to suspend it from the ceiling. A common method is to use a screw eye or a hook screwed into the top of the sphere. If using a Styrofoam ball, ensure the screw eye is long enough to penetrate deeply into the foam for stability. For heavier balls or to distribute the weight more evenly, consider using multiple screw eyes spaced apart. You can then attach a sturdy chain or strong fishing line to these screw eyes. Another option is to create a custom wire hanger that loops around the sphere. Ensure your chosen hanging method is robust and capable of supporting the weight of your disco ball.
To enhance the rainbow effect, consider strategically placing lights. A single, focused spotlight directed at the disco ball will create dramatic, sweeping beams of light. For a more immersive experience, use a colored spotlight that matches one of the colors on your disco ball, or a multi-colored LED spotlight that cycles through various hues. The speed at which you rotate your disco ball will also greatly influence the visual impact. A slow, steady rotation creates a mesmerizing, hypnotic effect, while a faster spin adds to the energetic party atmosphere. You can achieve rotation using a battery-powered disco ball motor, available online or at specialty lighting stores, or by manually spinning it. Experiment with different lighting setups and rotation speeds to discover the most captivating displays for your space. The brilliance of your homemade rainbow disco ball will be amplified by the quality and color of the light sources it interacts with.
The versatility of a DIY rainbow disco ball extends beyond temporary parties. It can serve as a permanent, eye-catching fixture in a child’s bedroom, a home theater, a dance studio, or even an art installation. Its reflective properties also make it an excellent addition to photography studios, adding a touch of sparkle and dynamism to portraits and product shots. For a more personalized touch, consider incorporating different types of reflective materials within the same disco ball. For instance, you could use mirror tiles for the main body and then add sections of iridescent or holographic paper for a unique shimmering effect. The possibilities are truly endless, limited only by your imagination. Remember to periodically clean your disco ball by gently wiping the reflective surfaces with a soft, lint-free cloth to maintain its brilliance. Avoid harsh chemicals or abrasive cleaners, as these can damage the mirror finish.
In conclusion, creating your own rainbow disco ball is a project that offers immense creative freedom and delivers a spectacular visual payoff. By meticulously following these steps, from selecting your spherical base and reflective materials to the precise application of adhesives and the thoughtful consideration of your hanging mechanism, you will craft a dazzling centerpiece that is both unique and unforgettable. The process itself can be a meditative and enjoyable experience, culminating in a tangible representation of vibrant light and energy, ready to illuminate your world. The satisfaction of having built something so visually impactful with your own hands is a significant part of the reward, making this DIY endeavor a truly worthwhile undertaking for anyone seeking to inject a dose of retro charm and dazzling ambiance into their environment.

