
Minimal Striped Foil Mani DIY: Achieve Chic, Salon-Quality Nails at Home
Achieving a sophisticated and modern look for your fingernails doesn’t require a trip to the salon or complex artistic skills. The minimal striped foil mani DIY offers a stunningly chic and surprisingly achievable nail art solution right in your own home. This technique leverages the reflective magic of nail foil and the precision of simple striping to create a high-impact yet understated aesthetic. Unlike intricate hand-painted designs, foil application is forgiving and the linear nature of stripes simplifies the process, making it accessible for beginners and experienced DIY nail enthusiasts alike. The beauty of this trend lies in its versatility. Whether you prefer a bold, contrasting stripe or a delicate, tone-on-tone shimmer, the minimal striped foil mani can be adapted to suit your personal style and any occasion. This guide will walk you through every essential step, from selecting the right materials to executing flawless application and achieving long-lasting results. By understanding the nuances of foil adhesion and stripe placement, you can elevate your at-home manicures from ordinary to extraordinary, creating a polished and on-trend look that mimics the precision of professional nail art.
The foundation of any successful DIY nail art project, especially one involving foil, begins with meticulous nail preparation. Proper prep ensures optimal adhesion of polishes and foils, and most importantly, contributes to the longevity of your manicure. Start by removing any old nail polish with a non-acetone remover. Acetone can be drying and may weaken the nail plate, so opt for a gentler formula whenever possible. Next, it’s crucial to shape your nails. Use a fine-grit nail file to gently shape your nails to your desired length and form. Always file in one direction to prevent splitting and snagging, which can create micro-tears in the nail. Following shaping, push back your cuticles using a cuticle pusher or an orange wood stick. If your cuticles are particularly stubborn, you can apply a cuticle remover and let it sit for the recommended time before gently pushing them back. Avoid cutting your cuticles unless absolutely necessary, as they serve as a protective barrier against infection. Buffing your nails is another vital step. Use a fine-grit buffer to gently smooth the surface of your nail. This removes any natural oils and imperfections, creating a clean canvas for polish and foil to adhere to. Be gentle; over-buffing can thin the nail. Finally, wipe down each nail with a lint-free wipe dipped in nail cleanser or rubbing alcohol. This removes any lingering dust, oils, or residue, ensuring a perfectly clean surface for your base coat. A clean, smooth nail is paramount for a flawless foil mani.
Selecting the right nail foil is fundamental to achieving the desired minimal striped effect. Nail foils come in a variety of finishes and colors, and for a minimal striped look, subtle shimmers, metallic sheens, or even holographic finishes work exceptionally well. Consider your overall aesthetic when choosing your foil. Silver, gold, rose gold, and iridescent foils offer a classic, elegant shimmer that pairs well with almost any base color. For a more contemporary feel, try black, white, or deep jewel-toned foils. The type of foil matters too. There are two main types: transfer foils and non-transfer foils. For striping, transfer foils are generally preferred as they offer a smoother, more complete transfer of the design. These foils have a colored, reflective layer that adheres to a special adhesive, leaving the design on your nail. Non-transfer foils are typically used for full nail coverage and can be a bit trickier to cut and apply precisely for fine lines. Ensure you purchase transfer foils specifically designed for nail art. Many come in rolls or pre-cut sheets. For minimal stripes, rolls offer the most flexibility for cutting custom widths, while pre-cut sheets can be convenient if you find a size that suits your needs. When it comes to the base color, the options are vast. A sheer nude, a classic opaque white, a sophisticated black, or a soft pastel can all serve as an excellent backdrop for your foil stripes, allowing the foil to truly shine. Think about contrast – a dark base with a light foil or vice-versa will create a more striking statement, while tonal applications can offer a subtle, sophisticated shimmer.
The magic of nail foil lies in its adhesion, and this is achieved through a specialized nail foil glue. This is not your average nail glue. Nail foil glue is specifically formulated to create a tacky surface that allows the foil to transfer and adhere effectively. These glues typically dry to a clear or slightly opaque finish, and the key is to let them dry to the perfect "tacky" stage before applying the foil. Applying foil too early will result in a smudged or incomplete transfer, while waiting too long can make it difficult for the foil to adhere at all. Most foil glues will indicate on the packaging when they are ready for foil application. You’ll be looking for a glue that is no longer wet but feels slightly sticky to the touch when you gently touch it with a clean fingertip or a spare piece of foil. Some brands offer a two-step system: a base coat and then the foil glue, while others are a single-step product. Always read the manufacturer’s instructions for the specific product you are using. The consistency of the glue is important; it should be fluid enough to spread thinly and evenly without pooling, but not so thin that it drips. If your foil glue seems too thick, it might be drying out, and it’s best to use a fresh bottle. The correct application of the foil glue is as important as its type. Apply a thin, even layer over the entire nail or the specific areas where you want your stripes to appear. Avoid thick globs of glue, as these can create uneven surfaces and hinder a clean foil transfer.
Applying the nail foil to create your minimal stripes requires precision and a gentle touch. Once your foil glue has reached the ideal tacky stage, take a piece of your chosen nail foil – cut to a size slightly larger than the area you intend to cover – and place it, colored side up, onto the tacky glue. Gently press down on the foil, ensuring it makes good contact with the entire glued surface. You can use your fingertip, a silicone tool, or even the back of a cuticle pusher for this. Work from the center outwards to avoid trapping air bubbles. Once you’ve pressed down firmly, hold for a few seconds. Then, with a swift, decisive motion, peel off the foil backing. The colored, reflective layer should have transferred onto your nail, leaving a smooth, shimmering stripe. For minimal stripes, you’ll be repeating this process. If you’re aiming for parallel stripes, you’ll need to apply the foil glue in thin, parallel lines. This is where a fine-tipped applicator or a striping brush dipped in foil glue can be invaluable. Alternatively, you can apply a thin layer of base polish, let it dry completely, and then carefully paint thin lines of foil glue where you want your stripes to be. Once the glue is tacky, apply the foil over those lines. After transferring the foil, allow it to cure for a minute or two before proceeding to the next stripe. Overlapping stripes can be tricky, so it’s often best to leave a small gap between them, or allow the first stripe to fully adhere and cure before applying glue for the second. If any areas of the foil didn’t transfer perfectly, you can sometimes go back and reapply a small amount of glue to that specific spot and carefully press the foil again. However, for a minimal look, subtle imperfections can often add to the charm.
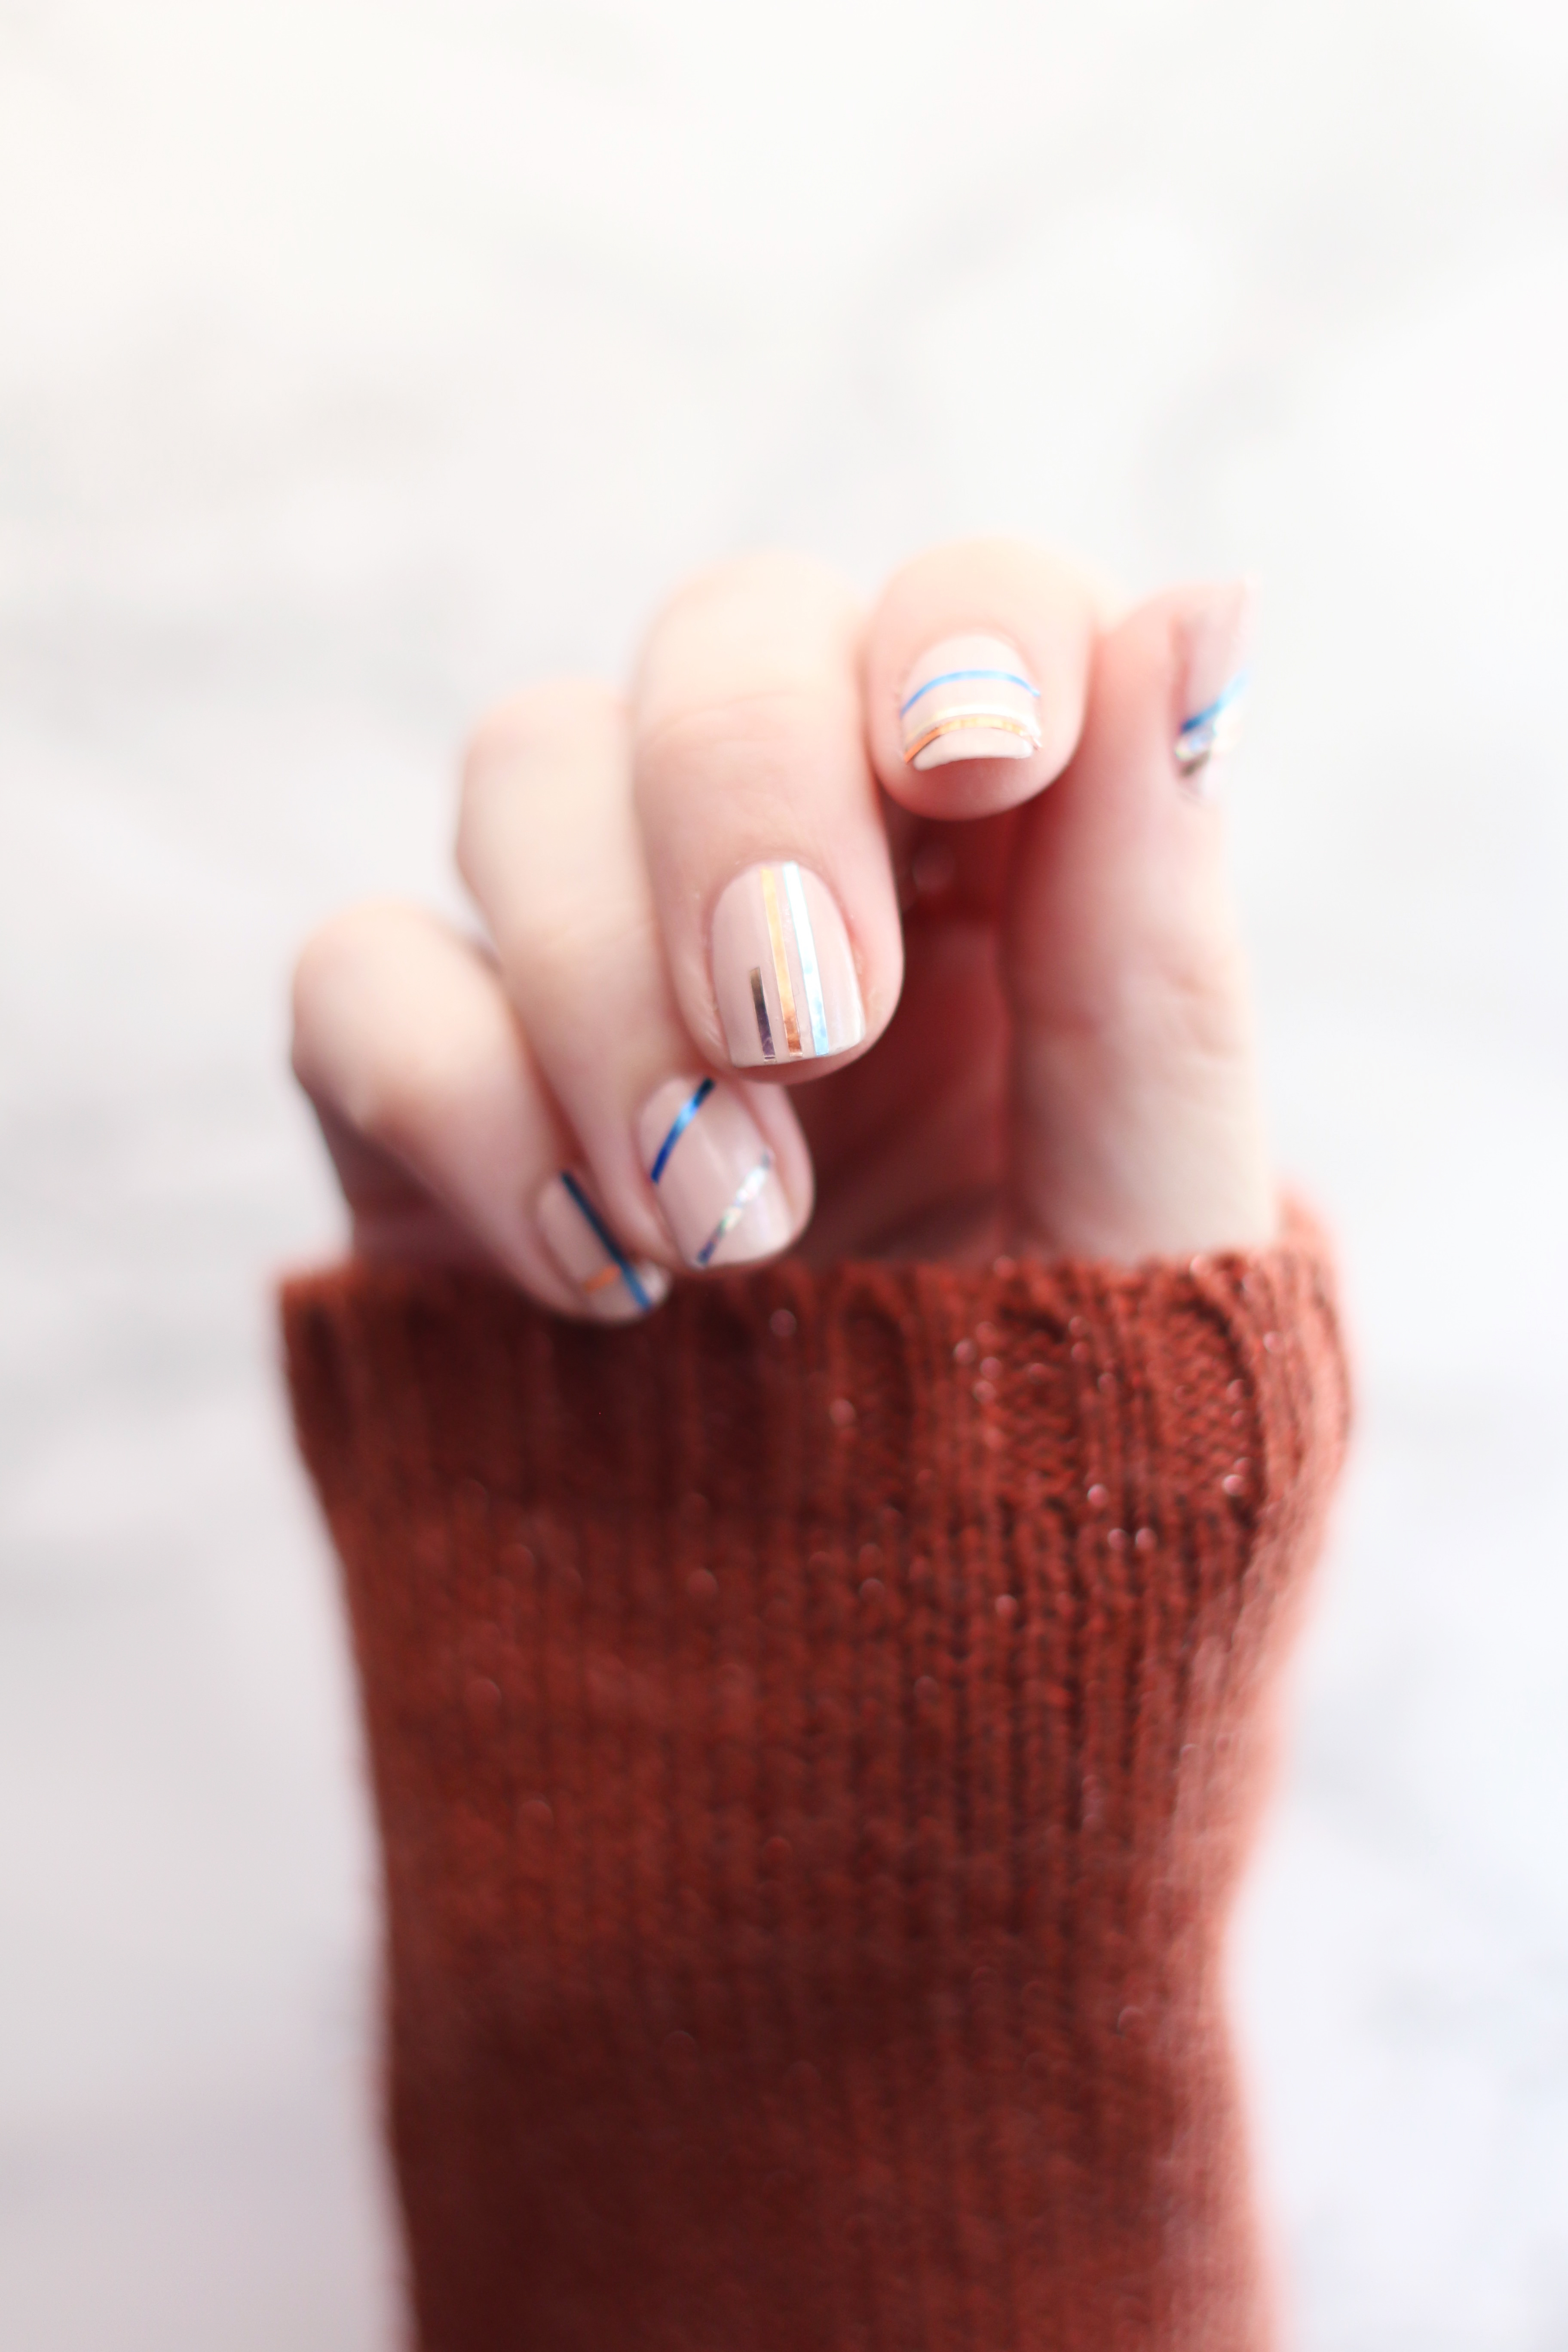
Cutting and applying your foil precisely for minimal stripes is where the artistry comes into play. For truly minimal stripes, consider using a thin striping brush to paint fine lines of foil glue directly onto your base coat. This allows for maximum control over the width and placement of your stripes. Once the glue is tacky, use a small piece of your chosen foil, gently pressing it onto the glued lines. For broader stripes, you can cut your foil into thin strips using sharp nail scissors. Experiment with different widths to see what you prefer. A single thin stripe on one nail, a few parallel stripes across multiple nails, or even a single diagonal stripe can create a minimalist yet impactful statement. If you’re struggling with cutting perfectly straight lines, consider using stencils. There are various nail stencils available that can help guide your glue application, ensuring uniformly straight lines for your foil. Another technique involves applying a full nail of foil and then using a fine brush dipped in nail polish remover to "erase" away sections, creating stripes. However, this method requires a very steady hand and is generally more suited to experienced nail artists. For the DIY enthusiast, focusing on applying glue in precise lines and then transferring foil is the most straightforward approach. Don’t be afraid to practice on a nail tip or a piece of paper first to get a feel for the foil and glue before committing to your actual manicure. The key to a minimal striped mani is often in the restraint – one or two well-placed, clean stripes are more impactful than an overdone design.
Sealing your minimal striped foil mani is crucial for both protection and longevity. Once your foil has been applied and you are happy with the stripe placement, you need to lock it in place. This is where your top coat comes in. It’s vital to use a good quality, non-smudging top coat. Some top coats can react with the foil and cause it to smear or lose its shine. Gel top coats, especially those cured under a UV or LED lamp, are excellent for sealing in foil as they create a hard, durable layer that is less likely to cause issues. If you’re using a regular nail polish top coat, opt for a quick-drying formula. Apply a thin, even layer of top coat over the entire nail, ensuring that you cap the free edge as well. Capping the free edge helps prevent lifting and chipping, extending the life of your manicure. Be mindful not to apply the top coat too thickly, as this can sometimes dull the shine of the foil. It’s also advisable to let the foil fully cure for a few minutes before applying the top coat, especially if you’re using a regular polish. If you notice any slight lifting of the foil edges after application, the top coat will help to secure these down. For gel manicures, after applying the gel top coat, you will cure it under your UV or LED lamp according to the manufacturer’s instructions. This will create a super-shiny, chip-resistant finish that will protect your beautiful foil stripes.
Maintaining your minimal striped foil mani ensures its chic appearance lasts. After your manicure is fully cured and dry, avoid exposing your nails to excessive moisture or harsh chemicals for the first 24 hours. This is when the polish and top coat are at their most vulnerable. Wear gloves when doing household chores such as washing dishes, cleaning, or gardening. These activities can chip, scratch, or lift the foil and polish. Hydration is also key for both your nails and cuticles. Regularly apply cuticle oil to keep your cuticles moisturized and prevent them from becoming dry and ragged, which can detract from the polished look of your manicure. For the nails themselves, a good quality hand lotion will help keep your skin soft and prevent dryness. If you notice any small chips or lifting along the edges of your foil stripes, you can sometimes perform a minor touch-up. Carefully apply a tiny amount of foil glue to the affected area, allow it to become tacky, and then gently press a small piece of foil over the imperfection. Seal with a thin layer of top coat. However, for a truly minimal look, it’s often better to let minor wear add a touch of subtle, lived-in character rather than attempting elaborate repairs. Regular application of top coat (every few days) can also help to refresh the shine and add an extra layer of protection to your foil manicure. This simple step can significantly extend the life and beauty of your DIY striped foil nails.
