
Star Wars Battlefront: Master the Battlefield – Essential Tips for Victory
Survival in Star Wars Battlefront hinges on several key pillars: understanding your chosen hero, mastering class abilities, strategic map traversal, and intelligent use of your Star Cards. Each hero possesses a unique playstyle and abilities, demanding a distinct approach to combat. For instance, the Emperor’s Royal Guard, while durable, relies on close-quarters combat and area denial with his Spinning Guard ability. Conversely, a hero like Lando Calrissian excels at mid-range engagements, utilizing his Disruption to disable enemy abilities and his Smoke Grenade for tactical retreats or aggressive pushes. Learning the cooldowns of these abilities is paramount. A well-timed Disruption can turn the tide of a critical objective defense, while a misplaced Smoke Grenade can leave you vulnerable. Pay attention to enemy hero cooldowns as well; recognizing when a powerful ability like Luke Skywalker’s Force Push is unavailable makes them a prime target. Don’t underestimate the power of basic movement. Dodging, rolling, and strafing are not just evasive maneuvers; they are essential for repositioning, gaining cover, and outmaneuvering opponents. Learn the effective distances for each hero’s primary weapon and abilities. Trying to engage at extreme ranges with a shotgun-wielding hero is a recipe for disaster, just as rushing headlong into a crowd with a sniper class will be equally futile. Practice in private matches or against AI bots to familiarize yourself with each hero’s move set and optimal engagement ranges without the pressure of real opponents. Understanding when to push and when to hold is a crucial aspect of hero play. Overextending without support can lead to quick deaths, while being too passive can allow the enemy to gain overwhelming control of key areas. Communication, even without voice chat, through emotes or pinging can significantly improve team coordination.
The infantry classes in Star Wars Battlefront offer a versatile toolkit for any situation, but their effectiveness is amplified by a deep understanding of their roles and Star Card loadouts. The Assault class is the frontline combatant, designed for aggressive pushes and objective control. Their primary weapon is typically a well-rounded blaster, and their abilities often focus on sustained combat or area denial. For an Assault loadout, consider the Scan Grenade to reveal enemy positions before an assault, followed by the personal shield for survivability while advancing. The Super Battle Droid’s Ion Grenade can be devastating against enemy vehicles or heavy units. The Officer class provides crucial support to the team, primarily through their Battle Station ability, which buffs nearby allies. Their blasters are generally more focused on medium-range engagements. A strong Officer loadout often includes the Recharge Command to grant allies faster cooldowns and a well-placed Bacta Bomb to heal wounded teammates. The Disruption ability is also a powerful addition for disabling enemy players or sentry turrets. The Specialist class excels at long-range engagements and disrupting enemy advances from a distance. Their sniper rifles demand precision, and their abilities often focus on disabling or eliminating key targets. For a Specialist, the Thermal Binoculars allow for reconnaissance and target acquisition, while the Trip Mine can secure flanks or deny chokepoints. A well-placed Ion Shot can also be devastating against vehicles. The Heavy class is your anchor, designed to lock down areas and dish out massive damage. Their powerful, high-capacity blasters are perfect for sustained suppressing fire. A typical Heavy loadout might include the Barrage ability for area denial and the Personal Shield to withstand heavy enemy fire while laying down suppressing damage. Experiment with different Star Card combinations for each class to find what best suits your playstyle and the specific game mode you are playing. For example, in modes like Walker Assault, a Heavy with a focus on anti-vehicle Star Cards becomes invaluable.
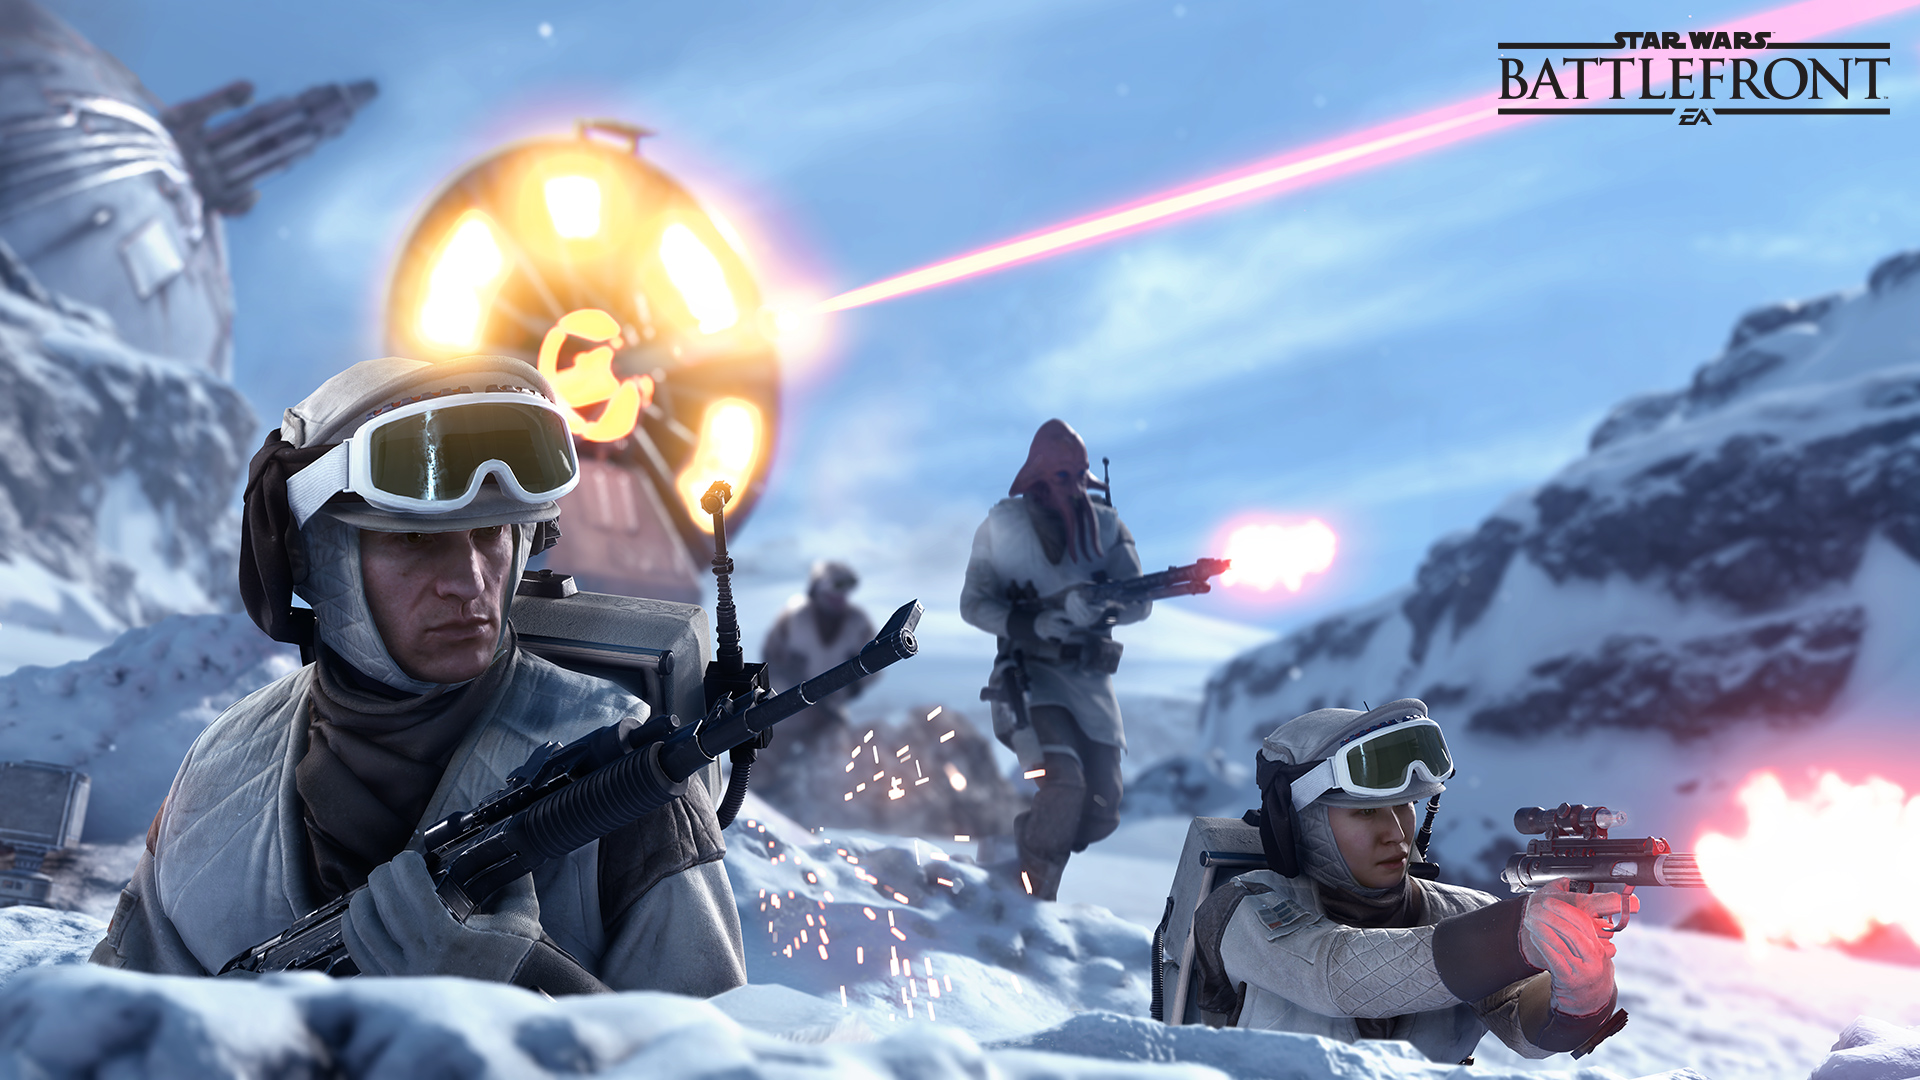
Map knowledge is not merely about knowing the layout; it’s about understanding choke points, flanking routes, high-ground advantages, and optimal spawn points. Each map in Star Wars Battlefront presents unique tactical challenges and opportunities. On Hoth, for example, the open terrain of the Echo Base exterior favors long-range engagements and vehicle superiority, while the interior corridors demand close-quarters combat and careful use of cover. On Endor, the dense forest canopy provides ample opportunities for stealth and flanking maneuvers, making the Specialist class particularly potent. Always be aware of the objective’s location and the most efficient routes to reach it. Utilizing jump packs strategically can offer crucial mobility advantages, allowing you to bypass heavily defended areas or reach elevated positions for a tactical advantage. Learn to anticipate enemy movement patterns. Experienced players will often gravitate towards specific routes or objectives, and by understanding these tendencies, you can set ambushes or defend key locations more effectively. The environmental elements of each map should also be leveraged. Explosive barrels, destructible cover, and vantage points can all be used to your advantage. For instance, detonating a strategically placed explosive barrel can clear out a group of enemies or damage a key vehicle. Pay attention to enemy spawn points and try to predict where they will emerge to cut off their advance or catch them off guard. Using cover effectively is fundamental. Never stand in the open for extended periods. Peek out to fire, then duck back to reload or reposition. Learn which types of cover are destructible and which are not, and adjust your strategy accordingly. Mastering map traversal also means understanding vehicle spawns and patrol routes, and how to best counter them or utilize them yourself.
Star Cards are the backbone of customization in Star Wars Battlefront, offering a granular level of control over your character’s abilities and passive buffs. Understanding the synergy between different Star Cards is crucial for creating effective loadouts. For instance, pairing the Recharge Command Officer Star Card with the Bacta Bomb creates a powerful healing and cooldown reduction synergy, enabling sustained presence on the objective. Conversely, a Specialist focused on ambushes might pair the Trip Mine with the Bounty Hunter Star Card to increase their damage against revealed targets. Consider the game mode you are playing when selecting Star Cards. In Walker Assault, for instance, anti-vehicle Star Cards like the Ion Shot or the Shock Grenade become significantly more valuable. For objective-based modes like Supremacy or Droid Run, Star Cards that enhance survivability or grant faster ability cooldowns are often preferred. Don’t underestimate the impact of passive Star Cards. Those that offer increased health regeneration, faster movement speed, or reduced ability cooldowns can provide subtle but significant advantages over time. Experiment with different combinations. What works for one player might not work for another. The meta can also shift with game updates, so staying informed about popular and effective Star Card combinations is beneficial. However, don’t blindly follow the meta; develop loadouts that complement your personal playstyle and the strengths of your chosen hero or class. Always ensure you have a balanced loadout that addresses both offensive and defensive capabilities, unless you are specifically specializing in a niche role. For example, a purely offensive loadout might leave you vulnerable to concentrated enemy fire.
Mastering the art of utilizing vehicles and Starfighters effectively is essential for dominating larger game modes. Vehicles, whether it be the iconic AT-ST, the nimble speeder bike, or the formidable AT-AT, require a different approach than infantry combat. For the AT-ST, understanding its weak points – primarily its rear – is crucial for both attacking and defending against it. Utilize its powerful blaster cannons to suppress enemy infantry and support ground advances. The speeder bike excels at hit-and-run tactics and harassing enemy positions. Its speed allows for quick repositioning and flanking. The AT-AT is a mobile fortress, best employed for breaking through enemy lines and providing devastating frontal assault. Its primary weapon can inflict massive damage, but its slow speed and vulnerable legs make it a prime target for anti-vehicle infantry. Similarly, Starfighters like the X-wing, TIE Fighter, and A-wing demand precision flying and tactical decision-making. Learn the dogfighting mechanics, including how to break locks, perform evasive maneuvers, and utilize each ship’s unique weapon systems. The X-wing, with its proton torpedoes, is effective against larger targets like bombers and ground vehicles. The TIE Fighter is a nimble interceptor, ideal for dogfighting. The A-wing excels at speed and agility, making it a potent anti-starfighter platform. Pay attention to power-ups on the map that grant access to these vehicles and Starfighters, and prioritize acquiring them when the opportunity arises. Understanding spawn timers and patrol routes of enemy vehicles can allow you to set up ambushes or intercept them before they become a major threat.
Teamwork and objective play are the cornerstones of victory in Star Wars Battlefront. Solo heroics, while sometimes flashy, are rarely sufficient to win a match. Always be aware of the current objective and your team’s status in relation to it. In Walker Assault, the primary objective is to destroy the Imperial walkers, which requires a coordinated effort to disable their weak points and defend the objective from enemy counter-attacks. In Supremacy, controlling and holding capture points is paramount. Pushing objectives with your team, even when outnumbered, can often break through enemy defenses and secure a victory. Communication, even without voice chat, can be incredibly effective. Utilize pinging to mark enemy locations, objectives, or areas that require assistance. Emotes can also be used to signal intent or acknowledge teammates. Supporting your fellow players is crucial. If you see a teammate struggling, provide covering fire, heal them with a Bacta Bomb if you’re an Officer, or use your abilities to create an opening for them. Don’t chase kills at the expense of the objective. While a high kill count is desirable, it means little if your team loses because no one was defending the capture points or attacking the objective. Conversely, don’t be afraid to push aggressively when your team has a numerical advantage or when an opportune moment arises. Recognizing when to coordinate a push with your team can be the difference between victory and defeat. Learn the strengths and weaknesses of your team’s composition. If your team has a strong presence of Officers, you can coordinate pushes with enhanced cooldowns. If there are many Specialists, you can expect more long-range support. Understanding these dynamics allows for more effective strategic planning.
Advanced tactics, such as spawn camping, flanking, and controlling key areas, require a nuanced understanding of the game’s mechanics and player behavior. Spawn camping, while often frowned upon, can be a highly effective strategy if executed correctly. Knowing enemy spawn points and anticipating their arrival allows you to interdict them before they can reach the objective or engage in combat. However, be mindful that spawn camping can also backfire if the enemy team coordinates a push to eliminate the camper. Flanking is a timeless tactic. By moving around the perimeter of the battlefield, you can catch enemies off guard, disrupt their formations, and attack them from their vulnerable rear. This is particularly effective in maps with dense cover and multiple pathways. Controlling key areas of the map, such as high ground or strategic chokepoints, can provide a significant advantage. By holding these positions, you can deny the enemy access to crucial routes, control the flow of the battle, and gain a tactical overview of the battlefield. This often involves establishing a strong defensive presence with the Heavy class or an Officer providing buffs. Understanding the game’s spawning system is crucial for both offensive and defensive strategies. Knowing when and where enemies are likely to spawn allows you to either intercept them or use their predictable spawns to your advantage. In modes like Supremacy, controlling the spawn points of the losing team can severely cripple their ability to regroup and contest objectives. Finally, mastering the art of the "peek and shoot" technique, where you briefly expose yourself to fire and then immediately duck back into cover, is essential for minimizing damage taken while maximizing your offensive output. Combine this with smart use of cover and movement, and you’ll find yourself surviving longer and securing more kills.

