Create Your Own Buffalo Plaid Stamp Set: A DIY Guide for Crafters and Designers
The iconic buffalo plaid pattern, with its bold crisscrossing lines and distinct color blocks, is a timeless design element that evokes warmth, rustic charm, and classic style. Whether you’re a crafter looking to add a unique touch to handmade cards, home décor, or fabric projects, or a designer seeking to incorporate this versatile motif into your digital work, a custom buffalo plaid stamp set offers unparalleled creative control. This comprehensive guide will walk you through the process of making your own buffalo plaid stamp set, covering various material choices, design considerations, and practical tips for achieving professional-looking results.
Understanding Buffalo Plaid: The Foundation of Your Stamp Set
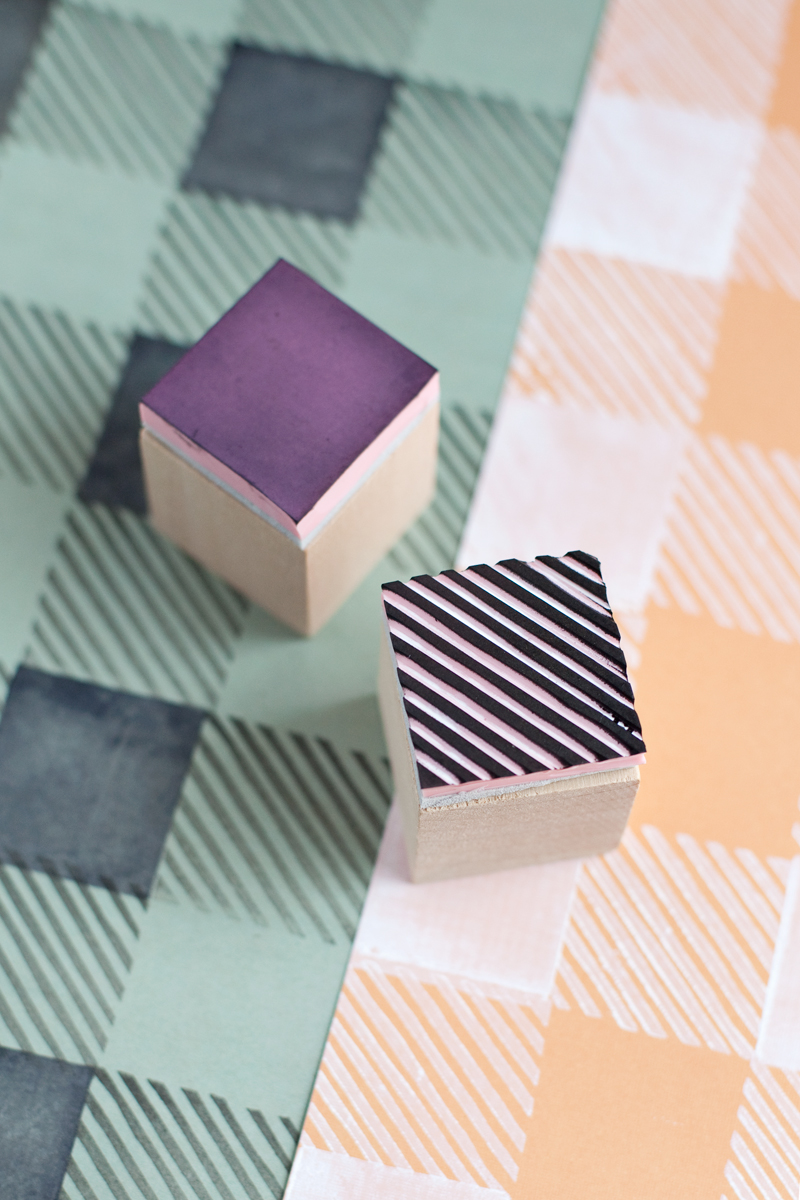
Before embarking on the stamp-making journey, a solid understanding of the buffalo plaid pattern is essential. Traditionally, buffalo plaid is characterized by large squares of alternating colors, typically red and black, with smaller squares of a contrasting color at their intersections. The key is the interplay of light and dark, creating depth and visual interest. For stamp creation, you’ll need to consider how these elements translate into a stampable form. This means designing the lines and color blocks with sufficient thickness to be easily carved or etched, and ensuring clean edges for crisp impressions. You’ll also need to decide on the scale of your plaid. Will your stamps create small, intricate plaid patterns or large, statement-making blocks? This decision will influence the size of your stamps and the detail you can incorporate. Furthermore, consider the color combinations. While red and black is classic, explore other palettes to diversify your stamp set. Deep forest greens and browns, navy and grey, or even brighter hues like teal and orange can offer a fresh take on the traditional pattern. The beauty of a DIY stamp set is the ability to customize every aspect, from scale and color to the precise thickness of your lines.
Choosing Your Stamp-Making Medium: Materials and Techniques
The choice of material for your buffalo plaid stamps will significantly impact the carving process, durability, and the type of ink they will best accept. Several popular options cater to different skill levels and desired outcomes.
1. Linoleum Blocks (Lino): Linoleum is a popular choice for relief printing due to its relatively soft yet durable surface. It’s easy to carve with linoleum cutters and produces crisp, clean impressions. Lino blocks are available in both traditional and soft varieties. Soft lino is even easier to carve, making it ideal for beginners. For buffalo plaid, you’ll be carving away the areas you don’t want to print, leaving the plaid lines and blocks raised. This method requires precise carving to create sharp edges.
2. Rubber Sheets (Eraser Stamps): Craft stores offer various types of rubber sheets, often marketed for stamp making or even as large, thick erasers. These are exceptionally easy to carve with craft knives or specialized carving tools. The softness of the rubber allows for quick work and is very forgiving for beginners. However, softer rubber stamps may wear down more quickly with extensive use compared to linoleum. For buffalo plaid, you would carve away the negative space, leaving the plaid pattern raised.
3. Polymer Clay Stamps: For a more permanent and intricate solution, polymer clay can be molded and baked to create custom stamps. This method involves either carving into the clay before baking or creating a positive relief by pressing a textured object into the clay. For buffalo plaid, you could sculpt the pattern directly or use a pre-made stamp to impress the plaid onto the clay. Polymer clay stamps offer excellent detail and durability but require careful baking to avoid warping.
4. Foam Sheets: Craft foam sheets are incredibly inexpensive and easy to cut with scissors or a craft knife. They are a fantastic entry point for children or those wanting to experiment with stamp making without significant investment. While easy to work with, foam stamps are generally the least durable and may not produce the crispest lines for intricate patterns like buffalo plaid. You can create the plaid by layering different colored foam pieces or by cutting away negative space.
5. Digital Design and Laser Cutting (Advanced): For those with access to a laser cutter, designing your buffalo plaid pattern digitally and having it etched onto rubber or acrylic creates highly precise and durable stamps. This method offers the ultimate in detail and consistency but requires specialized equipment and software.
Designing Your Buffalo Plaid Patterns for Stamping
The visual appeal of your buffalo plaid stamp set hinges on thoughtful design. When translating the pattern to a stampable format, consider the following:
Scale and Proportion: Decide on the desired size of your plaid squares. Will they be small, delicate, or large and bold? The scale will dictate the size of your stamps and the level of detail you can achieve. For example, very small plaid squares might require very fine carving tools and a steady hand.
Line Thickness: Ensure your plaid lines are thick enough to be easily carved and to leave a discernible mark when inked. Too-thin lines will be difficult to carve cleanly and may break off during use. Conversely, excessively thick lines can lead to a muddy impression. Experiment with different line widths to find the sweet spot for your chosen carving material.
Color Blocking: Think about how your colors will interact. In a traditional red and black plaid, the intersection of colors creates a darker hue. When stamping, you’ll be applying ink to the raised surfaces. Consider how this will translate. You might create separate stamps for each color of plaid, allowing you to layer them for a more complex effect, or design a single stamp that creates the entire plaid impression in one go.
Negative Space: Remember that when carving, you are removing material. The areas you remove will not print. Therefore, clearly define the areas that will form your plaid lines and blocks. For a classic buffalo plaid, this means carving out the spaces between the lines and the smaller squares of color.
Modular Design: To maximize the versatility of your stamp set, consider designing modular elements. For instance, you could create stamps for:
- Individual plaid lines (horizontal and vertical)
- Solid color squares in various sizes
- Corner pieces that can be combined to form larger plaid blocks
- Overlapping transparent color squares to create darker intersections
This modular approach allows you to create a wide range of plaid variations and sizes by combining different stamps. You can build intricate patterns, create half-plaid effects, or simply use the individual elements for borders and accents.
Creating a Template: Before you start carving, sketching your design on paper or using digital design software is highly recommended. This template will serve as your blueprint. For linoleum or rubber carving, you can transfer your design directly onto the material using carbon paper or by drawing with a pencil.
Carving Your Buffalo Plaid Stamps: Step-by-Step
The carving process is where your design comes to life. The specific tools and techniques will vary slightly depending on your chosen material.
For Linoleum Blocks:
- Transfer Design: Affix your template to the lino block using spray adhesive or by rubbing the back of the paper with a soft pencil to transfer the graphite.
- Outline: Use a fine-tipped linoleum cutter to carefully outline the areas you want to remove (the negative space).
- Carve Away: Employ larger V-shaped or U-shaped gouges to remove larger sections of linoleum. Work away from your lines to avoid accidentally cutting into the design. Carve in consistent strokes.
- Refine Edges: Once the bulk of the material is removed, use finer tools to clean up edges and ensure they are sharp.
- Test Impression: Ink a small section of your carved block and press it onto scrap paper to check your work.
For Rubber Sheets (Eraser Stamps):
- Transfer Design: Draw your design directly onto the rubber with a pencil or use a permanent marker. For a reverse design (which is what you’ll need for stamping), draw it as you want it to appear when stamped.
- Cut Out: Use a sharp craft knife (like an X-Acto knife) or specialized carving tools. Start by cutting around the outer edges of your stamp design.
- Carve Negative Space: Carefully cut away the areas you don’t want to print. Work slowly and steadily, making shallow cuts and gradually deepening them. For buffalo plaid, you’ll be carving away the background to leave the plaid lines and blocks raised.
- Clean Up: Trim any stray bits of rubber and ensure the edges of your raised design are clean.
- Test Impression: Ink and stamp on scrap paper to assess the result.
For Polymer Clay Stamps:
- Prepare Clay: Condition your polymer clay until it is pliable.
- Create Surface: Roll out a thin, even sheet of clay or form a small block.
- Carving Method:
- Direct Carving: Use carving tools or even small sculpting tools to carve your buffalo plaid pattern directly into the unbaked clay.
- Impressing Method: Create a separate relief pattern (e.g., by pressing a textured tool into the clay) or use a pre-made stamp to press the buffalo plaid design into the clay.
- Bake: Follow the manufacturer’s instructions for baking your polymer clay stamp. Ensure it cools completely.
- Optional Finishing: Once baked and cooled, you can lightly sand the surface if needed for a smoother impression.
For Foam Sheets:
- Cut Shapes: Cut out your desired plaid elements from different colored foam sheets. This might involve cutting strips for lines and squares for blocks.
- Layer and Adhere: Use strong craft glue to adhere the foam pieces together to form your plaid pattern.
- Alternatively, Cut Negative Space: From a larger piece of foam, cut away the areas that will not print, leaving the plaid pattern raised.
Inking and Using Your Buffalo Plaid Stamps
The right ink and application method will ensure your custom stamps perform beautifully.
Ink Types:
- Water-Based Inks: Ideal for paper crafts, scrapbooking, and card making. They dry quickly and are easy to clean up. Available in a vast array of colors.
- Oil-Based Inks: Offer richer, more saturated color and are more permanent. They can be used on a wider variety of surfaces, including fabric and some plastics, but they take longer to dry and require specific solvents for cleaning.
- Pigment Inks: Known for their opacity and permanence. They offer vibrant colors and are excellent for stamping on dark papers. They dry slower than dye-based inks.
- Fabric Inks: Specifically formulated for use on textiles. Heat-setting is usually required to make the ink permanent.
Ink Pads vs. Liquid Ink:
- Ink Pads: The most common and convenient option. Simply tap your stamp onto the ink pad, ensuring even coverage.
- Liquid Ink Bottles: Used for re-inking ink pads or for directly applying ink to larger stamps.
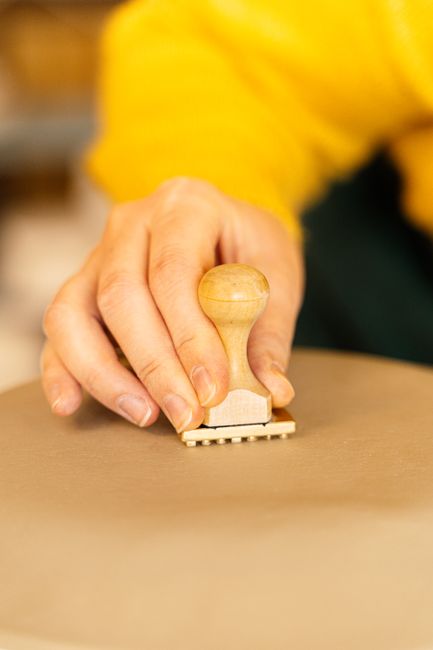
Stamping Technique:
- Ink Your Stamp: Gently tap your stamp onto the ink pad, rotating it slightly to ensure full coverage of the raised areas. Avoid pressing down too hard, which can lead to ink seeping into the carved areas.
- Test Impression: Stamp onto scrap paper first to check the ink coverage and clarity of your design.
- Apply to Surface: Carefully position your stamp on your project and press down with even pressure. For larger stamps, you may need to apply pressure with your hand or a brayer to ensure consistent ink transfer.
- Clean Up: Immediately after use, clean your stamps thoroughly with water and mild soap (for water-based inks) or appropriate solvents (for oil-based inks). Dried ink can make stamps unusable and difficult to clean later.
Tips for Enhanced Buffalo Plaid Stamp Creations
- Layering Colors: If you’ve created separate stamps for different colors, experiment with layering them. Stamp a solid block of one color, then strategically stamp another color on top to create the intersecting hues.
- Ombre Effects: For a softer, more nuanced plaid, try applying ink to your stamp using a blending tool or a sponge, creating an ombre or gradient effect within the plaid lines or blocks.
- Mixed Media: Combine your buffalo plaid stamps with other stamping techniques, hand-drawn elements, or embellishments to create more complex and visually interesting designs.
- Stamping on Fabric: For projects like dishtowels, tote bags, or pillows, use fabric inks and follow the heat-setting instructions carefully for a durable, washable design.
- Digital Integration: Scan your handmade stamps and use them in digital design projects. You can then manipulate their scale, color, and arrangement in software like Adobe Photoshop or Illustrator.
- Varying Pressure: Experiment with applying different amounts of pressure when stamping. Light pressure will yield a more delicate impression, while firm pressure will produce a bolder, more solid mark.
Troubleshooting Common Stamp-Making Issues
- Jagged Lines: This often occurs due to dull carving tools or too much force. Sharpen your tools and use lighter, more controlled strokes.
- Muddy Impressions: Your lines may be too close together, or ink might be seeping into the carved areas. Ensure adequate spacing between design elements and avoid over-inking.
- Torn or Broken Details: This is common with softer materials like foam or thin rubber. Work carefully, and consider reinforcing delicate areas.
- Uneven Inking: Ensure your ink pad is evenly inked and that you are tapping your stamp onto the pad rather than pressing it down hard.
By following these guidelines and embracing experimentation, you can create a unique and versatile buffalo plaid stamp set that will elevate your crafting and design projects for years to come. The satisfaction of using a stamp you’ve personally crafted, imbued with your own creative vision, is a rewarding experience that opens up a world of artistic possibilities.
