
Sewing Curves: Mastering the Art of Smooth Transitions
Sewing curves is a fundamental skill in garment construction and various sewing projects, often posing a challenge for beginners and even intermediate sewers. Achieving a smooth, professional-looking curve requires understanding specific techniques that allow fabric to lie flat and without puckering. This article will delve into the essential methods for sewing on curves, from preparing your fabric and understanding seam allowances to advanced techniques like clipping and notching, ensuring you can confidently tackle any curved seam with beautiful results.
The foundation of successful curved sewing lies in accurate preparation and precise execution. Before you even begin stitching, it’s crucial to understand the nature of the curve you’re working with. Is it an outward curve (convex) or an inward curve (concave)? This distinction significantly impacts how you’ll manipulate the fabric under the presser foot. Convex curves, those that bulge outwards like the outside of a sleeve or the hem of a gathered skirt, generally require less aggressive handling than concave curves, which indent inwards, such as the armscye of a fitted bodice or the bottom edge of a collar. The stitch length also plays a role. For most standard fabric weights, a medium stitch length of 2.5mm to 3.0mm is suitable. However, for delicate fabrics or when extensive clipping will be necessary, a slightly shorter stitch length can provide more control and prevent the fabric from stretching or tearing. Always test your stitch length on scraps of your project fabric before committing to the main seam.
Understanding and accurately marking your seam line is paramount. Most commercial patterns provide a clear seam allowance, typically ½ inch (1.25 cm) or ⅝ inch (1.5 cm). Precisely marking this seam line onto your fabric, if it’s not already indicated by the pattern’s perforations or markings, is a critical step. You can use tailor’s chalk, a fabric pen, or even a basting stitch to establish this line. This visual guide will be your primary reference as you sew. When sewing curves, especially tight ones, it’s often beneficial to shorten your stitch length slightly. This increased stitch density provides greater stability and prevents the seam from stretching out of shape as you manipulate the fabric. A stitch length of 1.5mm to 2.0mm can be advantageous for intricate curves. However, it’s essential to consider the fabric type. For very fine or delicate fabrics, excessive shortening of the stitch length can weaken the seam. Always conduct a test on a scrap of your fabric to determine the optimal stitch length for your project.
The process of sewing a curve begins with aligning the fabric pieces precisely at the start of the curve. Using your marked seam line as a guide, start stitching, ensuring the raw edges are even. As you approach the curve, begin to ease the fabric. Easing involves gently guiding the fabric under the presser foot, allowing it to curve naturally around the needle. For outward curves (convex), you’ll need to feed the fabric slightly faster than you would a straight seam. Think of it as encouraging the fabric to expand and form the outward shape. For inward curves (concave), the opposite is true. You’ll need to slow down your feeding of the fabric, allowing it to compress and follow the inward bend without creating folds or pleats. This gentle manipulation is key to preventing puckering. Avoid forcefully pushing or pulling the fabric; instead, let the machine and your guiding hands work in harmony.
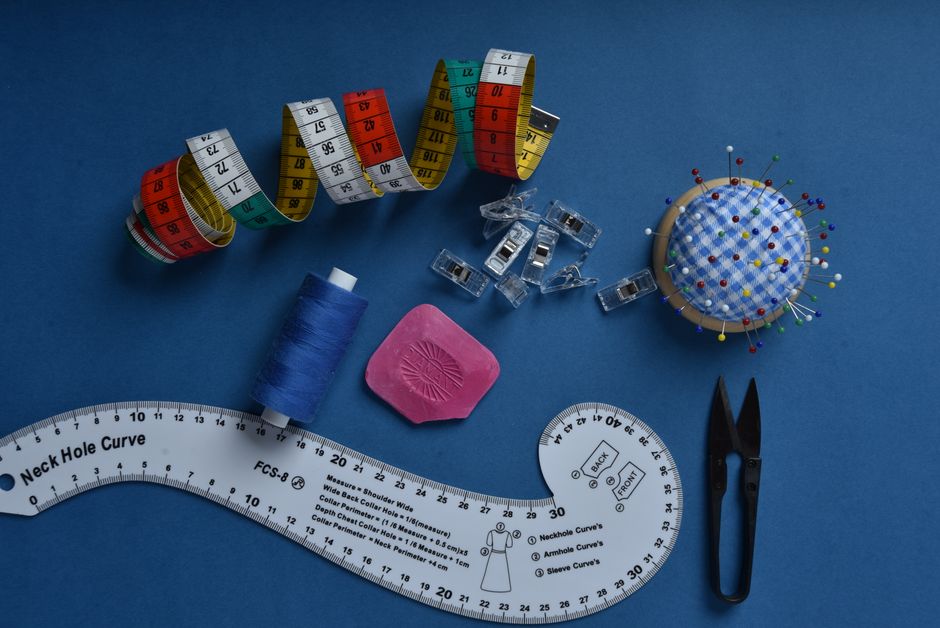
Rotary cutters and cutting mats offer superior accuracy for cutting curved seams compared to scissors. When cutting out pattern pieces with curved edges, ensure you are using a sharp rotary blade. Lay your fabric flat on the cutting mat, aligning the pattern piece precisely. Use your marked seam line (if present on the pattern piece) as a reference for where you’ll be sewing. For extremely precise cutting, especially on bias-cut fabrics that are prone to stretching, consider using a rotary cutter with a fresh blade. A sharp blade will glide through the fabric cleanly, preventing snags and distortion. When marking your seam line, particularly on darker fabrics where chalk or pens might be difficult to see, consider using tailor’s tacks. These small, temporary stitches are pulled through both layers of fabric, creating a distinct mark on both sides. This ensures your sewing guide is visible from every angle.
As you sew, a crucial technique for managing curves is to lift the presser foot and pivot the fabric without lifting the needle. This allows you to maintain continuous stitching along the curved path. For outward curves, you’ll be easing the fabric, and for inward curves, you’ll be slightly bunching or easing the fabric in. The goal is to keep the seam allowance even and the fabric lying flat against the feed dogs. If you encounter a particularly tight or complex curve, you might need to stop and pivot multiple times. Don’t be afraid to stop, re-adjust, and then continue stitching. It’s better to take your time and achieve a smooth seam than to rush and end up with puckering or distortion. Practice on scrap fabric is invaluable here. Experiment with different rates of fabric feeding for both convex and concave curves until you develop a feel for it.
Clipping and notching are indispensable techniques for allowing curved seams to lie flat after sewing. These modifications to the seam allowance are tailored to the type of curve. For outward-facing (convex) curves, you will clip the seam allowance. This involves making small, V-shaped cuts from the raw edge of the fabric towards the stitching line, but never cutting through the stitch line itself. The purpose of clipping is to relieve the tension on the outer edge of the curve, allowing it to expand and lie flat without pulling. The frequency and depth of your clips will depend on the sharpness of the curve. For gentle outward curves, a few widely spaced clips might suffice. For tighter curves, you’ll need to clip more frequently and slightly deeper, but always with extreme caution to avoid cutting your stitches.
For inward-facing (concave) curves, you will notch the seam allowance. Notching involves cutting small triangular wedges out of the seam allowance from the raw edge, again, being careful not to cut through the stitch line. The purpose of notching is to remove excess fabric from the inner edge of the curve, allowing it to bend smoothly inwards without creating bulky pleats or folds. Similar to clipping, the depth and frequency of your notches will be determined by the tightness of the curve. For shallow inward curves, fewer notches might be needed. For sharper inward curves, more frequent and slightly deeper notches will be necessary. It’s crucial to remove just enough fabric to allow the curve to lie flat without becoming distorted or weakened.
After clipping or notching, it is highly recommended to press your seams. This step is often overlooked but is crucial for achieving a professional finish. For both convex and concave curves, press the seam allowance in one direction first, typically towards the garment’s interior or the pattern piece that is considered the “underlayer.” Then, open the seam and press it flat. For outward curves that have been clipped, pressing the clipped seam allowance flat will allow the clips to spread apart, enabling the outward curve to lie smoothly. For inward curves that have been notched, pressing the notched seam allowance flat will allow the notches to close up, preventing bulk and enabling the inward curve to lie smoothly. Using a pressing cloth is advisable, especially for delicate fabrics, to prevent scorching or leaving a shiny imprint from the iron. The iron should be used with a lifting and pressing motion, not a dragging motion, to avoid distorting the fabric.
When dealing with very tight or sharp curves, such as those found in intricate collars, facings, or even some types of lingerie, a technique known as "scallop clipping" can be beneficial. Instead of V-shaped clips, you make a series of small, semicircular cuts along the curve. This effectively creates a fringe of small tabs within the seam allowance, allowing for maximum flexibility and ease when pressing the curve flat. This technique is particularly effective on thicker fabrics where standard clipping might not provide enough relief.
Another advanced technique for achieving perfectly smooth curves, especially on delicate fabrics or where a very crisp edge is desired, is to use a serger or overlocker. A serger can simultaneously stitch, trim, and finish the raw edges of a seam. When sewing curves with a serger, the same principles of easing and controlled fabric feeding apply. The trimming blade on the serger will automatically remove excess fabric from the seam allowance, and the overlock stitches will provide a neat and durable finish. However, it’s still crucial to clip or notch the seam allowance of a serged curve before pressing, just as you would with a conventionally sewn seam, to ensure it lies flat. The serger’s differential feed can also be manipulated to help ease or gather fabric, which can be useful for navigating curves, but requires practice to master.
For very precise curves, such as those on bias tape or binding, a specialty presser foot can be a valuable tool. Many sewing machines have optional presser feet designed specifically for binding or for creating decorative curved edges. These feet often have a groove that guides the bias tape or fabric, ensuring an even stitch placement and a consistent distance from the edge. If you find yourself frequently sewing curved binding, investing in such a foot can significantly improve your results and efficiency.
When working with patterns that have particularly sharp or intricate curves, such as those found in historical costume reproduction or specialized apparel, consider tracing the pattern piece and then adding your desired seam allowance by hand. This allows for greater control and precision in defining the exact curve you want to sew. You can use a ruler and a fabric pen to draw a smooth, consistent seam line before cutting your fabric. This methodical approach can prevent subtle inaccuracies that can accumulate and lead to puckering in the final garment.
Finally, remember that practice makes perfect. The more you sew curves, the more intuitive the process will become. Don’t be discouraged by initial imperfections. Analyze where the puckering occurred, whether it was due to excessive fabric feeding, insufficient clipping or notching, or improper pressing, and adjust your technique for the next seam. Experiment with different fabrics, seam allowances, and curve types to build your confidence and expertise. Mastering sewing on a curve is a skill that will elevate the quality and professionalism of all your sewing projects.
